
TL;DR:
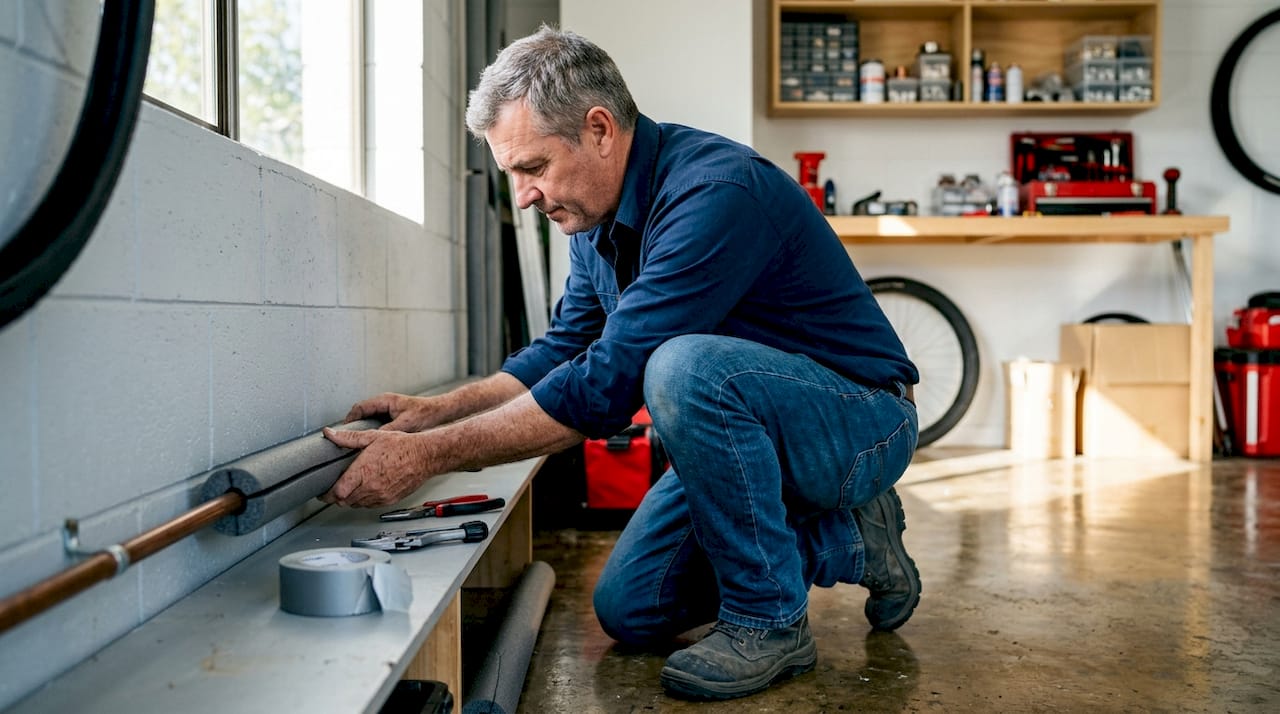
- Proper pipe insulation is a cost-effective way to prevent frozen pipe damage and reduce energy loss. Most DIY projects involve selecting the right material, proper seam placement, and sealing all joints, especially in high-risk areas like unconditioned spaces. In severe cold climates, combining insulation with heat tape ensures reliable freeze protection.
Pipe insulation is defined as a thermal barrier wrapped around water pipes to maintain temperature, prevent freezing, and reduce heat loss. Every winter, frozen pipes cost homeowners an average of more than $23,500 per insurance claim, with total annual payouts exceeding $432 million. That figure makes pipe insulation one of the highest-return home maintenance tasks you can do. The good news is that most of it is a straightforward DIY job, and knowing where to start makes all the difference.
How to insulate water pipes: materials and tools you need
The right material determines how well your insulation performs. The four most common options are foam pipe sleeves, fiberglass wrap, rubber insulation, and electric heat tape. Each suits a different situation, so picking the wrong one wastes both money and effort.
Foam pipe sleeves are the most popular choice for DIY work. They come pre-slit, slip over the pipe, and seal with adhesive or foil tape. Fiberglass wrap handles high-heat zones better, making it the right pick near water heater flues. Rubber insulation offers a higher R-value than basic foam and works well in damp crawl spaces. Electric heat tape is not insulation on its own. It generates heat to stop pipes from freezing and works best as a supplement in extreme cold.
| Material | Best use | Ease of install | Relative cost |
|---|---|---|---|
| Foam sleeve | General indoor pipes | Very easy | Low |
| Fiberglass wrap | Near flues, high heat | Moderate | Low |
| Rubber insulation | Damp or cold spaces | Easy | Medium |
| Electric heat tape | Severe cold climates | Moderate | Medium-high |
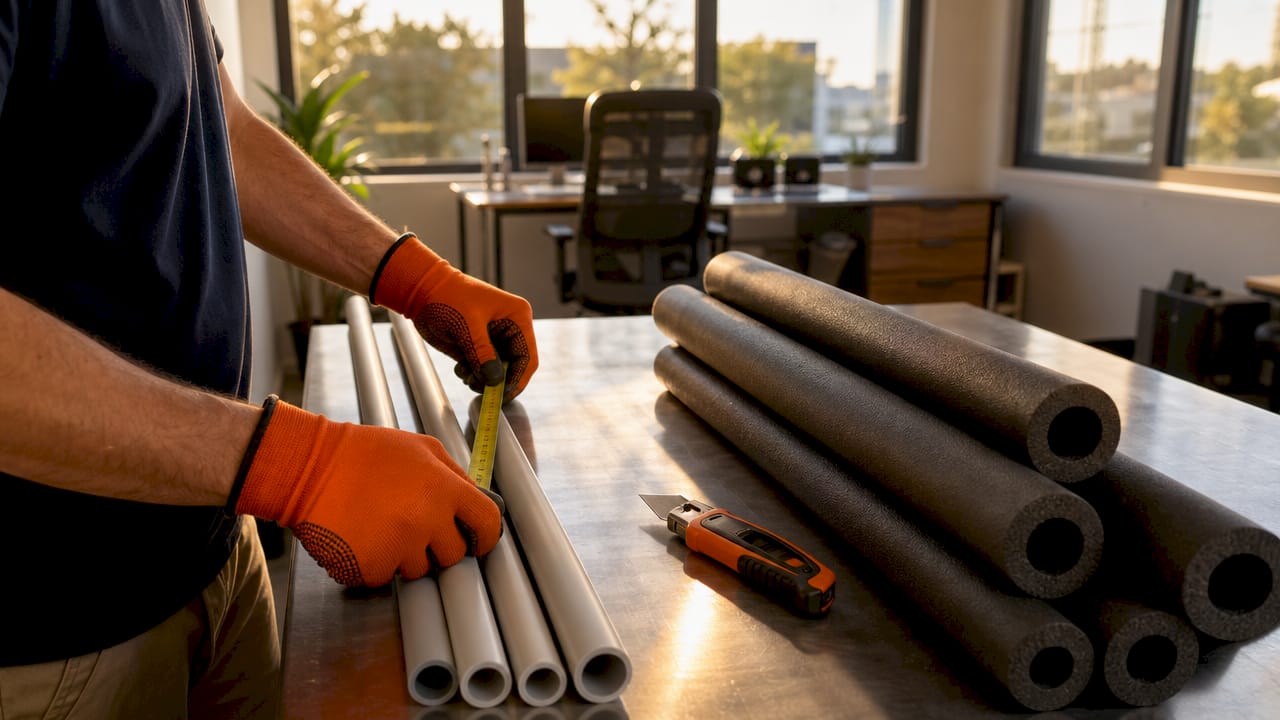
For tools, you need a measuring tape, a utility knife, adhesive or foil tape, and work gloves. A permanent marker helps you mark cut lines cleanly. That is the complete kit for most residential jobs.
How do you properly install insulation on water pipes?
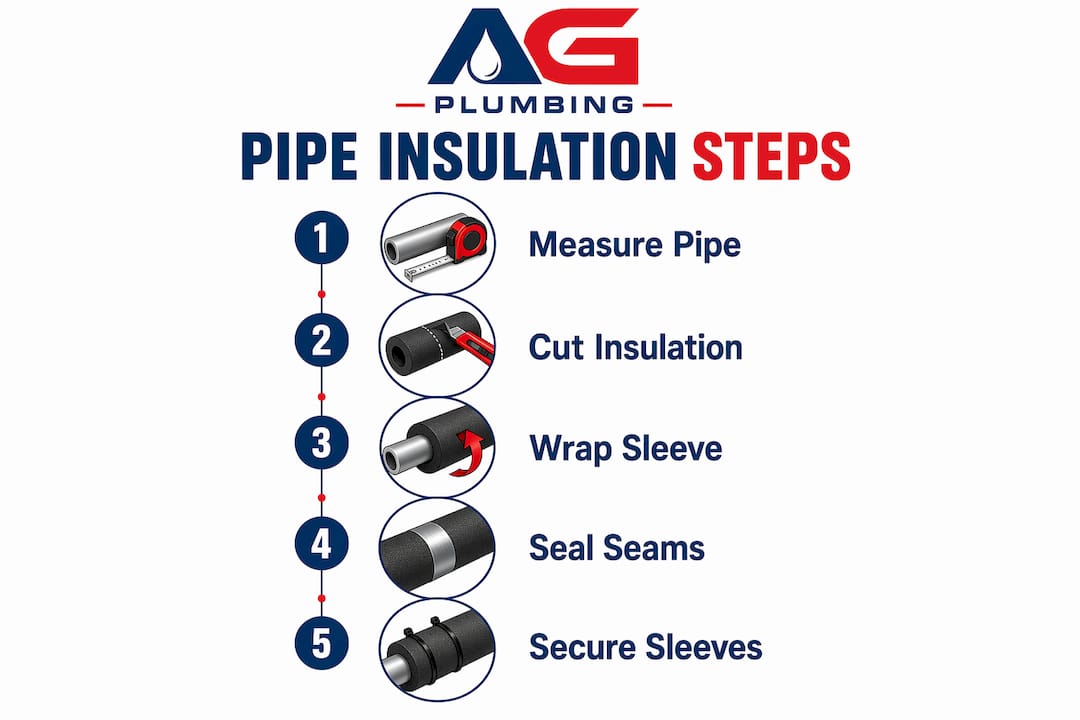
Installation done right takes less than an afternoon for most homes. Done wrong, it leaves gaps that defeat the whole purpose. Follow these steps in order.
- Measure the pipe diameter. Wrap a piece of string around the pipe, mark where it meets, then measure the string. Divide by 3.14 to get the diameter. Buy foam sleeves sized to match.
- Clean the pipe surface. Wipe down the pipe with a dry cloth. Dust, grease, or moisture stops tape from bonding and lets cold air sneak in at seams.
- Cut the insulation to length. Use a utility knife and a straight edge. Cut at 45-degree angles for elbows and T-joints so pieces fit tightly together without gaps.
- Position the sleeve with the seam facing up on cold water pipes. Seam placement on top prevents condensation from dripping through the seam onto surfaces below. On hot water pipes, seam placement matters less.
- Seal every joint and fitting. Wrap foil tape around each seam and junction. Pay extra attention to elbows, valves, and T-joints. These are the spots where cold air most often gets through.
- Install heat tape before the foam sleeve when needed. Wrap the heat tape directly on the pipe per the manufacturer’s pattern, then slide the foam sleeve over the top. Heat tape must connect to a GFCI-protected outlet and be thermostatically controlled for safe operation.
Pro Tip: Ties and clips compress foam if spaced too tightly. Space them every 30–50 cm and keep them loose. Compressed foam loses its R-value, which means the insulation stops doing its job even though it looks fine from the outside.
Which pipes should you insulate first and why?
Not every pipe in your home carries the same risk. Prioritizing correctly means you get the most freeze protection and energy savings from the least amount of material.
Best practice is to start with the first 3–10 feet of pipe coming out of your water heater. Hot water loses heat fastest right at the source, so insulating this stretch cuts standby heat loss immediately. You will notice faster hot water delivery at your faucets as a direct result.
After that, work through this priority order:
- Pipes in unconditioned spaces. Crawl spaces, unheated garages, and attics are the highest freeze risk zones. Any pipe running through these areas needs insulation before winter arrives.
- Pipes inside exterior walls. Under IRC P2603.5, insulation on exterior wall pipe runs must sit on the interior, warm side of the wall insulation. Placing it on the cold side actually increases freeze risk.
- Cold water pipes in humid areas. Cold water pipe insulation reduces condensation in humid basements and crawl spaces, which prevents moisture damage and mold growth over time.
- Long hot water runs and recirculation loops. These pipes bleed heat continuously. Insulating them cuts energy waste and reduces the time you wait for hot water at distant fixtures.
For Pittsburgh homeowners specifically, the winter plumbing preparation checklist from Ag-plumbing covers the full sequence for cold-climate homes. Pairing that with a broader home winterization plan helps you catch every vulnerable area before temperatures drop.
What mistakes and safety issues should you avoid?
Most insulation failures come from a small set of avoidable errors. Knowing them in advance saves you from redoing the work mid-winter.
- Do not compress the foam. Compression kills R-value. A sleeve that looks installed correctly but is squeezed flat by a tight clip provides almost no thermal protection.
- Keep insulation away from the water heater flue. Maintain at least 6 inches of clearance between any insulation and the flue pipe. Use unfaced fiberglass wrap in that zone instead of foam, which can melt or ignite.
- Place pipe insulation on the warm side of exterior wall insulation. Installing it on the cold side leaves the pipe exposed to freezing temperatures, which is the opposite of the goal.
- Use only UL-listed heat tape connected to a GFCI outlet. Electric heat cables are an accepted freeze protection method, but only when installed per safety codes. Non-listed products are a fire hazard.
- Seal every seam on cold water pipes. An open seam on a cold pipe in a humid space drips condensation onto walls, floors, and insulation below it.
Pipe insulation alone does not guarantee freeze protection in severe cold. In climates that regularly drop below -5°F, combine insulation with heat tape for reliable protection. Insulation slows heat loss; heat tape actively replaces it. You need both when temperatures get extreme.
The pipe insulation and energy efficiency guide from Ag-plumbing goes deeper on how these two methods work together for Pennsylvania winters.
Key Takeaways
Proper pipe insulation requires the right material, correct seam placement, and prioritizing high-risk zones like unconditioned spaces and the first 10 feet from your water heater.
| Point | Details |
|---|---|
| Start at the water heater | Insulate the first 3–10 feet of pipe from the heater to cut standby heat loss immediately. |
| Match material to location | Use foam sleeves for general pipes, fiberglass near flues, and rubber in damp or cold spaces. |
| Seal every seam | Unsealed joints and fittings are where cold air enters and condensation escapes. |
| Follow IRC P2603.5 | Place insulation on the warm side of exterior wall insulation to prevent freeze risk. |
| Add heat tape in severe cold | Insulation alone is not enough below -5°F. Pair it with UL-listed, GFCI-connected heat tape. |
What I have learned after years of watching pipes fail
After spending years working with homeowners across Pittsburgh, the pattern I see most often is not a lack of insulation. It is insulation installed with gaps at the fittings. A homeowner wraps every straight run perfectly, then leaves the elbow at the crawl space entry bare because it looked complicated. That one exposed elbow is where the pipe bursts in january.
The second thing I have noticed is that people underestimate cold water pipes. Most of the focus goes on hot water lines because of energy savings, which makes sense. But in a humid Pittsburgh basement, an uninsulated cold water pipe sweats all summer and grows mold behind the drywall. Insulating cold water pipes is not just a winter task. It is a year-round moisture management move.
My honest recommendation is to combine insulation with a full cold climate plumbing review before october. Climate zone matters. A home in a Pittsburgh suburb with a vented crawl space needs a different approach than a home with a conditioned basement. Do not copy what your neighbor did. Assess your own vulnerable spots, prioritize by risk, and seal every joint like the pipe depends on it. Because it does.
— Maayan
Ag-plumbing can handle your winter pipe prep
Pipe insulation is a manageable DIY project for most homeowners, but some situations call for a professional. Pipes buried inside finished walls, complex recirculation systems, or homes with aging plumbing benefit from an expert eye before winter arrives.
Ag-plumbing has served Pittsburgh and the surrounding areas for 30 years, covering heating, cooling, and full plumbing services. The team handles everything from plumbing repair to complete winter preparation assessments. If you want your pipes inspected, insulated, and ready before the first hard freeze, visit Ag-plumbing’s Pittsburgh services to schedule an appointment. Getting it done right once costs far less than a burst pipe claim.
FAQ
What is the best insulation material for water pipes?
Foam pipe sleeves work best for most indoor residential pipes because they are affordable, easy to install, and widely available. Use unfaced fiberglass wrap within 6 inches of a water heater flue to avoid fire risk.
How do you prevent pipes from freezing in winter?
Insulate all pipes in unconditioned spaces with at least 1-inch closed-cell foam per IRC P2603.5, and add UL-listed heat tape in zones that regularly drop below -5°F. Sealing gaps at fittings and elbows is as important as covering the straight runs.
Do cold water pipes need insulation too?
Cold water pipes benefit from insulation in humid environments because it reduces condensation that leads to mold and moisture damage. In unheated spaces, cold water pipes also carry a freeze risk equal to hot water lines.
How thick should pipe insulation be?
IRC P2603.5 recommends a minimum of 1-inch closed-cell foam for most climates. In climates that drop below -5°F, 1.5–2 inches of insulation is the standard recommendation for reliable freeze protection.
Can I insulate pipes myself or do I need a plumber?
Most straight pipe runs in accessible areas are a straightforward DIY job using foam sleeves and foil tape. Pipes inside finished walls, near gas flues, or in complex configurations are safer to leave to a licensed plumber.
Recommended
- Winter Plumbing Preparation: Pittsburgh Homeowner’s Guide – AG-Plumbing
- Cold Climate Outdoor Plumbing Tips for Homeowners – AG-Plumbing
- The Role of Pipe Insulation in Home Energy Efficiency – AG-Plumbing
- Winterize your Pittsburgh plumbing: a step-by-step workflow – AG-Plumbing
