
TL;DR:
- Following a standardized pipe insulation workflow can reduce heat loss by up to 90 percent and save energy. Proper measurement, sealing, and inspection are essential to maintain optimal thermal performance and prevent condensation. Avoiding common mistakes ensures long-term efficiency and protection against freeze damage.
A pipe insulation workflow is the standardized sequence of assessing, preparing, cutting, fitting, sealing, and inspecting pipe insulation to maximize thermal performance and minimize energy waste. Contractors and homeowners who follow this process correctly can reduce heat loss by 75% to 90% on hot water lines, with energy savings of 3% to 4% annually and a typical payback period under two years. Those numbers come from U.S. Department of Energy benchmarks and ASHRAE 90.1 standards, the two primary references for residential and commercial pipe insulation in 2026. Skipping even one step in the workflow, especially sealing, wipes out most of that gain.
What materials and tools are needed for efficient pipe insulation?
Choosing the right material before you touch a pipe is the first real decision in any insulating pipes guide. The wrong material for the temperature or pipe type means you will redo the job within a few years.
Common insulation types and their uses
| Material | Best Use | Advantage | Limitation |
|---|---|---|---|
| Foam pipe sleeves | Residential cold and hot water lines | Easy to cut and install, affordable | Lower R-value; not suited for very high temps |
| Fiberglass wrap | High-temperature pipes, water heaters | High R-value, fire-resistant | Requires protective gear; irritates skin |
| Elastomeric rubber | HVAC lines, chilled water pipes | Flexible, moisture-resistant vapor barrier | More expensive; harder to source locally |
| Heat tape | Freeze-prone outdoor or crawl space pipes | Active freeze protection | Requires power; must be inspected annually |
Foam sleeves cover most residential hot water lines well. Elastomeric rubber, such as Armaflex, is the professional choice for chilled water or HVAC lines where condensation control matters most.
Tools you need before starting
- Measuring tape (for pipe outside diameter, not nominal bore)
- Utility knife or pipe insulation cutter
- Foil tape or contact adhesive
- Heat tape with built-in thermostat
- Safety glasses and gloves
Proper insulation thickness depends on pipe outside diameter and operating temperature, per ASHRAE 90.1. Residential hot water lines typically need 1 to 1.5 inches of insulation thickness. That spec changes for industrial pipes running at higher temperatures.
Pro Tip: Always measure the outside diameter of the pipe, not the nominal bore size printed on the pipe. A 3/4-inch nominal copper pipe has an outside diameter closer to 7/8 inch. Buying insulation based on the wrong measurement is the most common DIY mistake.
What does a step-by-step pipe insulation workflow look like?
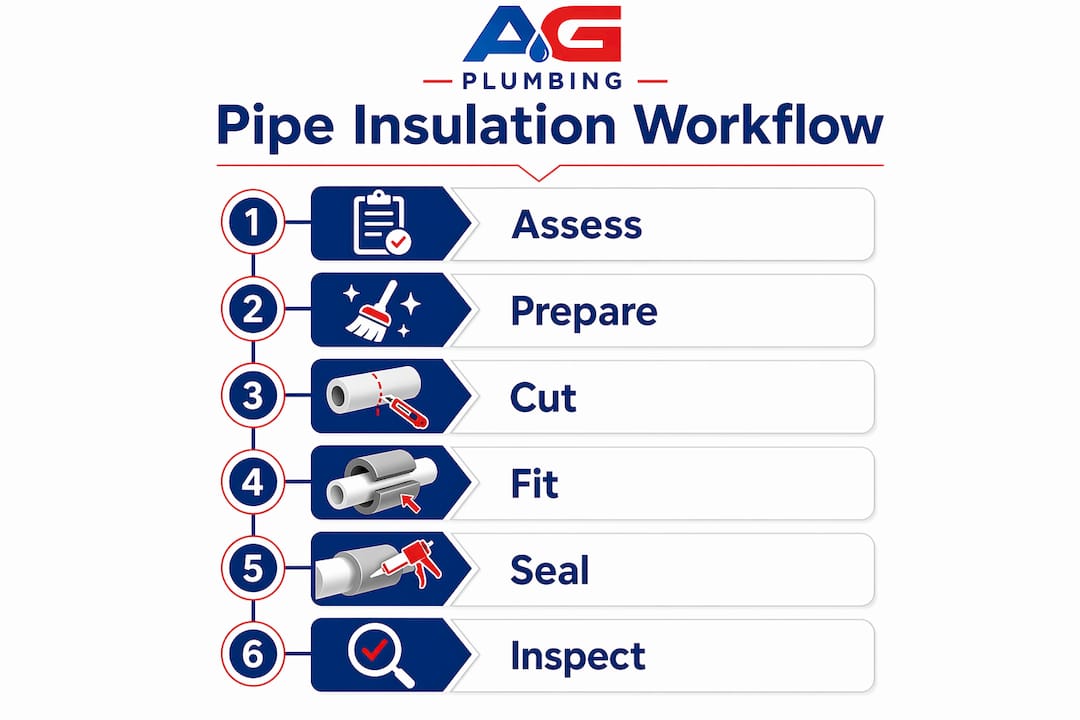
A professional pipe insulation workflow involves six key steps. Each one builds on the last, and skipping any step reduces the final thermal performance.
The six-step process
-
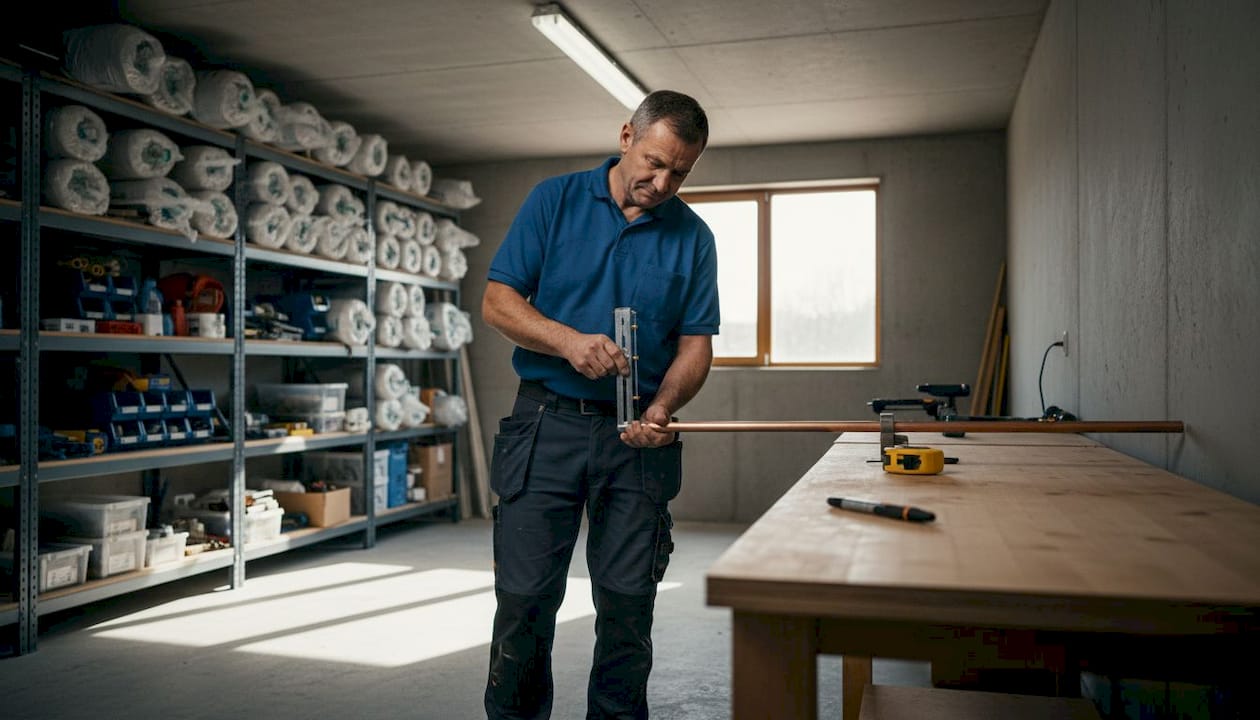
Pipe assessment. Measure the outside diameter of every pipe section you plan to insulate. Identify the most vulnerable sections first: pipes in unheated basements, crawl spaces, exterior walls, and attics. Long exposed runs in basements or crawl spaces see heat loss reductions of 7% to 16% when insulated properly. That makes them your highest-priority targets.
-
Surface preparation. Wipe pipes clean with a dry cloth before applying any insulation or adhesive. Dust, grease, and moisture prevent adhesive from bonding and allow insulation to shift over time. This step takes five minutes and prevents hours of rework.
-
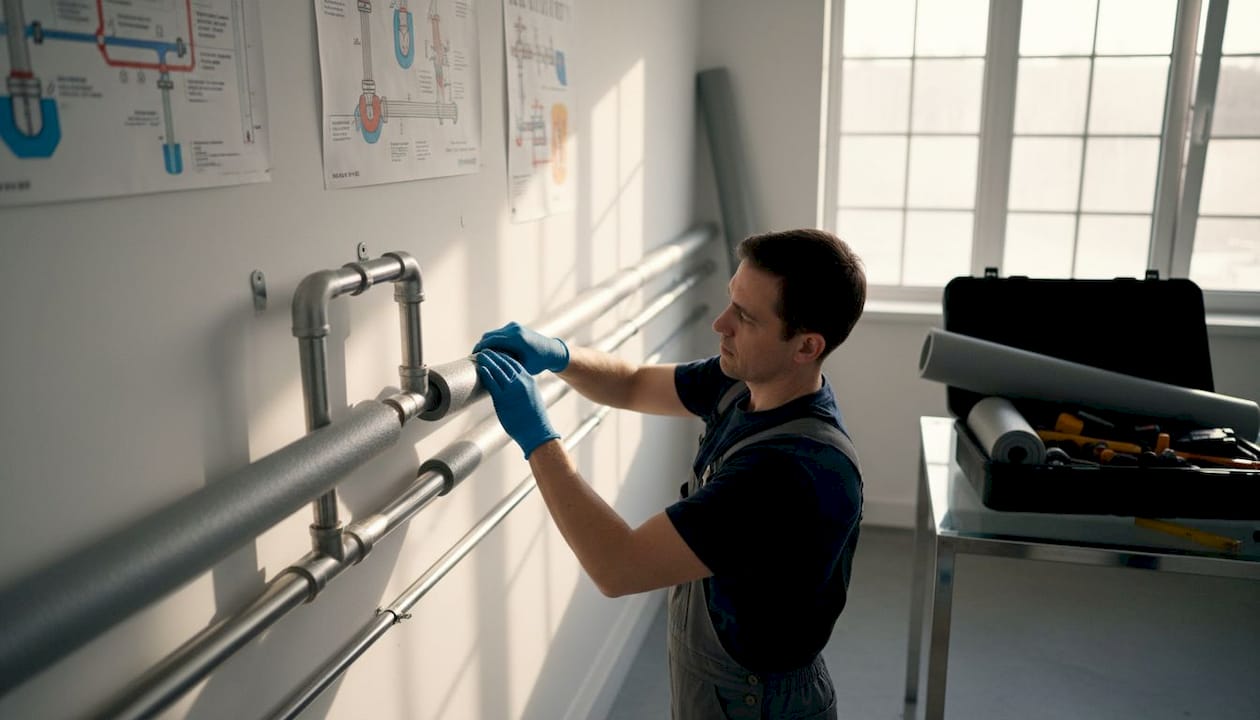
Precision cutting and fitting. Cut foam sleeves or fiberglass wrap to length with a utility knife. For elbows, tees, and valves, miter cuts are preferred over pre-formed fittings because they produce a flush, gap-free fit. A gap at a joint is a direct path for heat loss and condensation.
-
Sealing all seams and joints. Every butt joint and longitudinal seam needs foil tape or contact adhesive. Unsealed butt joints are the most common point of failure, causing vapor bypass and condensation buildup inside the insulation. Seal every joint without exception.
-
Applying heat tape correctly. If freeze protection is required, apply heat tape directly to the bare pipe first. Then cover it with insulation. Applying heat tape over insulation is a common error that traps no heat and risks overheating. The tape needs direct contact with the pipe surface to work.
-
Final inspection. Walk every insulated run and check for gaps, loose tape, and uncovered fittings. Press lightly along seams to confirm adhesion. Any section that shifts or lifts needs to be resealed before you close up the wall or ceiling.
Pro Tip: Use a permanent marker to label the pipe type and insulation thickness on the outer surface of the insulation at each access point. Future contractors and inspectors will thank you, and it speeds up annual maintenance checks.
What are the most common pipe insulation mistakes to avoid?
Most insulation failures trace back to a short list of repeatable errors. Knowing them before you start saves money and avoids callbacks.
- Wrong insulation size. Many DIY installers buy insulation based on nominal bore, not outside diameter. The result is a loose fit with air gaps that defeat the thermal barrier entirely.
- Skipping joint sealing. Professionals emphasize sealing all joints to maintain vapor barrier integrity. One unsealed butt joint in a chilled water line can produce enough condensation to soak surrounding insulation within a season.
- Compressing insulation. Compression reduces R-value because trapped air is the primary insulator. Squeezing foam tightly around a pipe to make it fit is worse than using the correct size from the start.
- Ignoring elbows and valves. Fittings are the hardest sections to insulate and the most commonly skipped. Use miter cuts or pre-formed fitting covers and seal every edge.
- Unsafe placement near flues. Fiberglass insulation must not be installed closer than 6 inches from a gas water heater flue. Use 1-inch fiberglass pipe wrap without facing near flues. Other materials may pose a fire risk at those clearances.
For pipes running through crawl spaces, crawl space waterproofing also matters. Moisture intrusion from below can saturate insulation and destroy its R-value within one wet season.
Pro Tip: For high-temperature pipes, consider double-layer staggered insulation with sealed joints. This technique prevents thermal bridging and can improve efficiency by up to 30% compared to a single layer with unsealed seams.
How do you maintain pipe insulation for long-term performance?
Pipe insulation degrades over time. Annual maintenance is the only way to catch problems before they become expensive.
The best time to inspect is in the fall, before winter temperatures arrive. A visual check takes less than an hour for most homes and covers the highest-risk areas first.
Watch for these signs during any inspection:
- Foil tape lifting or peeling at seams and joints
- Foam sleeves that have shifted, cracked, or compressed
- Moisture, staining, or mold on the outer surface of insulation
- Heat tape that does not activate when temperatures drop
Annual inspections before winter confirm that tape is secure, foam has not shifted, and heat tape thermostats work properly. Proactive maintenance prevents system degradation and avoids costly repairs. Replace any wet or degraded insulation immediately. Wet insulation conducts heat instead of resisting it, which accelerates pipe corrosion and raises energy bills at the same time.
For a broader maintenance schedule, the pipe maintenance tips from Ag-plumbing cover inspection intervals and warning signs across all pipe types in a single reference.
Key Takeaways
A complete pipe insulation workflow, from accurate measurement through sealed joints and annual inspection, is the single most reliable way to cut heat loss and prevent freeze damage.
| Point | Details |
|---|---|
| Measure outside diameter | Always use outside diameter, not nominal bore, to select the correct insulation size. |
| Seal every joint | Unsealed butt joints cause vapor bypass and condensation that destroy insulation performance. |
| Never compress insulation | Compression reduces R-value; use the correct size rather than forcing a tight fit. |
| Apply heat tape under insulation | Heat tape must contact the bare pipe directly, then be covered with insulation to trap heat. |
| Inspect annually before winter | Check tape adhesion, foam position, and heat tape function each fall to catch problems early. |
Why the joints always get skipped (and why that’s the real problem)
After years of working alongside plumbers and reviewing insulation jobs across Pittsburgh homes, the pattern is always the same. Straight pipe runs look perfect. The elbows, tees, and valve bodies are either bare or covered with a loose piece of foam held on by a single strip of tape that peeled off by spring.
Homeowners and even some contractors treat fittings as an afterthought. The logic seems to be that a fitting is a small surface area, so it cannot matter much. That logic is wrong. A single unsealed elbow in a basement hot water line acts like a radiator, bleeding heat into unconditioned air all winter. The energy savings from insulation only show up in full when every fitting is covered and sealed.
The other thing I have seen repeatedly is people buying the cheapest foam sleeve at the hardware store, forcing it onto a pipe that is clearly too large for it, and calling the job done. The sleeve splits along the seam within a few months. At that point, you have done the work twice for worse results than a properly sized material would have delivered the first time.
The workflow matters because each step protects the one before it. Precise cutting protects the fit. Sealing protects the cut. Inspection protects the seal. Cut any of those links and the chain fails. The good news is that doing it right takes no more time than doing it wrong. It just requires knowing the sequence before you start.
— Maayan
Ag-plumbing’s pipe insulation services for Pittsburgh homeowners
Ag-plumbing has delivered residential and commercial plumbing solutions across Pittsburgh, PA for 30 years. Pipe insulation is one of the most requested services every fall, and the team brings the same professional workflow to every job, from single-family homes to multi-unit buildings.

Every project starts with a pipe assessment matched to local climate conditions and Pennsylvania building codes. Ag-plumbing’s technicians identify vulnerable sections, recommend the right materials for each pipe type, and seal every joint to professional standards. Whether you need a full basement insulation job or a targeted fix before the first freeze, the team at Ag-plumbing is ready to help. Schedule a consultation to get an assessment and quote for your home.
FAQ
What is a pipe insulation workflow?
A pipe insulation workflow is the step-by-step process of assessing pipes, preparing surfaces, cutting and fitting insulation, sealing all joints, applying heat tape if needed, and conducting a final inspection. Following all six steps produces the best thermal performance and prevents condensation.
How much can pipe insulation reduce energy costs?
Insulating hot water pipes can cut energy costs by 3% to 4% annually and reduce heat loss by 75% to 90%, with a typical payback period under two years.
Why does insulation thickness matter?
Insulation thickness is set by pipe outside diameter and operating temperature under ASHRAE 90.1 standards. Residential hot water lines typically need 1 to 1.5 inches; using less leaves measurable heat loss on the table.
Can I insulate pipes near a gas water heater flue?
Yes, but fiberglass insulation must stay at least 6 inches away from the flue. Use 1-inch fiberglass pipe wrap without facing in that zone, and follow DOE flue clearance guidelines to avoid fire risk.
How often should pipe insulation be inspected?
Inspect pipe insulation once a year, ideally in the fall before winter. Check for loose tape, shifted foam, moisture, and heat tape function to catch problems before they cause damage.
Recommended
- The Role of Pipe Insulation in Home Energy Efficiency – AG-Plumbing
- How to Insulate Water Pipes and Prevent Freezing – AG-Plumbing
- Winter Plumbing Preparation: Pittsburgh Homeowner’s Guide – AG-Plumbing
- What Is PEX Piping? A Homeowner’s Guide for 2026 – AG-Plumbing
