
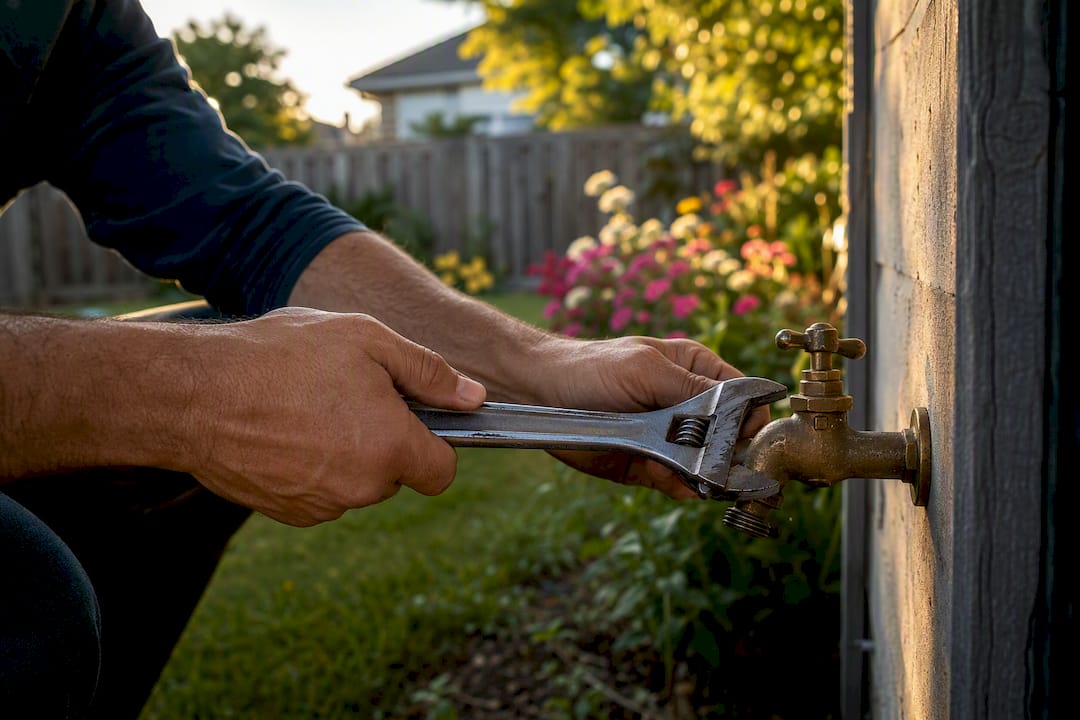
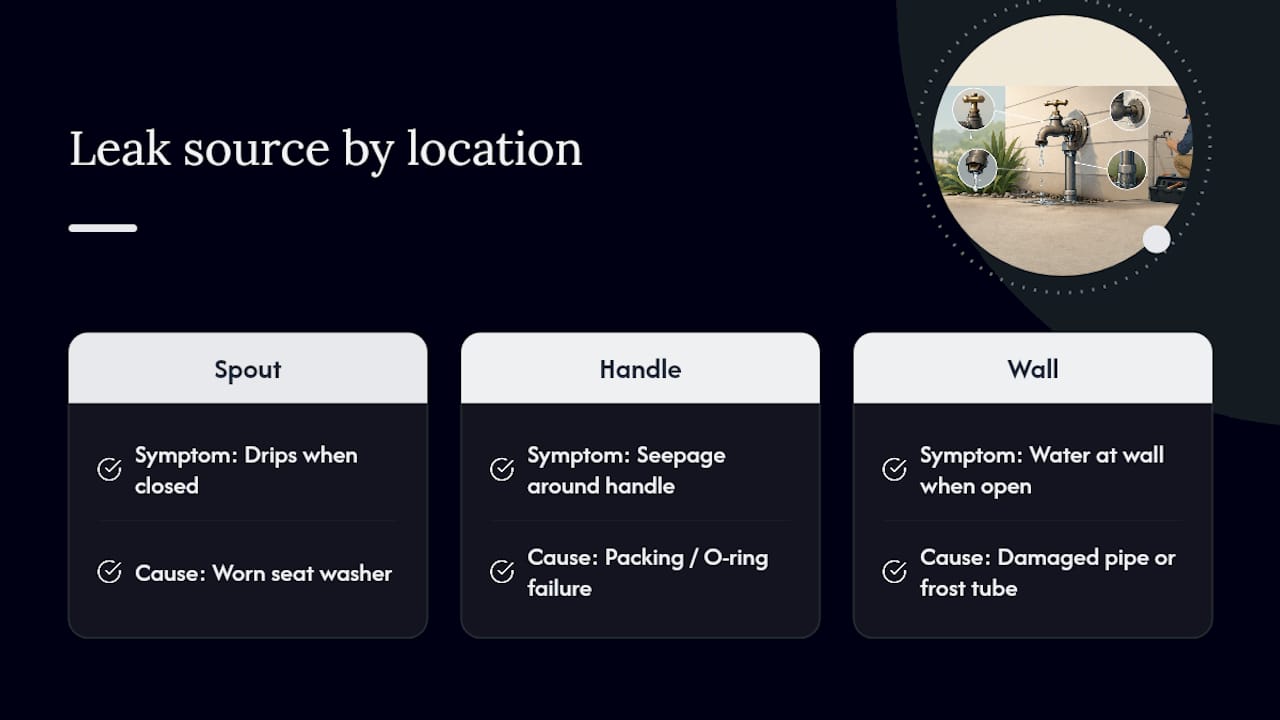
Most outdoor faucet leaks are diagnosable by where the water shows up. A drip from the spout when it’s closed almost always means a worn seat washer, a $0.25 part. A weep around the handle when it’s running points to the packing nut. Water showing up only when the faucet is open, or seeping from the wall behind it, usually means frost damage or a cracked internal pipe, and that’s a job for a plumber.
- Spout drips when closed → seat washer is worn. Replace it first.
- Weeping around the handle when on → packing nut or packing material. Tighten, then replace if needed.
- Water only when open, or leaking from the wall → likely frost damage or internal pipe failure. Call a licensed plumber.
A drip you ignore isn’t just annoying. One drop per second wastes roughly 5 gallons a day, and if that water is tracking behind an exterior wall, you’re looking at rot or mold long before you notice a soggy patch of siding.
Key Takeaways
Diagnosing an outdoor faucet leak by its exact location, spout, handle, or wall, determines whether it’s a 30-minute DIY fix or a job for a licensed plumber.
| Point | Details |
|---|---|
| Match leak location to cause | Spout drips mean a worn seat washer; handle weeps mean packing; wall leaks mean call a plumber. |
| Shut off before disassembly | Close the indoor valve and bleed pressure at the spigot before removing any part. |
| Bring the old washer | Match size and bevel exactly, using an assorted kit if the store doesn’t carry an exact match. |
| Inspect the seat every time | A pitted brass seat will wear out a new washer within weeks if left unaddressed. |
| Know your limit | Ag-plumbing recommends calling a licensed plumber for wall access, soldering, or leaks that persist after parts are replaced. |
Table of Contents
- Tools and Materials for an Outdoor Faucet Repair
- How Do You Find Where an Outdoor Tap Is Leaking?
- Repair A: Replace the Seat Washer
- Repair B: Fix a Leaking Handle (Packing or O-Rings)
- Fixing a Leaking Vacuum Breaker
- Why Is My Frost-Free Faucet Leaking?
- When Should You Call a Licensed Plumber?
- Prevention Checklist: Stop Next Winter’s Leak Now
- What the Data Actually Tells You to Prioritize
- Get Professional Help From Ag-Plumbing
- Sources
- FAQ
Tools and Materials for an Outdoor Faucet Repair
Before you touch the faucet, gather everything so you’re not making a mid-repair hardware store run with water still dripping in the yard.
Tools: adjustable wrench, pliers, flathead and Phillips screwdrivers, a seat wrench (only needed for certain seat styles), and a flashlight for looking inside the valve body.
Parts: an assorted rubber washer kit, brass screws, packing string or O-rings, a replacement vacuum breaker, and plumber’s grease.
Pro Tip: Pull the old washer out and bring it with you to the store, or buy an assorted kit that covers multiple sizes. A washer that’s even slightly off in diameter or bevel angle will fail again within weeks under water pressure.
How Do You Find Where an Outdoor Tap Is Leaking?
Watch the faucet through one full on/off cycle before you touch a wrench. Note exactly when water appears and exactly where.
- Turn the faucet on and off slowly, watching the spout, the handle base, and the wall penetration behind the unit.
- If water drips from the spout only after you shut it off, that’s a seat washer problem.
- If water seeps around the handle while it’s running, that’s packing.
- If water appears at the wall, or only shows up when the faucet is actively open and pressurized, stop and check for interior damage before doing anything else.
Before disassembling anything, find your indoor shutoff valve, usually near where the pipe enters from outside, close it, then open the outdoor faucet to bleed remaining pressure and drain the line.
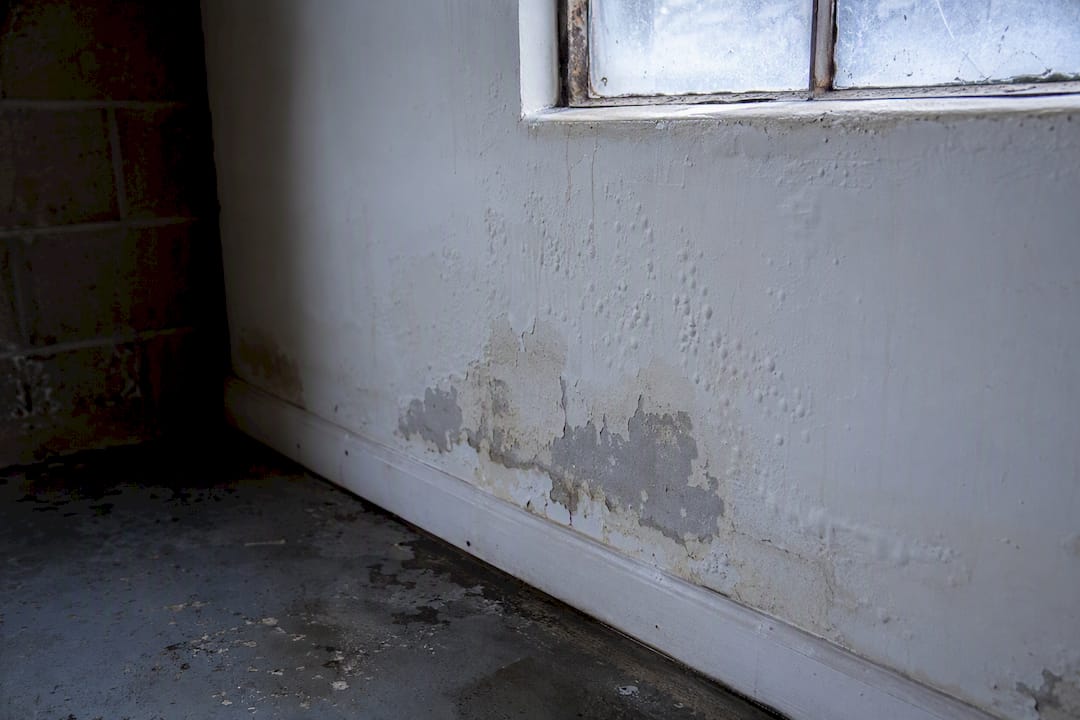
Check the interior wall on the other side of the faucet for damp drywall, soft spots, or a wet baseboard. Any of those signs means water is getting into the wall cavity, which changes this from a weekend fix into something that needs a professional look.
Repair A: Replace the Seat Washer
This is the repair you’ll do most often, and it’s genuinely a beginner-friendly job.
- Shut off the indoor valve and open the spigot fully to release pressure before you disassemble anything.
- Remove the handle (usually one screw), then unscrew the packing nut and pull the stem straight out.
- Find the brass screw holding the rubber washer to the end of the stem, remove it, and pull off the old washer.
- Match the new washer to the old one by size and shape, install it, and reattach with a fresh brass screw if the old one is corroded.
- Before reassembling, shine a flashlight into the seat, the metal ring the washer presses against, and check for pitting or grooves.
- Reassemble the stem, replace the handle, restore water at the indoor valve, and test.
Removing the stem and swapping the washer resolves the vast majority of spout drips, and most homeowners finish the whole job in under 30 minutes when the seat isn’t damaged.
Pro Tip: If the seat is pitted or scored, a new washer will still leak within days because it can’t seal against a rough surface. That’s when you either recut the seat with a seat wrench or replace the whole faucet.
Repair B: Fix a Leaking Handle (Packing or O-Rings)
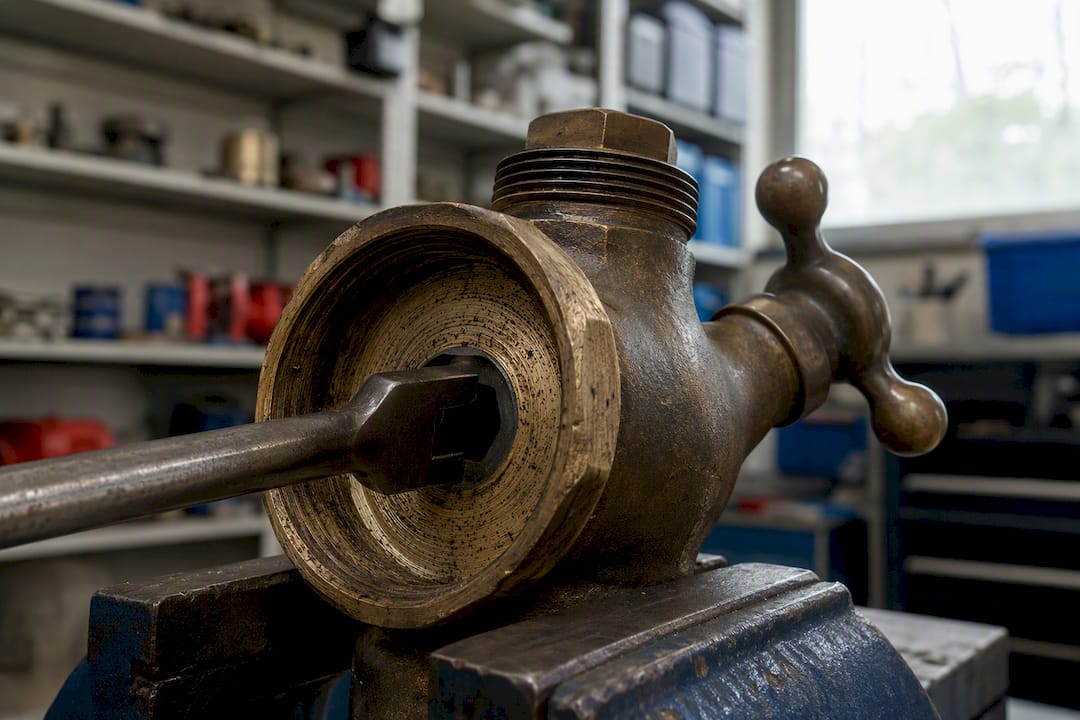
A leak weeping out around the handle stem, rather than the spout, is a packing problem, and it has a two-stage fix.
- First, try tightening the packing nut about a quarter turn while the water is running. If the drip stops or slows noticeably, you’re done.
- If tightening doesn’t hold, shut off the indoor valve, pull the stem, and replace the graphite packing string or packing washer, plus any O-rings that look flattened or cracked.
- Coat the new seals with plumber’s grease before reassembly so they seat evenly and don’t bind.
- Snug the packing nut down until the handle turns smoothly with no drip. Overtightening makes the handle stiff or hard to turn, so back off if it feels gritty.
Fixing a Leaking Vacuum Breaker
If water sprays or dribbles from the top of the faucet, not the spout, while it’s running, the vacuum breaker (the small cap-like fitting on top) has failed.
- Most vacuum breakers thread off by hand or with pliers and are inexpensive to swap outright.
- Some models let you replace just the internal spring and seal instead of the whole unit.
- Don’t put this off. A functioning backflow preventer keeps contaminated water from siphoning back into your home’s supply, and many local codes require one on outdoor faucets.
Why Is My Frost-Free Faucet Leaking?
A frost-free faucet routes its actual shutoff valve several inches inside the wall, where it stays warm. Only the stem extends outside. That design is why a leak that appears only when the faucet is open, especially one that seems to come from behind the unit rather than the spout, usually means the internal tube cracked during a freeze.
Watch for:
- Water at the wall penetration itself, not just at the visible faucet body.
- Interior staining, bubbling paint, or a damp spot on the wall behind where the faucet mounts.
- A leak that only shows up under pressure when the valve is open, and stops completely when closed.
Replacing a frost-free hydrant means matching stem length precisely and installing it with a slight downward pitch so it self-drains and doesn’t refreeze next winter. If that replacement involves soldering or opening interior wall material, it’s outside typical DIY scope.
When Should You Call a Licensed Plumber?
Some signs mean stop, don’t disassemble further, and call someone licensed.
- Leak is coming from inside the wall, or drywall/baseboard near the faucet is damp or stained.
- The connection point involves soldered copper joints rather than a threaded fitting.
- You’ve replaced the washer and packing and the leak persists.
- The faucet needs full replacement and the supply line runs through finished wall space.
Replacing an outdoor spigot that involves interior pipework typically runs $150 to $300 per hour for licensed labor, with the faucet itself adding $10 to $60. A licensed plumber also carries the insurance and code knowledge needed for soldering or PEX work done correctly the first time.
Prevention Checklist: Stop Next Winter’s Leak Now
Most freeze failures are avoidable with a few minutes of seasonal maintenance.
- Disconnect every hose before the first hard freeze; a hose left attached traps water in the faucet body.
- Locate and label your indoor shutoff valve, close it, then open the outdoor faucet to drain any water left in the line.
- Slide an insulated faucet cover over the spigot in cold climates, or upgrade to a frost-free model if you’ve had repeated freeze failures.
- Walk the exterior once a year and check every hose bib for drips, corrosion, or handle stiffness before they become bigger problems.
This kind of seasonal shutoff and inspection routine catches small drips while they’re still a washer job instead of a wall repair. If you’re weatherproofing the rest of the exterior at the same time, winterizing doors and other openings closes the same kind of gap that lets cold air reach unprotected pipes.
AG Heating, Cooling & Plumbing has spent 30 years fixing exactly these leaks across Pittsburgh homes.
When a repair crosses from “washer swap” into wall access or soldering, that’s the line where DIY should stop.
For deeper walkthroughs, see our guides on stopping a dripping faucet and cold climate outdoor plumbing.
What the Data Actually Tells You to Prioritize
The conventional advice on outdoor faucet leaks treats every drip the same: tighten something, replace a part, move on. That’s backwards. The location of the leak tells you almost everything before you pick up a tool, and skipping that diagnostic step is why so many homeowners replace a washer twice and still have a leak.
What gets underrated is the seat inspection. Plenty of people swap the washer, reassemble, and get frustrated when the drip returns within a month, not realizing a pitted brass seat will chew through a new washer just as fast as the old one. Check the seat every time, not just when a repair fails.
What gets overrated is jumping straight to “replace the whole faucet” at the first sign of trouble. Most spout and handle leaks are $5 to $15 in parts and a half hour of work. Save the full replacement, and the phone call to a plumber, for when the water is coming from somewhere a washer can’t reach: inside the wall, behind soldered joints, or through a cracked frost-free tube.
Start with the seat washer. It’s the cheapest, fastest, most common fix, and it tells you a lot about what’s actually wrong if it doesn’t hold.
Get Professional Help From Ag-Plumbing
If you’ve worked through the seat washer, the packing, and the vacuum breaker and the drip is still there, or you’ve spotted damp drywall behind the faucet, that’s your signal to stop troubleshooting and bring in a licensed plumber. Ag-plumbing has spent 30 years handling exactly these calls across Pittsburgh and the surrounding area, from straightforward spigot swaps to the soldering and inside-wall work that DIY tools can’t safely reach.

Unlike a one-off handyman fix, a licensed visit means the repair meets local code the first time, no repeat leak, no second visit. If your faucet needs interior pipework, a full hydrant replacement, or you’re just not sure which repair path you’re looking at, schedule a plumbing repair visit and get it solved in one trip.
Sources
- Outdoor faucet — Saving Water
- Who Should I Hire to Replace an Outdoor Spigot? | HomeAdvisor
- How to Fix a Leaky Outdoor Faucet (Hose Bib) in 30 Minutes (2026) | FixUpFirst
FAQ
Do you need a plumber to replace an outdoor spigot?
Not always. If it’s a simple threaded faucet with no interior pipework involved, most homeowners can replace it themselves, but jobs involving soldering, wall access, or buried lines call for a licensed plumber.
How do you identify the source of a leak in an outdoor faucet?
Watch the faucet through a full on/off cycle and note exactly when and where water appears: drips from the spout when closed point to the seat washer, seepage around the handle points to packing, and water at the wall or only when open points to frost or pipe damage.
Why is my outside tap leaking when I turn it on?
A leak that only shows up while the faucet is actively running usually means a packing or O-ring failure at the handle, or on frost-free units, a cracked internal tube from a hard freeze.
Can I fix a dripping outdoor faucet myself?
Yes, most spout and handle leaks are DIY-friendly and take about 20 to 30 minutes once the water supply is shut off and you have the right washer or packing on hand.
How much does it cost to hire a plumber for a leaking outdoor faucet?
Expect roughly $150 to $300 per hour for licensed labor on jobs involving interior pipework, plus $10 to $60 for the replacement faucet itself, according to HomeAdvisor’s cost estimates.
Recommended
- How to Stop a Dripping Faucet: Fix It Fast – AG-Plumbing
- How to Fix a Leaking Sink: A Homeowner’s Step-by-Step Guide – AG-Plumbing
- Step-by-Step Faucet Repair for Pittsburgh Homeowners – AG-Plumbing
- Fix dripping faucets: save water and money fast – AG-Plumbing
