
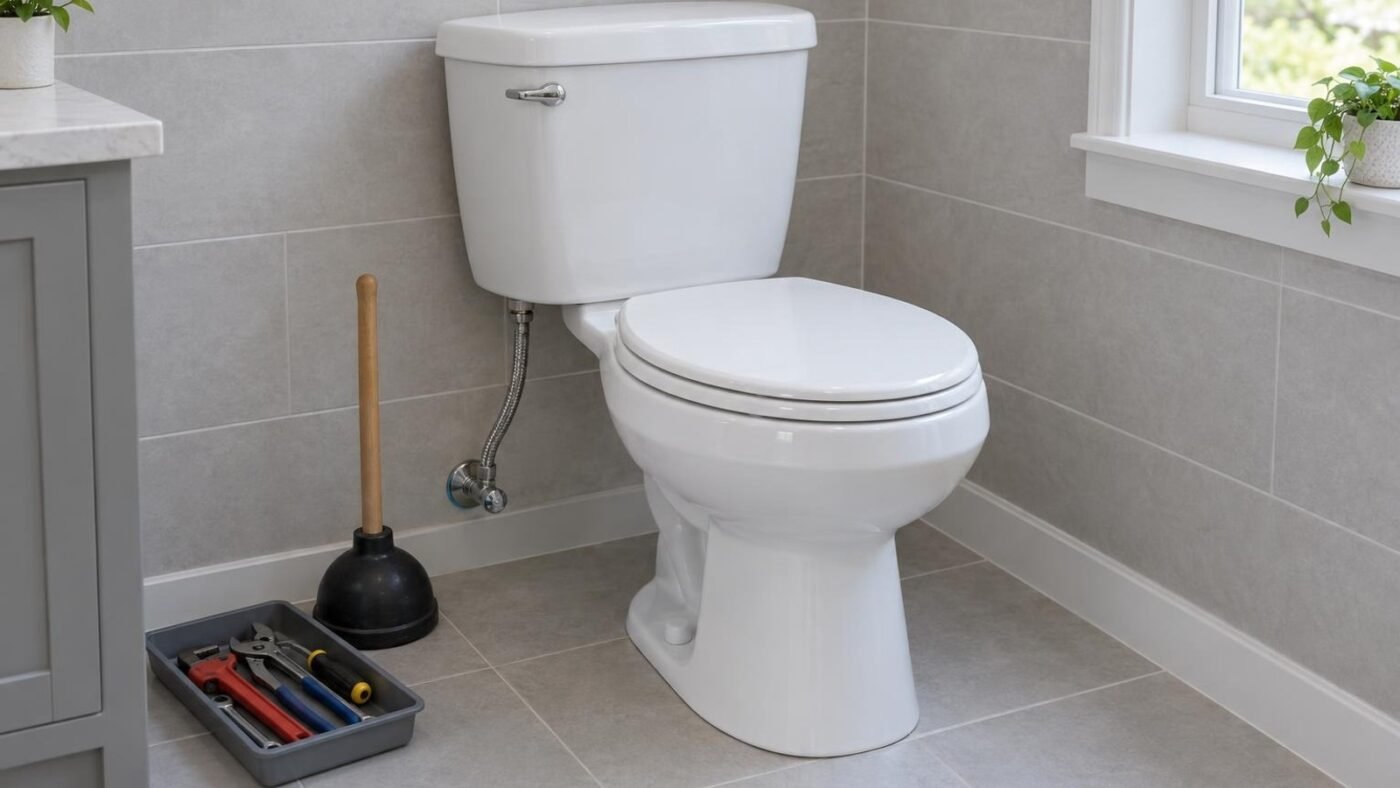
Identifying Common Toilet Operational Issues
Start by identifying when the problem occurs and how the fixture behaves during operation. Observing whether the issue involves water flow, tank hardware, or base stability helps narrow down the concern before any components are removed.
Listen during and after a flush. Water that continues entering the bowl often suggests that the tank is not sealing as expected. A tank that repeatedly refills without being used indicates a similar internal seal concern, while a long refill directs attention toward water entering the tank. [Source: Toilet Leak Detection – DEP]
Bowl behavior provides another useful distinction during troubleshooting. Standard flushing clearings followed by prolonged tank noise generally direct attention to components inside the upper tank rather than downstream issues.
Check the floor, supply connection, tank bolts, and tank-to-bowl joint for visible moisture. When evaluating options for plumbing repairs toilets should be observed through a complete flush-and-refill cycle. That simple review narrows the category without prematurely assuming which component has failed.
Comparison table
Diagnosing Internal Tank Component Failures
Remove the tank lid and observe a complete flush cycle before making any adjustments. Watching the moving components shows whether the flush valve opens properly, the flapper reseats tightly, and the fill valve shuts off at the appropriate water line. Place the lid safely aside while inspecting the tank interior during operation.
- Flapper sealing: After the flush, the flapper should settle evenly over the valve opening. A twisted chain, misaligned flapper, or irregular sealing edge may allow water to pass into the bowl. [Source: How to Fix Your Leaky Toilet Flapper – Pinellas County]
- Chain movement: The chain requires adequate slack for the flapper to seat fully while still lifting it during a flush. Excess slack can produce an incomplete lift; too little can hold the flapper slightly open.
- Fill valve response: Watch whether water enters steadily and stops once the float reaches its set position. Continued flow can point toward float adjustment, valve movement, or a valve that no longer closes consistently.
- Overflow tube level: Water flowing into the top of the overflow tube indicates that the tank level is set too high or the fill mechanism is not shutting off as expected.
- Handle and lever travel: A loose handle, bent lever, or interference with another component can limit how far the flapper opens.
Component appearance alone does not always reveal the underlying issue. Mineral deposits, minor misalignment, or mismatched replacement parts can generate similar symptoms. Isolating individual functions—activation, draining, resealing, refilling, and shutoff—helps systematically identify internal tank hardware failures.
Evaluating DIY Fixes Versus Professional Plumbing Repairs
A simple repair is appropriate when the fault is clear, components are easily accessible, and the work involves basic adjustments or direct part replacements. Professional assistance is preferable when the origin of the issue is unclear, plumbing connections are seized, or multiple faults occur simultaneously.
Use several practical criteria before choosing:
- Clarity of the problem: A loose handle or visibly misaligned chain presents a narrower task than unexplained water near the fixture or recurring poor operation.
- Condition of the hardware: Corroded fasteners, brittle components, damaged porcelain, and previous improvised repairs can turn a small project into a more involved one.
- Access and tools: Consider whether you can reach the connection, isolate the water supply, remove the relevant part, and restore the assembly without forcing fittings.
- Consequences of delay: A minor tank adjustment can often be evaluated methodically. Active water escape, an unusable shutoff valve, or repeated failure after adjustment warrants prompt professional attention.
- Total effort: Compare the price and availability of compatible parts with the time required for troubleshooting, disassembly, reassembly, and further correction if the first attempt does not work.
When leak sources remain uncertain or fittings prove stubborn, an experienced assessment is often preferable to repeated part swapping. Professional troubleshooting helps distinguish an isolated tank hardware issue from concerns involving supply connections, mounting, or drainage. Base repair decisions on clear diagnostic findings rather than initial component costs alone.
Step-by-Step Toilet Flapper and Fill Valve Replacement
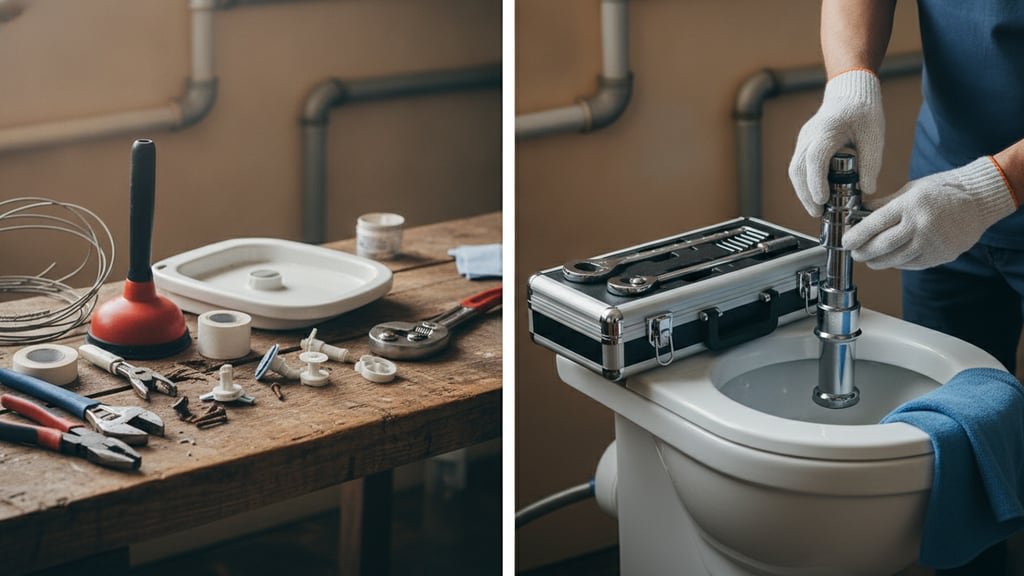
Before buying parts, lift the tank lid and note how the existing flapper attaches, where the chain connects, and whether the fill valve uses a float cup or another arrangement. Internal parts are generally inexpensive, and repairs are usually quick; however, an unnoticed fault can keep running continuously on the water meter. [Source: Toilet Repair Austin – Plumber Near Me]
- Shut off and empty the tank: Close the toilet’s supply valve, flush, and remove the remaining tank water with a sponge or small container.
- Remove the old flapper: Disconnect its chain from the flush lever, release the mounting ears or ring, and clean the surface where the flapper seals.
- Fit and adjust the flapper: Install the matching replacement and reconnect the chain with slight slack. Too much slack may limit lifting; too little may hold the flapper open.
- Disconnect the fill valve: Place a towel below the supply connection, detach the line, loosen the retaining nut beneath the tank, and lift out the valve.
- Install the new valve: Set its height according to the product instructions, position the washer inside the tank, tighten the retaining nut, and reconnect the supply line.
- Restore and test: Open the valve gradually. Flush several times while watching the flapper, refill level, and all disturbed connections. Adjust the chain or fill height as needed.
If the new components do not correct the behavior, stop replacing parts at random. The issue may involve another mechanism or an incompatible replacement rather than either newly installed component.
Addressing persistent Leaks Around the Base and Wax Ring
Water at floor level does not automatically identify a failed wax ring. First dry the toilet and nearby floor, then observe where moisture returns. Water pooling around the base and a loose or wobbly fixture are both recognized toilet problems.
If moisture appears only after flushing and emerges from beneath the bowl, the floor seal becomes a stronger candidate. Avoid repeatedly tightening the closet bolts as a substitute for diagnosing the movement. Uneven tightening can distort how the bowl sits, while persistent rocking may indicate that the fixture needs leveling or that the mounting area requires closer evaluation.
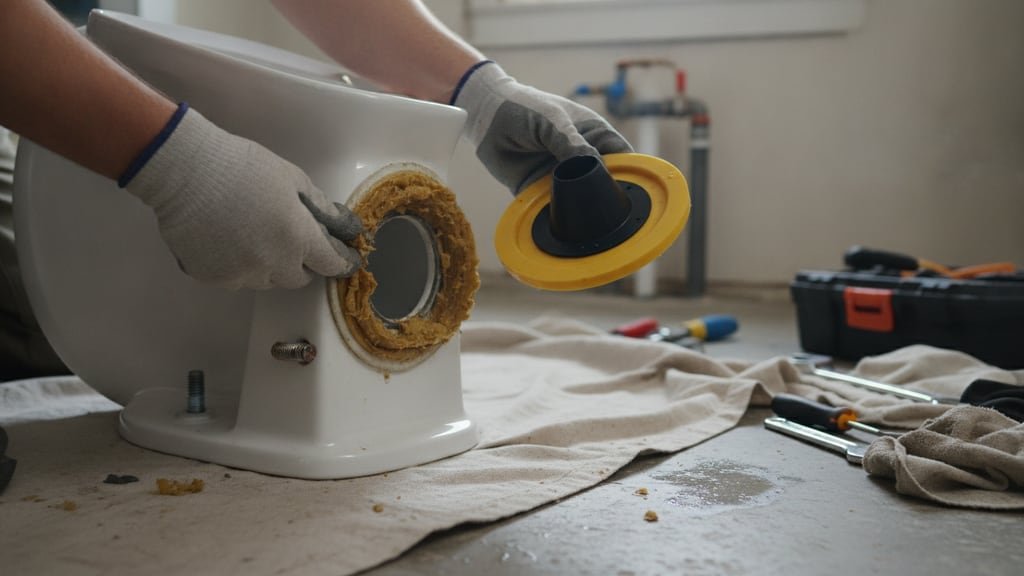
Replacing the ring requires shutting off the supply, emptying the bowl and tank, disconnecting the line, removing the mounting nuts, and lifting the toilet clear of the flange. Remove the old sealing material, inspect the exposed mounting surface, and choose a replacement seal suited to the observed flange position. Lower the bowl straight onto the opening rather than shifting it repeatedly after contact.
When reviewing a contractor category such as “plumbing repairs toilets,” confirm that the quoted work covers removal, the replacement seal, mounting hardware, resetting, and testing—not merely tightening the bowl. A cracked fixture, damaged flange, questionable flooring, or recurring movement broadens the job beyond a straightforward wax-ring fix. In those cases, pause reassembly until the underlying condition can be evaluated.
Selecting Replacement Fixtures and Long-Term Maintenance Planning
Base a replacement decision on the bathroom’s measurements and the problems the new fixture must address. Note the rough-in distance, available width, bowl shape, seat height preference, and clearance around doors or cabinets. Also decide whether a one-piece or two-piece design better suits the installation, cleaning preferences, and purchase budget.
Compatibility matters beyond the bowl itself. Review the fixture’s included seat, mounting hardware, supply connection, flush components, and installation requirements. A low purchase price may be less useful if essential pieces must be bought separately or if the selected model complicates access in a tight room. For an existing fixture that otherwise remains suitable, replacing a worn internal component may be more proportionate than replacing the entire unit.
Create a simple maintenance plan around observation rather than unnecessary part changes. Periodically listen after flushing, look for movement at the base, inspect visible connections, and confirm that the tank finishes refilling. Keep model details with household records so future fixes do not depend on guesswork. Avoid using cleaners or accessories that the fixture or component manufacturer excludes.
Choose repair when the fault is isolated, the fixture remains stable, and compatible parts are clear. Consider replacement when fit, condition, repeated failures, or access make continued fixes unattractive. For complex issues involving plumbing repairs toilets, professional evaluation helps clarify whether an internal part replacement or complete fixture replacement is appropriate.
