
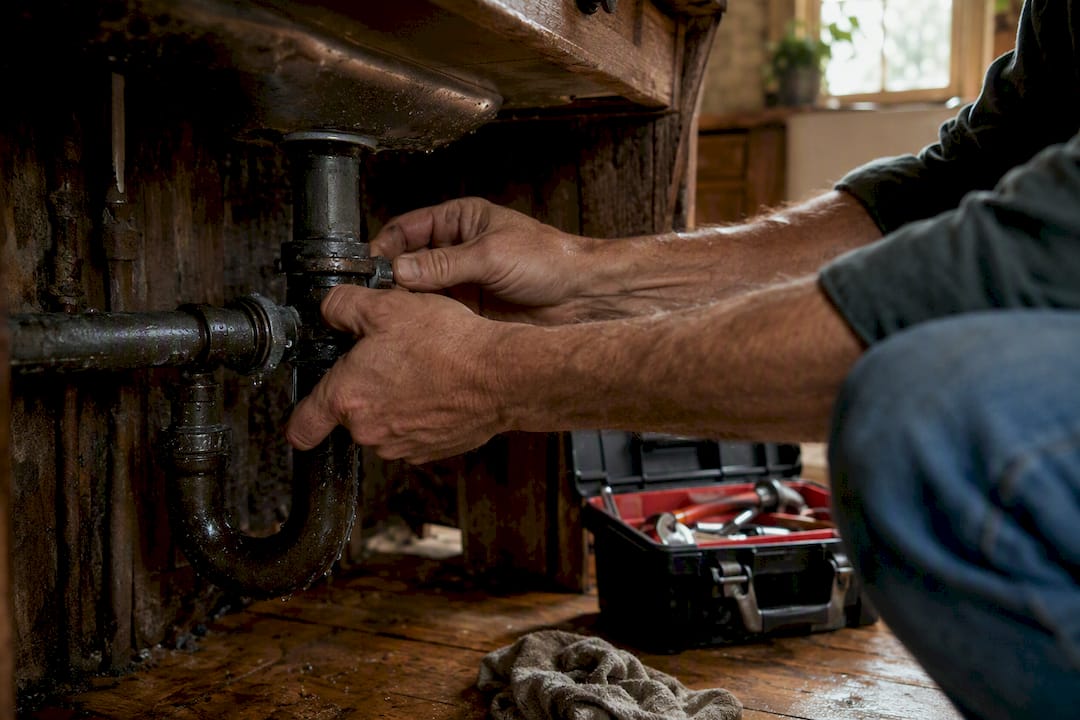
If water is spraying or pooling fast, shut the valve now and call a plumber. If it’s a slow drip or a leak that only shows up when the drain runs, you can usually stop it yourself, often by tightening a slip nut, swapping an O-ring, or replacing a worn washer.
Before you touch a wrench, run this quick sequence:
- Shut off the fixture’s supply valves if the leak is spraying or constant.
- Set a bucket and towels under the pipes to catch drips while you work.
- Dry everything off, then wrap paper towels around each joint and run water to spot the exact source.
Pro Tip: A wet paper towel dries fast; a leaking one stays damp in one specific spot. That spot tells you exactly which joint to open first, saving you from taking apart pipes that were never the problem.
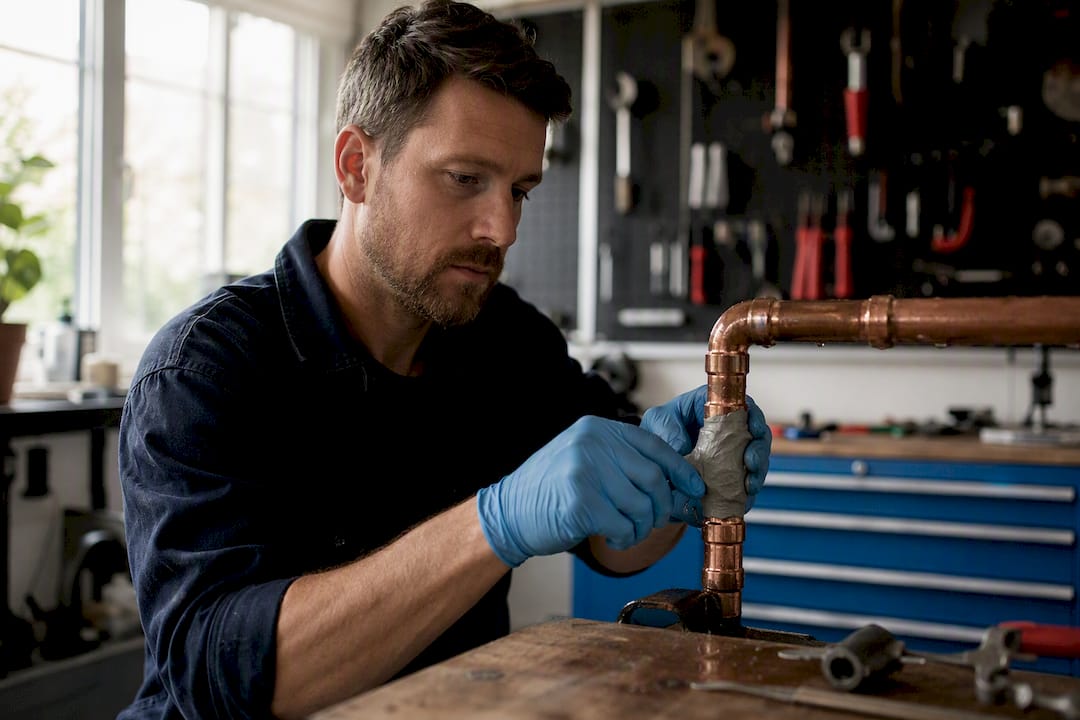
For anything urgent, hand-tighten the nearest connection, cap it if you can, or pack a bit of repair putty around a pinhole as a stopgap. None of these are permanent. They just buy you time until the real fix goes in.
Key Takeaways
Most sink leaks trace to one of four spots, the faucet, a supply line, the P-trap, or the basin rim, and a quick paper-towel test tells you which one before you touch a wrench.
| Point | Details |
|---|---|
| Diagnose before you disassemble | Use the paper-towel and fill-and-drain test to confirm the exact joint before opening anything. |
| Faucet leaks need matched parts | Bring the old O-ring or cartridge to the store so the replacement seals correctly the first time. |
| Never over-tighten slip nuts | Hand-tighten, then add only a quarter-turn with pliers to avoid cracked fittings. |
| Watch valve age | Shut-off valves often fail after 10 to 15 years, so test them even when nothing looks wrong. |
| Call Ag-plumbing for hidden or recurring leaks | Ag-plumbing’s licensed technicians handle corroded valves, wall leaks, and pressure testing that DIY tools can’t cover. |
Table of Contents
- Safety Steps Before You Start Any Sink Repair
- How Do You Find Where a Sink Is Leaking?
- Fixing a Leaking Faucet: O-Rings, Cartridges, and Seats
- Repairing Leaks at Supply Lines and Compression Fittings
- Fixing a Leaking P-Trap Under the Sink
- Sealing a Cracked or Leaking Sink Basin
- Preventing Future Sink Leaks
- When Should You Call a Plumber Instead?
- Get a Licensed Plumber for the Repairs You’d Rather Not Tackle
- Sources
- FAQ
Safety Steps Before You Start Any Sink Repair
Find your fixture’s shut-off valves first. They’re usually two small handles under the sink, one for hot and one for cold. Turn them clockwise to close. If they’re seized, corroded, or missing, go to the main house shut-off instead. That’s a sign the valves themselves may need replacing.
Clear the cabinet, lay down towels, and keep a bucket handy. If water is anywhere near an outlet or a disposal unit, cut power to that circuit before you reach in.
- Wear gloves. Under-sink cabinets collect grime, mold, and the occasional sharp pipe edge.
- Use safety glasses if you’re loosening a connection above your head.
- Bring a flashlight or headlamp. Cabinets are dark, and you need to see the joint clearly, not just feel for it.
How Do You Find Where a Sink Is Leaking?
Most leaks hide in one of four places: the faucet body, a supply line, the P-trap, or the basin rim. The trick is isolating which one without dismantling the whole cabinet.
- Dry the entire area under the sink with a towel, then wrap dry paper towels around each joint, one at a time.
- Turn on the faucet and let it run for a minute while you watch each wrapped joint for the first sign of dampness.
- Turn off the faucet, then fill the basin and pull the drain plug to send a rush of water through the trap. A leak that only appears now is drain-side, not supply-side.
- Check the shut-off valves and angle stops themselves. Older valves often weep at the stem even when the rest of the line is fine.
This paper-towel and dry-area method is the fastest way to separate a running leak (faucet or supply) from a drain-only leak (trap or flange), and it takes about five minutes.
Fixing a Leaking Faucet: O-Rings, Cartridges, and Seats
Faucet leaks almost always trace back to one of three worn parts: an O-ring, the cartridge, or the valve seat and spring. The repair sequence is the same regardless of brand.
- Shut off both supply valves, then open the faucet to release any trapped pressure.
- Pry off the decorative cap on the handle, remove the screw underneath, and lift the handle away.
- Pull the cartridge or stem assembly and inspect the O-rings for flattening, cracking, or grit buildup.
- If the cartridge itself feels loose or gritty inside, replace the whole unit rather than just the rings.
- Reassemble in reverse order, then turn the water back on slowly and run the faucet at full pressure for a minute.
This shut off, disassemble, replace, and test sequence covers the vast majority of drip and handle-area leaks.
Pro Tip: Take the old cartridge or O-ring with you to the hardware store instead of guessing by brand name. Faucet parts vary in diameter by fractions of an inch, and a mismatched O-ring will leak again within days.

If the drip continues after reassembly, the valve seat itself may be worn or pitted. That’s a cheap part but a fussier repair, and it’s a reasonable point to hand off to a plumber if you’re not confident with a seat wrench. Our guide to stopping a dripping faucet fast walks through that scenario in more detail.
Repairing Leaks at Supply Lines and Compression Fittings
Supply-line leaks are usually simpler than faucet leaks, but they’re also where over-tightening does the most damage.
- Locate the leaking connection, whether it’s the compression nut at the shut-off valve or where the line meets the faucet.
- Shut off the water, then tighten the nut by hand first, adding only a quarter-turn with pliers or a wrench beyond that.
- Turn the water back on and watch the joint for a full minute before declaring it fixed.
- If the leak persists after that quarter-turn, stop tightening and replace the line instead. Cranking harder usually cracks the nut or deforms the compression sleeve rather than sealing it.
Braided stainless supply lines are inexpensive and worth swapping out proactively if yours are the old rubber or plastic type. Over-tightening slip-joint and compression nuts is one of the most common causes of cracked fittings, so resist the urge to force it.
Pro Tip: If you can’t shut off water to that line right away, wrap the fitting in epoxy putty as a temporary seal. It’s not a permanent fix, but it holds long enough to get a replacement part.
Fixing a Leaking P-Trap Under the Sink
Confirm the trap is actually your problem before you take it apart. Run the fill-and-drain test described earlier. If the leak only shows up when the basin drains, not while the faucet runs, the trap or its washers are the likely cause.
- Place a bucket under the trap, then loosen the slip nuts on both ends by hand or with slip-joint pliers.
- Slide the trap down and inspect the rubber or nylon washers inside each slip nut for hardening, flattening, or cracks.
- Replace worn washers with a properly sized match, or swap the whole trap if it’s corroded or badly stained.
- Reinstall the trap, hand-tighten the slip nuts, then add a light quarter-turn with pliers.
- Fill the basin and drain it again to confirm the joint holds.
Washers inside a P-trap harden over time from constant water exposure, and that’s the single most common reason a trap starts weeping at the joints. PVC trap kits are cheap enough that replacing the whole assembly is often smarter than chasing a single bad washer.
- Metal traps corrode; PVC traps crack. Match your replacement to what’s already installed.
- Never over-tighten slip nuts. Cracked plastic threads are a bigger repair than the leak you started with.
Sealing a Cracked or Leaking Sink Basin
A leak at the basin rim only shows up when the sink is full or when water splashes near the edge, which is your clue it’s different from the piping leaks below. That points to failed sealant around the drain flange or the rim itself, not a pipe joint.
- Use plumber’s putty under the drain flange where it meets the basin. It stays pliable and is easy to remove later.
- Use silicone caulk around the rim where the sink meets the counter, since it needs to flex and resist standing water.
- Clean and dry the surface completely before applying either one. Sealant over grime fails fast.
Pro Tip: Plumber’s putty is for parts you might need to remove again, like a drain flange. Silicone is for permanent, out-of-the-way seals, like a rim.
A hairline crack in porcelain or fiberglass can sometimes be sealed with epoxy, but a crack that runs through the basin or keeps spreading means it’s time to replace the sink rather than keep patching it.
Preventing Future Sink Leaks
Most repeat leaks trace back to parts that simply aged out. Shut-off valves, in particular, tend to reach the end of their service life around 10 to 15 years, and a valve that won’t fully close is a hidden risk until the day you actually need it.
- Check supply lines and test shut-off valves every 6 to 12 months, even if nothing looks wrong.
- Watch for early warning signs: a musty smell under the sink, a faint stain on the cabinet floor, or a rhythmic drip you can hear but not see.
- If a leak comes back quickly after a repair, check your home’s water pressure. Pressure above roughly 80 PSI stresses gaskets and O-rings and will keep blowing out fresh seals.
- Upgrade to braided stainless supply lines and replace any shut-off valve that feels stiff or won’t fully stop the flow.
Our Pittsburgh homeowner’s guide to preventing water leaks covers a fuller maintenance rhythm if you want to get ahead of this permanently.
Tools and Parts You’ll Likely Need
- Tools: adjustable wrench, slip-joint pliers, basin wrench, screwdriver, utility knife.
- Parts: O-rings, a matching faucet cartridge, slip-joint washers, a PVC trap kit, plumber’s putty, Teflon tape, and epoxy putty for temporary patches.
- Bring the old part to the store rather than guessing sizes. A small kit of assorted washers and O-rings also saves a second trip.
When Should You Call a Plumber Instead?
Some situations aren’t worth the DIY attempt, no matter how confident you feel with a wrench.
- Active spraying, flooding, or any leak you suspect is inside a wall or floor.
- A shut-off valve that won’t fully close, which means you can’t isolate the fixture safely.
- Multiple failing components at once, which usually points to a pressure problem rather than one bad part.
A licensed plumber will isolate the leak, pressure-test the line, replace corroded sections, and run a camera inspection if the source is hidden behind a wall or under flooring. Calling immediately when a leak is spraying or soaking building materials prevents a $50 part replacement from turning into a drywall and flooring bill. DIY repair costs stay low when the fix is a washer or cartridge, but complexity and hidden damage push the price up fast once a pro has to open walls or cabinetry.
A Plumber’s View on DIY vs. Professional Repairs
Ag-plumbing has spent three decades in Pittsburgh homes seeing the same pattern: a small drip ignored for months becomes a warped cabinet floor or a mold problem. A quick faucet cartridge swap or a P-trap washer is a fine DIY project. Anything involving a wall, a main line, or a valve that won’t shut is worth a call before it becomes worse.
Get a Licensed Plumber for the Repairs You’d Rather Not Tackle
Not every leak is a weekend project, and that’s fine. Ag-plumbing’s licensed technicians handle the fixes that go beyond a cartridge swap: corroded shut-off valves, hidden pipe leaks, and drain lines that keep failing no matter how many washers you replace. The advantage of calling a pro isn’t just the repair itself. It’s the pressure test and inspection that confirms nothing else nearby is about to fail too.

If your leak keeps coming back, or you’d rather not open a wall to find out what’s really going on, request service through Ag-plumbing’s plumbing repair page and get a technician out to Pittsburgh and the surrounding area. You can also see the full range of what we handle on our plumbing services page before booking.
Sources
- How to fix a pipe leak under a sink
- How to fix a leaking pipe under a sink
- Repair Leaky Sink: Pro Guide 2025 | Flow Pro Plumbing
- When to Call a Plumber for a Leak – Ainstheplumber
FAQ
How do I get my sink to stop leaking?
Find the exact source with a paper-towel test, then tighten or replace the specific worn part, an O-ring, cartridge, slip nut washer, or supply-line fitting, rather than tightening everything at once.
What should I do if the sink is leaking underneath?
Shut off the supply valves, dry the cabinet, and run the faucet while checking each joint with a dry paper towel to isolate whether the leak is coming from the supply line, the trap, or the faucet body itself.
What can I use to seal a leaking sink?
Plumber’s putty works for the drain flange, silicone caulk works for the basin rim, and epoxy putty or repair tape can seal a small pipe pinhole temporarily until you install a permanent part.
Can you fix a leaky sink yourself?
Yes, for most common causes, worn O-rings, loose slip nuts, or a failed trap washer, and a licensed plumber like Ag-plumbing is the safer call only when the leak is inside a wall, actively flooding, or tied to a valve that won’t shut off.
Recommended
- How to Stop a Dripping Faucet: Fix It Fast – AG-Plumbing
- How to Fix a Running Toilet: a DIY Guide – AG-Plumbing
- Step-by-Step Faucet Repair for Pittsburgh Homeowners – AG-Plumbing
- Why Fix Leaks Early: a Pittsburgh Homeowner’s Guide – AG-Plumbing
