
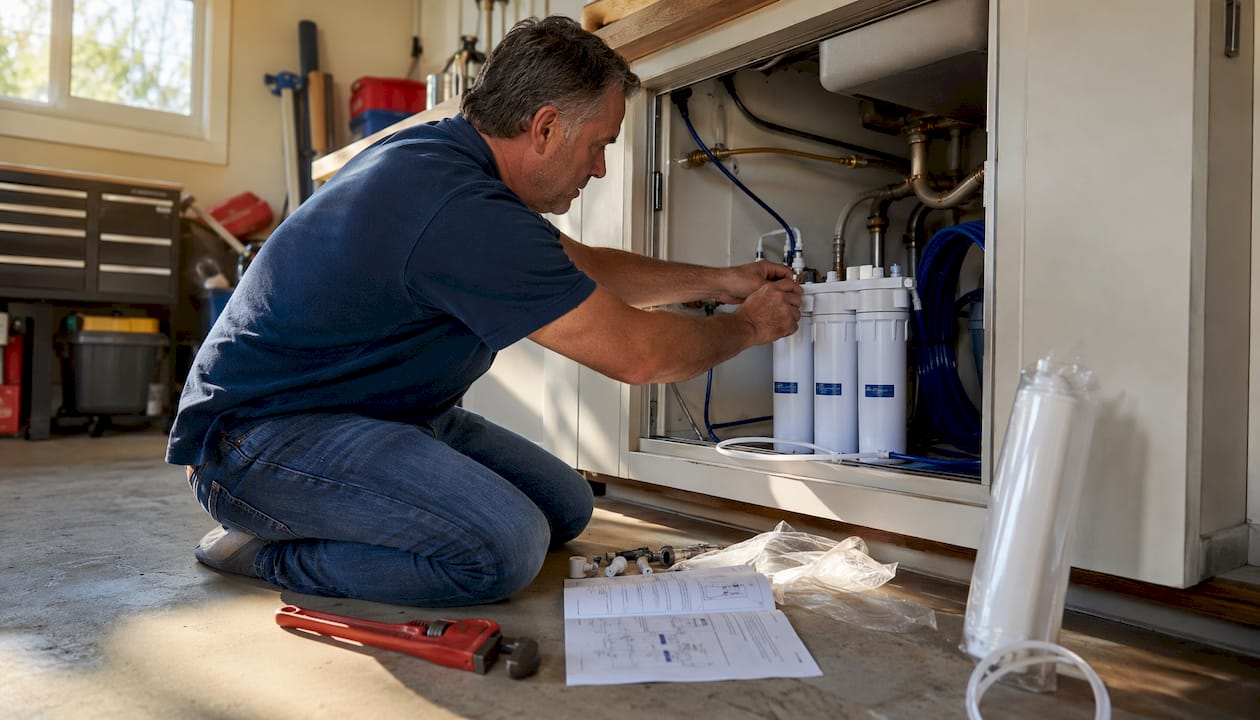
Installing a water filtration system yourself is straightforward when you follow the right sequence. Here is the core process at a glance:
- Turn off the main water supply and open the highest and lowest faucets to drain the lines completely
- Cut the pipe section where the filter housing will mount, leaving enough clearance for fittings and valves
- Install shutoff valves before and after the filter, plus a bypass valve for maintenance
- Connect filter housings in the correct flow direction indicated by the arrows on each housing
- Wrap all male threads with Teflon tape and use two wrenches on every connection to prevent pipe stress
- Restore water pressure slowly, then inspect every fitting for drips before calling the job done
Both under-sink and whole-house systems follow this same logic. The scale differs, but the principles do not.
Table of Contents
- Why under-sink filtration is worth installing
- What tools and materials you need before you start
- How to install an under-sink water filter step by step
- How to install a whole-house water filter step by step
- After-installation checks and ongoing maintenance
- Plumbing codes and safety rules you need to know
- How to choose the right filtration system for your needs
- Common installation mistakes to avoid
- Troubleshooting common problems after installation
- How long does installation actually take?
- Ag-plumbing handles the installs you should not DIY
- FAQ
- Key Takeaways
Why under-sink filtration is worth installing
Under-sink filters deliver clean water exactly where you use it most: the kitchen faucet. That point-of-use placement means contaminants are removed right before the water reaches your glass, not somewhere upstream where pipes can reintroduce sediment.
- Removes chlorine, chemicals, and odor that make tap water taste flat
- Filtered water comes straight from a dedicated faucet, no pitchers or countertop units needed
- Fits neatly inside the cabinet, freeing up counter space entirely
- Filter cartridges are inexpensive and swappable without tools in most systems
- Targets specific contaminants based on the cartridge type you choose
For most city-water households, an under-sink carbon block system handles the majority of taste and odor concerns without any major plumbing work.
What tools and materials you need before you start
Gather everything before you cut a single pipe. Stopping mid-job to hunt for a fitting is how small drips become big problems.
- Pipe wrench and adjustable pliers (two wrenches total for two-handed tightening)
- Tubing cutter sized for your pipe material (copper, PEX, or CPVC)
- Teflon tape, high-density pink or white grade for water lines
- Pipe sealant for threaded fittings where tape alone is insufficient
- Shutoff valves (inlet and outlet) plus a bypass valve
- Filter housing, mounting bracket, and the correct cartridge for your system
- Deburring tool to clean cut pipe ends before connecting fittings
- Bucket and old towels for residual water in the line
- Drill if you need to run a new drain line for an RO or whole-house system
How to install an under-sink water filter step by step
Under-sink installation typically takes a couple of hours for a homeowner with basic plumbing experience.
- Locate the cold water supply line under the sink and turn off the supply valve. Open the faucet above to drain residual pressure.
- Drill a hole for the dedicated filtered-water faucet if your sink does not already have one. Most under-sink kits include a faucet and a 1-3/8" hole saw.
- Install the faucet through the new hole and tighten the mounting nut from below.
- Cut into the cold supply line and install a saddle valve or tee fitting to tap the supply. Use the deburring tool on cut ends.
- Mount the filter housing to the cabinet wall or floor using the included bracket. Position it so the cartridge can drop straight out during changes.
- Connect the inlet tubing from the supply tee to the filter housing inlet port, following the directional arrow on the housing.
- Run outlet tubing from the housing outlet to the faucet base. Keep tubing runs short and avoid kinks.
- Install the cartridge, hand-tighten the housing cap, and slowly open the supply valve. Check every connection for drips.
- Flush the filter by running the dedicated faucet for 5–10 minutes until water runs clear. New carbon cartridges release harmless carbon fines that need to clear before use.
Pro Tip: Double-check the flow direction arrow on the housing before tightening anything. Installing a cartridge backward crushes the media and restricts flow immediately, a mistake that is easy to make and annoying to undo once fittings are snug.
How to install a whole-house water filter step by step
Whole-house installation is a bigger commitment. Plan for 3–5 hours on a single-tank system with accessible pipe.
- Shut off the main water supply at the meter or main shutoff valve. Open the highest faucet in the house and the lowest to drain the lines fully before cutting anything.
- Choose the installation point on the main line after the meter and pressure regulator, before any branch lines, so every faucet in the house receives filtered water.
- Measure and mark the pipe section to remove. Account for the filter housing length plus fittings and valve clearances on both sides.
- Cut the pipe with a tubing cutter. Keep cuts square. Deburr both ends.
- Install shutoff valves on the inlet and outlet sides, then add a bypass valve between them. This three-valve bypass manifold lets you isolate the filter for cartridge changes without cutting water to the whole house.
- Mount the filter housing on a wall bracket at a comfortable working height. Confirm the inlet and outlet ports match the flow direction marked on the housing.
- Connect the housing to the valve assembly using appropriate fittings. Apply Teflon tape clockwise 5–6 wraps on every male thread. Use two wrenches on every connection.
- Slowly open the main shutoff and let the system pressurize. Watch every joint for 2–3 minutes before walking away.
- Bleed air from the lines by opening faucets throughout the house until flow is steady.
- Flush the new filter per the manufacturer’s instructions, typically 10–20 minutes of flow, before using the water for drinking or cooking.
Pro Tip: Add pressure gauges before and after the filter housing. When the downstream gauge reads noticeably lower than the upstream gauge, the cartridge is clogged and needs replacement. It takes the guesswork out of knowing when to change filters.
After-installation checks and ongoing maintenance
A clean install means nothing if the system is neglected six months later. Neglected filter replacement can allow bacterial growth inside the housing once protective chlorine levels drop below effective thresholds.
- Inspect all connections for drips within the first 24 hours and again after one week
- Replace sediment pre-filters every 3–6 months; carbon block cartridges every 6–12 months
- Monitor pressure gauges regularly; a significant drop across the filter signals a clogged cartridge
- Exercise bypass and shutoff valves every few months so they do not seize from disuse
- Sanitize filter housings annually with a dilute bleach solution, then flush thoroughly before reinstalling cartridges
- Clean faucet aerators if you notice reduced flow after a filter change; sediment dislodged during installation sometimes settles in aerator screens
Plumbing codes and safety rules you need to know
Local permit requirements vary by municipality, but most jurisdictions share common standards for water treatment installations. Skipping code compliance can void homeowner’s insurance and create liability.
- Check with your local building department before cutting into the main line; many municipalities require a permit and inspection for permanent connections
- Always shut off water and drain lines by opening the highest and lowest faucets before any pipe work
- Install a physical
to prevent contaminated wastewater from backflowing into the clean water supply; this is a code requirement in virtually every jurisdiction and skipping it can void your homeowner’s insurance
- Shutoff valves before and after the filter are required by most plumbing codes and are non-negotiable for safe maintenance
- Filters should carry NSF/ANSI certification to meet plumbing code standards for water treatment safety
- Avoid soldering or any electrical work unless you are qualified; UV systems and chemical injection pumps require a licensed professional
- Stick to manufacturer filter replacement schedules strictly; per CDC guidance, a neglected filter becomes a contamination risk rather than a protection
How to choose the right filtration system for your needs
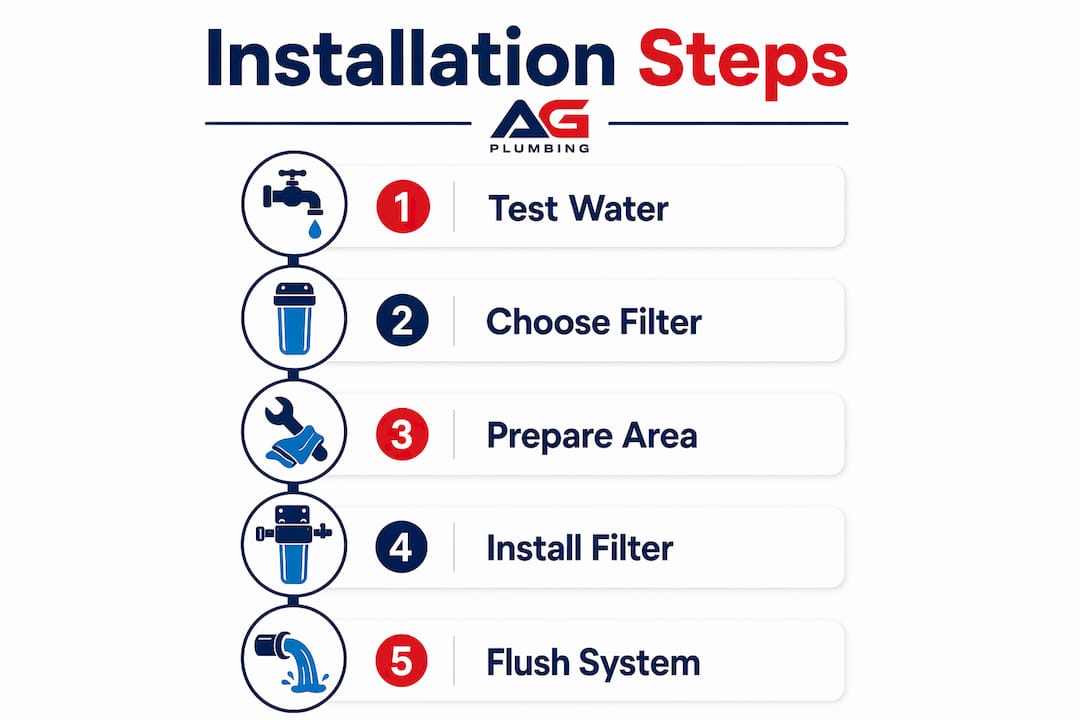
Start with a water test, not a product page. A professional lab test ($100–$300) identifies exactly which contaminants are present, so you buy a system that actually addresses your water. Home test kits cover basics like hardness, chlorine, and pH for under $50 and are a reasonable starting point.
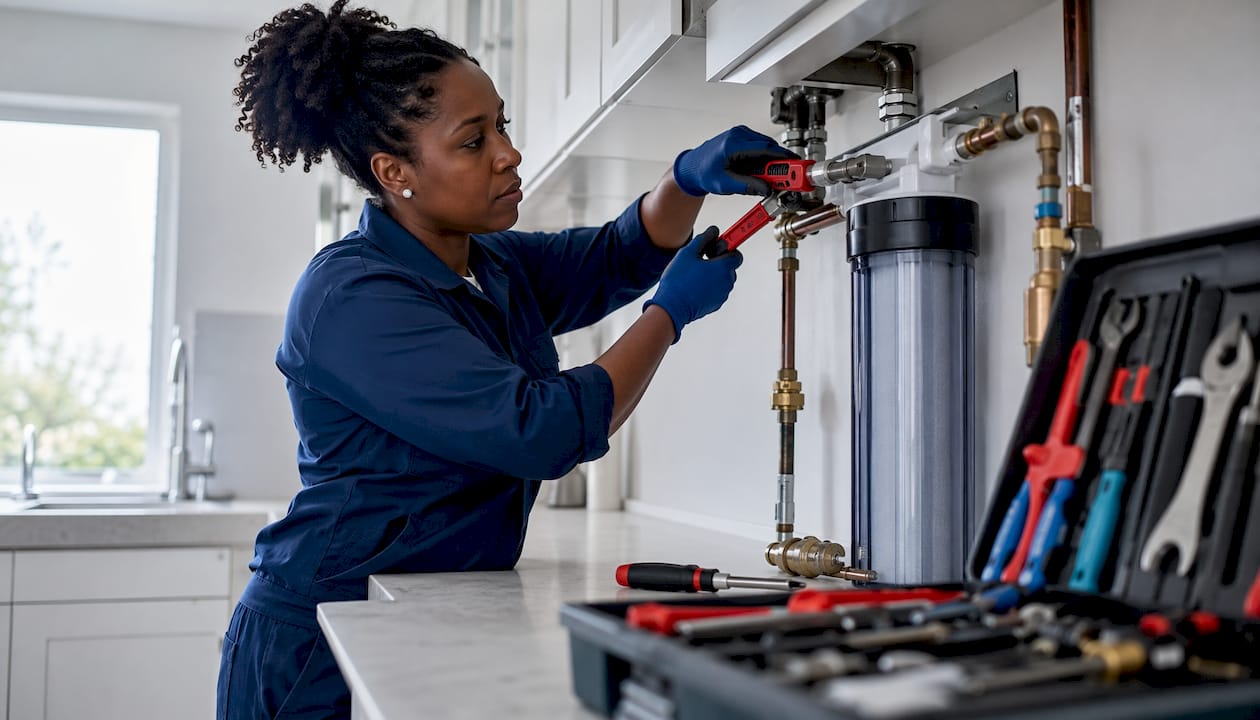
Match the filter media to your results. Activated carbon handles chlorine, taste, and odor well for most city water. Sediment filters protect downstream media from particles. KDF media targets heavy metals. Catalytic carbon addresses chloramines, which standard carbon cannot break down effectively.
Consider the scope: under-sink systems protect one faucet and cost less; whole-house systems protect every tap and appliance, including the water heater and shower. If your main concern is drinking water taste, an under-sink unit is the smarter spend. If your water test reveals sediment or contaminants affecting the whole home, a whole-house system is the right call.
Common installation mistakes to avoid
Most DIY filtration problems trace back to a handful of repeatable errors.
Wrong flow direction. Every filter housing has an inlet and outlet arrow. Reversing them crushes the cartridge media and kills flow immediately.
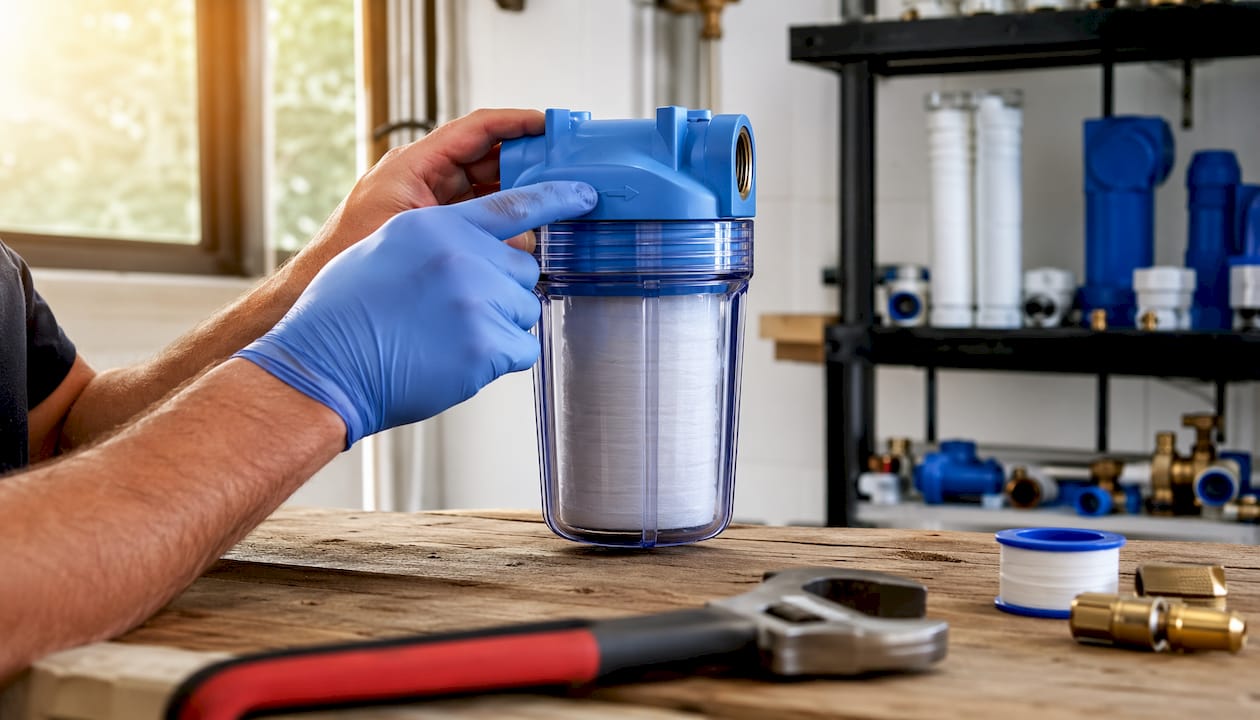
Under-tightened fittings. Hand-tight is never enough on pressurized water lines. Use two wrenches: one holds the fitting body, one tightens the connection. This prevents twisting the pipe and creating stress fractures that leak weeks later.
Skipping the drain line air gap. Connecting the drain line directly to the drain without a physical gap violates code and risks backflow contamination.
No bypass valve. Without a bypass, every filter change requires shutting off water to the entire house. A three-valve bypass manifold takes 20 extra minutes to install and saves that hassle for the life of the system.
Forgetting to flush. New carbon media releases harmless fines that taste terrible. Always flush per manufacturer instructions before using the filtered water.
Troubleshooting common problems after installation
Dripping fittings. Retighten with two wrenches. If the drip persists, disassemble, add Teflon tape, and reassemble. A fitting that drips after two attempts likely has a damaged thread or O-ring.
Low water pressure. Check whether the filter cartridge is new and properly seated. A clogged sediment pre-filter is the most common culprit. Also inspect faucet aerators, which trap debris dislodged during installation. For persistent pressure issues, verify that all shutoff valves are fully open.
Air spurting from faucets. Normal after installation. Open faucets throughout the house and let them run until flow is steady. Air trapped during the drain-and-refill cycle clears within a few minutes.
Cloudy or odd-tasting water. Almost always carbon fines from a new cartridge. Flush the system for 10–20 minutes. If cloudiness persists beyond that, check that the correct cartridge type is installed for your water chemistry.
How long does installation actually take?
Under-sink systems: 1–2 hours for a homeowner with basic plumbing skills, assuming no new faucet hole is needed. Add 30 minutes if you are drilling a new hole in a stainless or porcelain sink.
Whole-house single-tank systems usually require several hours on an accessible main line with modern pipe. More complex setups involving multiple tanks, new drain runs, or tight crawlspace access can take much longer. According to guidance from This Old House plumbing expert Richard Trethewey, complex multi-stage systems or any installation involving electrical UV components should be handled by a licensed plumber.
If your main line is copper requiring soldering, old galvanized pipe, or located behind finished walls, budget time for a professional rather than a DIY afternoon.
Ag-plumbing handles the installs you should not DIY
Some water filtration jobs are genuinely DIY-friendly. Others, like cutting into a copper main line, running new drain lines through walls, or adding a UV system, are the jobs where a mistake costs far more than the labor you saved.

Ag-plumbing has served Pittsburgh, PA homeowners for 30 years, handling exactly the installations where experience matters: point-of-entry whole-house systems, code-compliant bypass manifolds, and setups that require a permit and inspection. The team stays current on local plumbing codes so your installation passes inspection and your homeowner’s insurance stays intact. If you have read this guide and decided the job is bigger than a Saturday afternoon project, get professional help from a team that has done it hundreds of times. No guessing on fittings, no permit surprises, no callbacks for drips.
FAQ
How long does an under-sink filter installation take?
Most under-sink systems take 1–2 hours with basic plumbing skills. Drilling a new faucet hole adds roughly 30 minutes.
Do I need a permit to install a whole-house water filter?
Many municipalities require a permit for any permanent modification to the main water line. Check with your local building department before starting.
How often should I replace water filter cartridges?
Sediment pre-filters typically need replacement every 3–6 months; carbon block cartridges every 6–12 months, per manufacturer guidelines and CDC maintenance recommendations.
What is an air gap and why does it matter?
An air gap is a physical space between your drain line and the drain it empties into. It is required by plumbing code in virtually every jurisdiction to prevent contaminated wastewater from backflowing into your clean water supply.
When should I hire a plumber instead of doing it myself?
Hire a licensed plumber when your main line requires soldering, when the access point is cramped or behind finished walls, or when your system includes UV or electrical components. Ag-plumbing handles these installs for Pittsburgh-area homeowners.
Key Takeaways
A successful water filtration installation depends on proper valve placement, correct flow direction, and consistent cartridge maintenance from day one.
| Point | Details |
|---|---|
| Drain lines fully before cutting | Open the highest and lowest faucets to release all pressure before any pipe work. |
| Bypass valve is non-negotiable | A three-valve manifold lets you change cartridges without shutting off water to the whole house. |
| Filter replacement schedule | Change sediment filters every 3–6 months and carbon blocks every 6–12 months to prevent bacterial risk. |
| Check local permit requirements | Many municipalities require a permit for permanent main-line connections; confirm before starting. |
| Ag-plumbing for complex installs | Ag-plumbing brings 30 years of Pittsburgh plumbing experience to whole-house and code-required installations. |
Recommended
- How to clean water lines: Pittsburgh homeowner guide – AG-Plumbing
- Toilet Installation Guide for Homeowners: 2026 Edition – AG-Plumbing
- Install plumbing fixtures: Pittsburgh homeowner guide – AG-Plumbing
- Types of Water Heaters: A 2026 Guide for Homeowners – AG-Plumbing
