
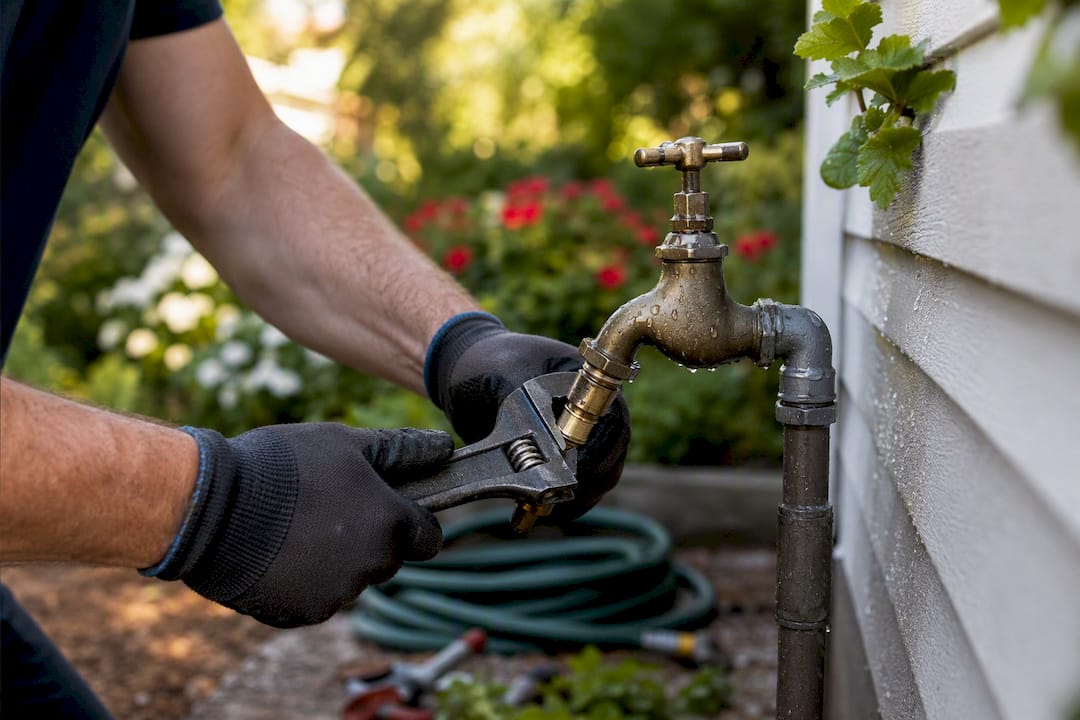
Shut off the water to the fixture first, then figure out where the drip is coming from. If water drips from the spout after you close the valve, the stem washer inside is worn and needs replacing. If water seeps around the handle when the bib is running, the packing nut or O-ring behind the handle has loosened or worn out. If the leak only shows up where the hose screws on, the hose washer or vacuum breaker is the culprit.
Most of these repairs cost less than a cup of coffee and take under an hour. A stem washer runs $1 to $5, and a full stem assembly rarely tops $30. Calling a plumber for a full replacement typically runs $120 to $350 depending on the fixture type and how hard it is to access.
Stop and call a professional if you see moisture on an interior wall near the bib, if your home has no accessible shutoff valve for that line, or if the stem is seized and won’t budge without force. Forcing a stuck part is how a $5 repair turns into a $2,000 drywall and mold problem.
- Spout drips after shutoff: replace the stem washer
- Handle leaks while running: tighten or replace the packing nut/O-ring
- Leak at the hose connection: replace the hose washer or vacuum breaker
- No shutoff, wall moisture, or seized stem: call a plumber
TL;DR:
- Most hose bib leaks are caused by worn stem washers, degraded packing nuts, or cracked hose washers, and can be fixed with parts costing under $30.
- Proper diagnosis by observing where water leaks—spout, handle, or hose connection—prevents unnecessary part replacements and guides effective repair.
- Repairing a frost-free bib or seized stem without professional help can cause property damage, especially if the fixture is cracked or inaccessible.
- Always turn off the interior shutoff valve and drain the line before disassembly to avoid water damage and reduce repair time.
- When in doubt, or if moisture appears inside the wall, a professional inspection can prevent costly wall repairs and ensure long-term leak prevention.
Table of Contents
- Why Is My Hose Bib Leaking in the First Place?
- Step-by-Step Repairs for Every Type of Hose Bib Leak
- Tools, Parts, and What They’ll Cost You
- When Should You Replace the Hose Bib Instead of Repairing It?
- Winterizing Your Hose Bib So It Doesn’t Leak Next Year
- Key Takeaways
- The Real Skill Isn’t the Repair, It’s the Diagnosis
- Sources
- FAQ
Why Is My Hose Bib Leaking in the First Place?
A leaking hose bib almost always comes down to one of three worn parts, and where the water shows up tells you which one. This is the fastest diagnostic shortcut homeowners skip, and skipping it is why so many people replace the wrong part twice.
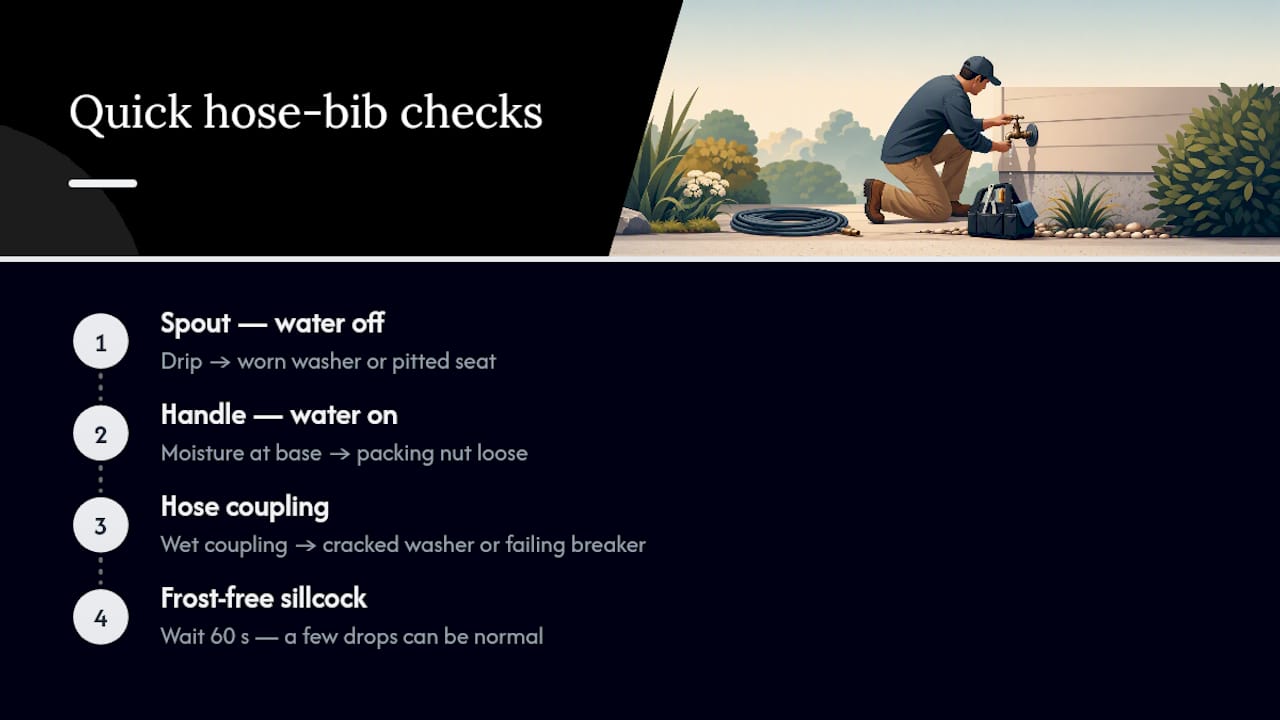
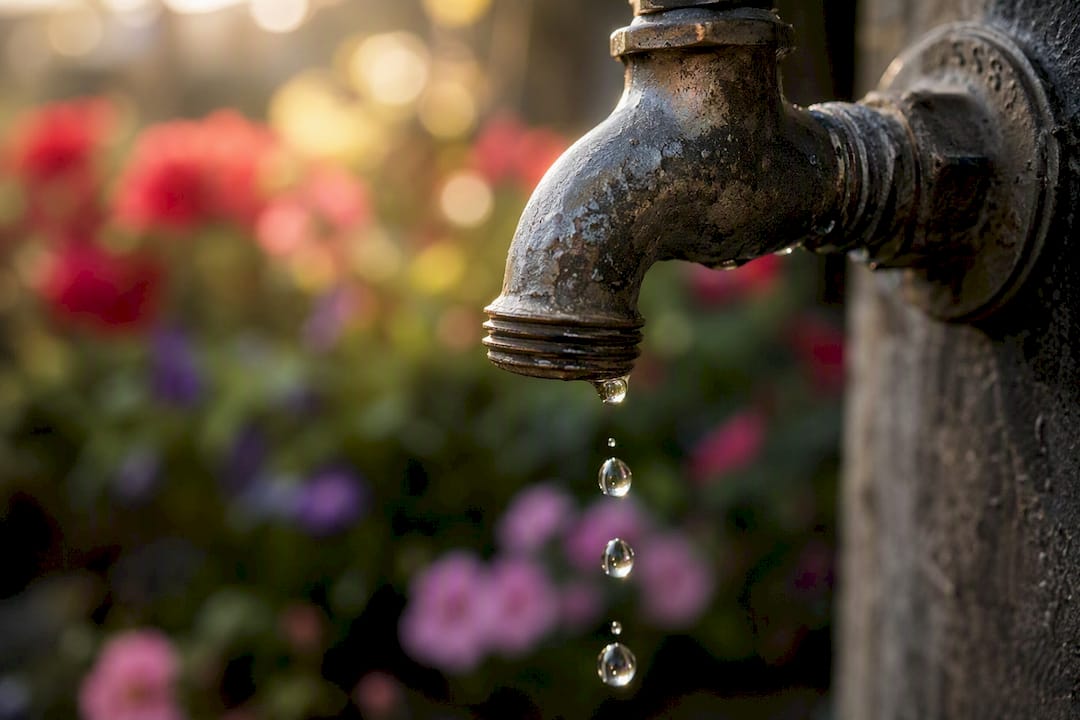
1. Check the spout while the water is off. Turn the handle fully closed and watch the spout for 10 to 15 seconds. A steady drip means the rubber seat washer inside the stem has worn out or the valve seat is pitted, the single most common cause of a dripping outdoor faucet.
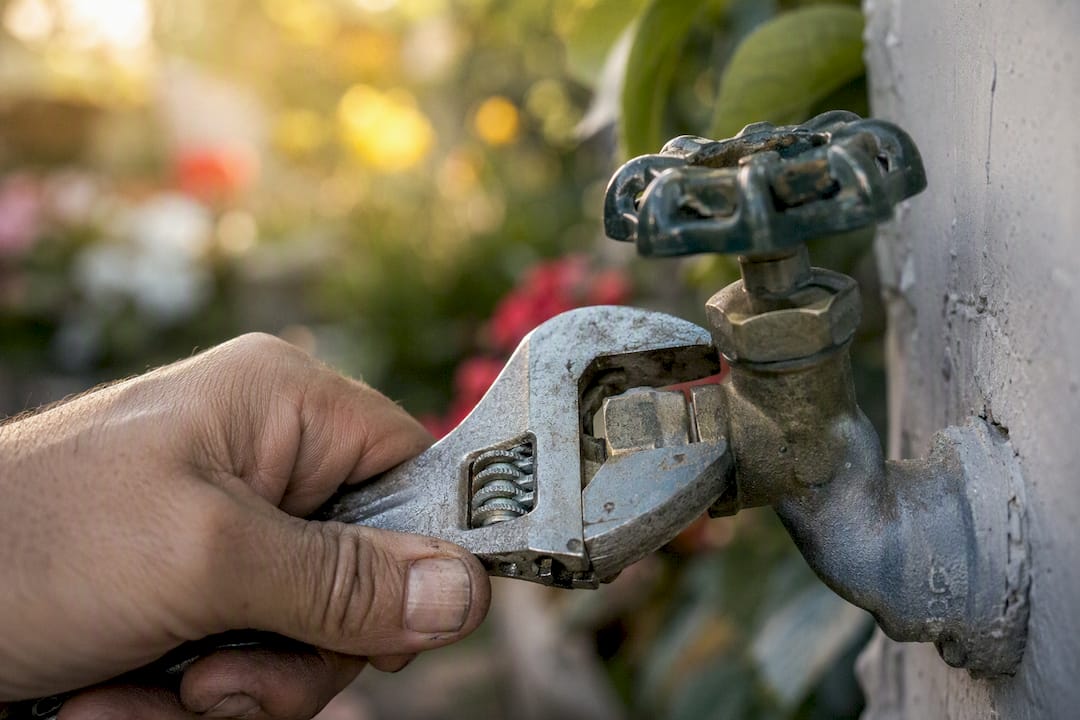
2. Check the handle while the water is running. Turn the bib on and look at the base of the handle. Moisture there points to a loose or degraded packing nut, and tightening it a quarter turn clockwise often solves the problem instantly.
3. Check the hose connection with the hose attached and running. A wet coupling almost always means a cracked hose washer or a failing vacuum breaker, not a problem with the bib itself.
4. Check for a frost-free sillcock false alarm. If you have a frost-free model, a few drops after you shut it off are normal. It takes a moment for the long internal stem to fully drain. Give it 60 seconds before assuming you have a leak.
Four situations mean you should stop testing and call a plumber instead of continuing to diagnose: visible moisture or staining inside a wall near the bib, no interior shutoff valve you can find, a stem that won’t turn even with penetrating oil, or visible cracks and corrosion in the bib’s body.
Pro Tip: Before you touch a wrench, take a photo of the leak location and any part numbers stamped on the fixture. If you end up calling a plumber, that photo saves a diagnostic trip and speeds up the repair.
Step-by-Step Repairs for Every Type of Hose Bib Leak
Once you know where the leak is coming from, the actual repair is usually mechanical, not technical. Here’s how to handle each scenario.
Before you touch anything
- Find the interior shutoff valve for that hose bib, usually in the basement or crawlspace directly behind the exterior wall. If there isn’t a dedicated valve, you’ll need to shut off the home’s main water supply.
- Turn the valve clockwise until it stops, then open the outdoor spigot fully to drain any water trapped in the line.
- Lay down a towel or bucket under the work area. Water left in the pipe will drain out when you disassemble the stem.
- Gather your tools before you start so you’re not making a mid-repair trip to the hardware store.
Repair A: Spout drip on a standard hose bib
- Remove the handle screw (Phillips or flathead) and pull the handle off.
- Loosen the packing nut behind the handle with an adjustable wrench, then unscrew the entire stem assembly by turning it counterclockwise.
- At the end of the stem, you’ll find a small rubber washer held by a brass screw. Remove the screw and swap the washer for an exact match in size and thickness.
- Inspect the valve seat inside the housing while you’re in there. If it’s pitted or rough, a $10 reseating tool can resurface it; if it’s badly corroded, replacing the whole stem is easier than reseating.
- Reassemble in reverse order and hand-tighten the packing nut before giving it a final quarter turn with the wrench.
A word of caution: using the wrong size washer is the single most common reason this repair fails. Bring the old washer to the store, or buy a multi-pack of assorted sizes rather than guessing.
Repair B: Handle leak (packing nut or O-ring)
- Try the simple fix first. With the water back on, tighten the packing nut a quarter turn clockwise using an adjustable wrench.
- If the drip continues, shut the water off again, remove the handle, and back the packing nut off completely.
- Slide off the old packing material or O-ring. It often looks flattened, cracked, or brittle.
- Wrap new packing material around the stem or seat a new O-ring in its groove, then thread the nut back on.
- Tighten to hand-tight, then add a quarter turn. Overtightening here is a common mistake. It doesn’t stop leaks faster and it strips the threads over time.
Repair C: Frost-free sillcock stem replacement
Frost-free bibs work differently because the actual shutoff valve sits 8 to 12 inches back inside the wall, not at the spout. That long stem is also why this repair demands more patience.
- Shut off the interior valve and open the spigot fully to let the line drain completely. This can take a minute or two longer than a standard bib.
- Remove the packing nut and handle exactly as you would on a standard bib.
- Grip the stem firmly and pull it straight out in one smooth, steady motion. Do not twist or yank it.
- Replace the washer at the tip, or if the whole stem shows wear or corrosion, replace the entire stem assembly, which is inexpensive and often simpler than trying to salvage an old one.
- If the stem will not slide out with firm, steady pressure, stop. A seized frost-free stem that gets forced can crack the pipe fitting inside the wall, turning a $15 part into a wall-opening repair. This is the point where calling a plumber makes financial sense.
Repair D: Hose connection and vacuum breaker
- Unscrew the garden hose and inspect the rubber hose washer inside the fitting. Replace it if it’s flattened or missing.
- Check the vacuum breaker cap on top of the spout for cracks or a stuck check valve. These are a $5 to $15 part and thread off by hand or with pliers.
- Reattach the hose and check the connection under full pressure.
Testing your repair
Turn the interior shutoff valve slowly, not all at once. A sudden blast of pressure can dislodge a fresh washer before it seats properly. Let the bib run for a minute, check every joint you touched, and confirm the spout stops dripping completely once closed.
Pro Tip: Run the repaired bib at full pressure for a full two minutes before you consider the job done. Slow leaks often only show up once the system is back to normal pressure, not during the first few seconds.
Tools, Parts, and What They’ll Cost You
You can finish almost any hose bib repair with tools already in a basic homeowner toolkit, plus one trip for parts.
Tools you’ll need:
- Adjustable wrench (for the packing nut and stem)
- Needle-nose pliers (for stubborn washers and vacuum breaker caps)
- Phillips or flathead screwdriver (for the handle screw)
- Packing material or replacement O-ring
- Penetrating oil, for stems that haven’t moved in years
- A reseating tool, optional, only needed if the valve seat is pitted
Typical parts costs:
- Stem washer: $1 to $5
- Full stem assembly: $10 to $30
- Packing material or O-ring: $2 to $10
- Vacuum breaker: $5 to $15
- Complete frost-free hose bib: $15 to $40
Compare that against professional replacement, which averages $120 to $350 for a full swap depending on whether the plumber needs to access tight crawlspace piping. When your parts bill starts climbing past $30 and you’re still not confident in the fix, that gap between DIY and professional cost gets a lot smaller.
Big-box hardware stores carry the common sizes, but a dedicated plumbing supply store is worth the extra stop for older or oddball fixtures. Bring the old washer or the stem itself to match thread size exactly. Guessing at sizing is the number one reason homeowners make two trips instead of one, according to a partner cost breakdown for faucet replacement budgets.
When Should You Replace the Hose Bib Instead of Repairing It?
Some leaks aren’t worth chasing with another washer. Here’s when replacement is the smarter call.
- The body of the bib is cracked or split, not just the internal washer.
- You’ve replaced the washer and it still leaks within a few weeks.
- Water is leaking backward into the wall cavity instead of out the spout.
- The metal shows heavy corrosion, pitting, or white mineral buildup you can’t clean off.
- The handle wobbles loosely on the stem even after tightening.
If you live somewhere winters dip below freezing, upgrading to a frost-free sillcock during that replacement is worth the small price difference. These bibs place the actual shutoff valve deep inside the heated wall cavity instead of at the exterior spout, so there’s no standing water in the exposed section to freeze and split the pipe. Just make sure the stem length matches your wall thickness. A stem that’s too short leaves the valve outside the heated zone, defeating the entire purpose.
One more replacement trigger that surprises a lot of homeowners: if your hose bib dates to before 1986 and you use it to fill a kids’ pool, water pets, or irrigate a vegetable garden, replace it. Older fixtures commonly contain lead in the body or solder, and it’s not worth the risk for a $20 part.
As a rule of thumb, if the repair parts and your time start approaching half of what a new bib costs installed, just replace it. You’ll get a fresh warranty and stop the cycle of repeat repairs.
Winterizing Your Hose Bib So It Doesn’t Leak Next Year
Most leaking hose bibs trace back to one of two habits: forgetting to disconnect the hose in fall, or never draining the line before the first freeze. Both are five-minute fixes.
- Disconnect every hose from every outdoor bib before the first hard freeze in your area, no exceptions.
- If you have an interior shutoff valve for that line, close it and open the outdoor spigot to drain any remaining water.
- Slide an insulated foam cover over the spout for extra protection, especially on older, non-frost-free fixtures.
- If you don’t have an interior isolation valve, this is a good winter project to add one. It gives you full control over that line year-round.
- Each spring, test the bib for drips before you hook up a hose for the season, and replace a cracked vacuum breaker or worn packing before it becomes a bigger repair.
Pro Tip: A hose left attached all winter is the top cause of frost-free sillcock failures. Trapped water can’t drain out the spout like it’s designed to, so it freezes inside the stem and cracks the pipe from the inside, a repair that almost always means opening the wall.
For a deeper seasonal walkthrough, our cold climate outdoor plumbing guide covers fixture selection and shutoff valve setups specific to freeze-prone regions.
Why Trust This Guide
AG Heating, Cooling & Plumbing has spent 30 years fixing exactly these problems for homeowners throughout Pittsburgh, PA, and the surrounding area. The repair sequence above reflects the same diagnostic order our technicians use on service calls, not a generic checklist pulled from a manual.
A few situations call for a professional rather than a second trip to the hardware store:
- Moisture appears inside a wall or ceiling near the hose bib.
- You can’t locate or access an interior shutoff valve for that line.
- The repair requires soldering, cutting into supply piping, or altering the wall penetration.
If any of those apply, our guide on why water leaks matter breaks down the real cost of letting a small leak sit versus calling for a same-visit fix.
Key Takeaways
Fixing a leaking hose bib comes down to correctly matching the drip location (spout, handle, or hose connection) to the right $1 to $30 part before you start disassembly.
| Point | Details |
|---|---|
| Diagnose before you disassemble | Spout drips mean a worn stem washer; handle drips mean a bad packing nut or O-ring. |
| Most repairs are cheap and fast | Parts run $1 to $30 and the job typically takes under an hour. |
| Never force a seized stem | Forcing a frost-free stem can crack interior piping and turn a small fix into a wall repair. |
| Replace, don’t repeat-repair | If a new washer doesn’t stop the leak, or the body is cracked, replace the whole bib instead. |
| Call AG Plumbing for the hard cases | AG Plumbing handles inspection, repair, and replacement when there’s wall moisture, no shutoff, or a seized fixture. |
The Real Skill Isn’t the Repair, It’s the Diagnosis
Every homeowner guide to a leaking hose bib focuses on the wrench work: remove the stem, swap the washer, done. That’s the easy part. What separates a five-minute fix from a repeat visit is spending 60 seconds actually watching where the water comes from before you touch a tool.
The conventional advice oversimplifies frost-free bibs the most. Plenty of guides treat them like a standard bib with a longer handle, when the entire mechanism, where the valve sits, how it drains, why forcing the stem is dangerous, works on a different principle. That gap in understanding is exactly what turns a $15 part into an opened wall.
If there’s one thing worth prioritizing above all the step-by-step instructions, it’s this: know when to stop. A stem that won’t budge, a shutoff valve you can’t find, or moisture where it shouldn’t be are not problems to push through with more force or more penetrating oil. They’re signals that the job has moved past DIY territory, and recognizing that early is what actually saves money.
— Maayan
Get Professional Help When the DIY Fix Isn’t Enough
Sometimes the stem won’t budge, the shutoff valve is missing, or you’d simply rather have someone else handle it, and that’s a reasonable call, not a failure. AG Plumbing has spent 30 years diagnosing and repairing exactly these outdoor fixture problems for homeowners across Pittsburgh, PA, so you’re not paying for a learning curve on your own house.

Bring us in if you’re seeing moisture inside a wall near the bib, if there’s no accessible interior shutoff, or if a stem is seized tight and you don’t want to risk cracking a pipe behind the siding. Our technicians carry the parts for both standard and frost-free fixtures, so most jobs get resolved in a single visit rather than a diagnostic trip followed by a repair trip. If you’d rather skip the wrench entirely, request a plumbing repair visit and we’ll handle the inspection, the fix, and the frost-free upgrade if your climate calls for it.
Sources
The repair steps, cost ranges, and prevention advice above draw from established plumbing references:
- How to Fix a Leaking Hose Bib — FixUpFirst
- How to Fix a Leaky Outdoor Faucet — WikiHow
- How Much Does It Cost to Replace a Hose Bib — HomeGuide
Always check your specific fixture’s manufacturer instructions for part numbers, since stem lengths and thread sizes vary between brands.
FAQ
How Much Does It Cost to Fix a Leaking Hose Bib?
DIY repairs typically cost $1 to $30 in parts and take under an hour. Professional replacement runs $120 to $350 depending on the fixture type and how accessible the plumbing is.
Do You Need a Plumber to Replace an Outdoor Spigot?
Not for a straightforward washer or packing swap, but you should call one if there’s no accessible shutoff valve, the stem is seized, or you see moisture inside a nearby wall. AG Plumbing handles both quick repairs and full replacements when a DIY fix isn’t practical.
Why Does My Spigot Drip Even When I Turn It Off?
A drip after shutoff almost always means the stem washer or valve seat has worn out and needs replacing. On frost-free models, a few drops in the first minute after closing are normal while the long internal stem drains.
How Do You Replace a Gasket in a Hose Bib?
Shut off the water, remove the handle and packing nut, then pull out the stem to access the rubber washer or O-ring at its tip. Swap it for an exact match in size, reassemble, and tighten the packing nut to hand-tight plus a quarter turn before testing.
Recommended
- Fix dripping faucets: save water and money fast – AG-Plumbing
- Cost-saving plumbing tips for Pittsburgh homeowners – AG-Plumbing
- How to Fix a Leaking Sink: A Homeowner’s Step-by-Step Guide – AG-Plumbing
- How to Stop a Dripping Faucet: Fix It Fast – AG-Plumbing
