
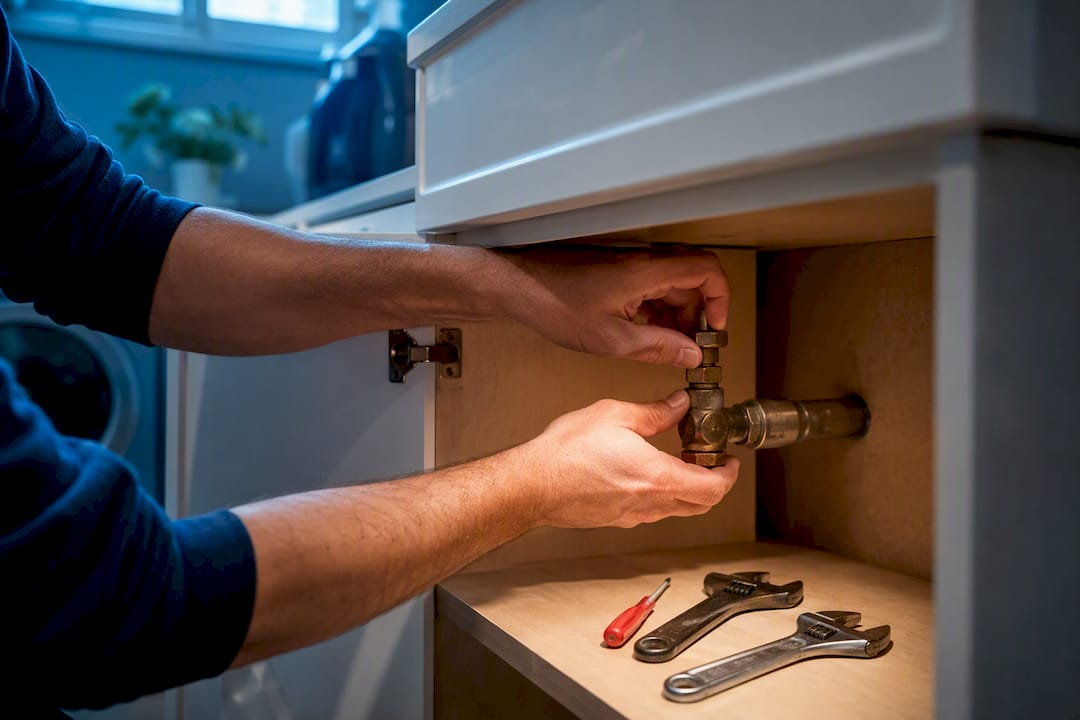
Shut the leaking valve, or the main supply if it won’t isolate, then dry the area and check again. Most stem or handle leaks stop once you tighten the packing nut a fraction of a turn or swap out the packing washer. If the valve is corroded, won’t turn, or still leaks after a repair attempt, stop and call a plumber rather than forcing it.
TL;DR:
- Tightening the packing nut by a small fraction is the quickest fix and can often stop a stem leak without further disassembly.
- Replacing worn packing material or washers typically restores valve function and is accessible for most homeowners, costing less than a full valve replacement.
- Signs of corrosion, such as green oxidation or a handle that won’t turn, indicate the valve likely needs replacing rather than rebuilding.
- A valve showing early signs of stiffness or corrosion should be addressed before failure, ideally by inspecting and maintaining shutoff points proactively.
- If repairs fail or the valve is seized, corrosion is severe, or leaks persist, calling a professional is recommended for proper diagnosis and replacement.
Table of Contents
- What the leak location tells you about the problem
- Tools, materials, and safety steps before you start
- Try tightening the packing nut first
- How to rebuild the valve with a new washer or packing
- When it’s time to replace the whole valve
- How to verify your repair actually worked
- When to stop and call a professional
- What thirty years of service calls teaches about old valves
- The DIY workflow that actually holds up
- Get a professional fix without the trial and error
- Where these repair steps and standards come from
- Sources
- FAQ
What the leak location tells you about the problem
Where the water shows up usually points straight to the cause. A drip from the handle or stem area, moisture pooling around the valve base, or green oxidation on brass fittings are the three signs worth checking first, and each one means something different.
Isolate the source before you touch a wrench. Close the fixture’s own supply valve if there is one downstream. If the leak stops, the problem is in the fixture line, not the shutoff itself. If water keeps coming, the valve or the connection behind it is the culprit.
- A drip at the stem or handle almost always means worn packing material inside the valve.
- Moisture at the valve body or under a nut usually points to a loose or failed connection, not the stem.
- Green or white crust on brass, as This Old House notes, signals a slow leak that has been running long enough to corrode the metal, often a sign the valve needs replacing rather than rebuilding.
For a broader rundown of what to check before you start, this leak detection guide walks through ten quick tests.
Tools, materials, and safety steps before you start
Gather everything before you shut the water off. You will want two adjustable wrenches, slip-joint pliers, emery cloth, a flathead screwdriver, a bucket and towels, plumber’s grease, Teflon packing string, and a replacement washer sized to your valve.
- Relieve pressure first by opening a downstream faucet, a step Portland’s water bureau recommends before any valve disassembly.
- Protect nearby finishes with towels and keep a bucket under the valve for drips.
- Wear gloves and eye protection, especially when working near old brass fittings that can have sharp corrosion.
Minor fixture-level repairs typically need no permit, but replacing a valve on the main line or at the meter can require sign-off from your local building authority. Check before you cut into that section.
Pro Tip: Take a photo of the valve and its connections before you disassemble anything, so reassembly is faster if you get interrupted.
Try tightening the packing nut first
This is the fastest fix and the one worth trying before anything else. The packing nut sits just below the handle, and a small adjustment often solves a stem leak completely.
- Shut the fixture’s supply or the main line, then open a faucet downstream to relieve pressure.
- Locate the packing nut directly under the handle, the hexagonal fitting that holds the stem in place.
- Hold the valve body steady with one wrench while turning the packing nut clockwise with the second wrench.
- Turn it a small fraction at a time rather than cranking it down in one motion.
- Turn the water back on slowly and wrap a dry towel around the nut to check for moisture.
- If it still weeps, give it another small turn and test again.
Tightening the packing nut a small fraction of a turn usually stops a stem leak without any further disassembly, according to Family Handyman. That small range matters because over-tightening can crack the valve body or crush the washer inside, turning a simple drip into a bigger problem.
Using two wrenches, one to hold the body and one to turn the nut, keeps you from twisting the whole valve assembly or stressing the pipe connection behind it. If a quarter turn does not stop the leak, stop tightening and move to a rebuild instead of pushing further.
How to rebuild the valve with a new washer or packing
When tightening does not work, the packing material inside has likely worn out and needs replacing. This takes more time but is still a fixture-level repair most homeowners can handle.
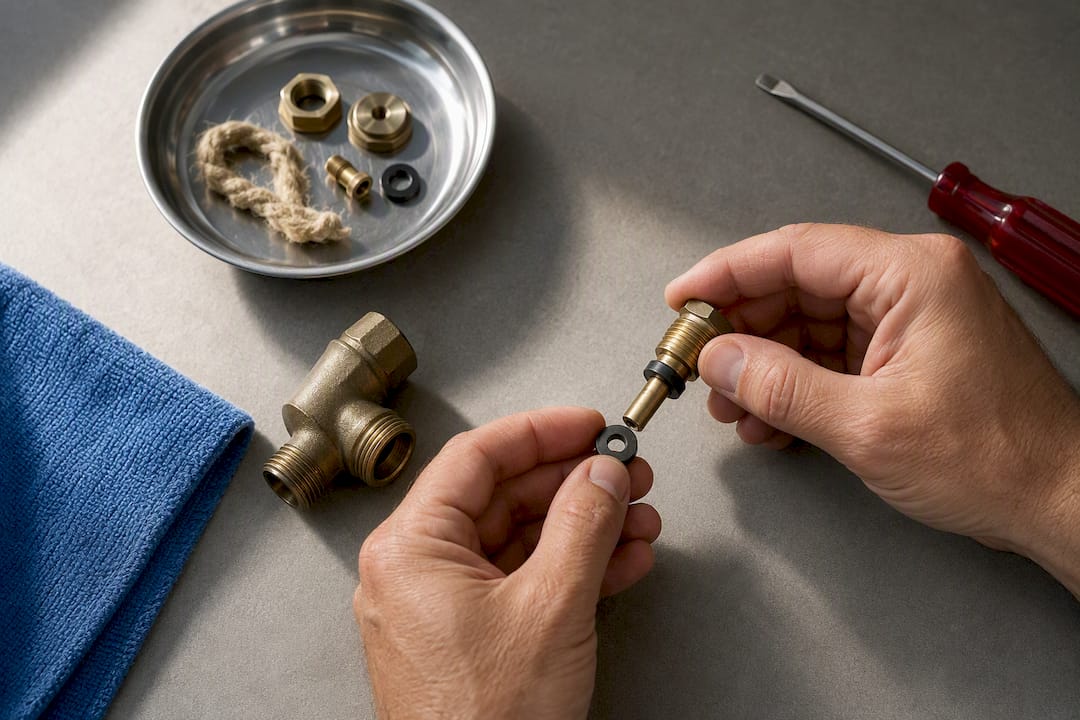
- Shut the water fully and drain the downstream line, then remove the handle and unscrew the packing nut, keeping track of the order of parts.
- Slide out the stem, inspect it and the seat for pitting or damage, and clean off any residue with emery cloth. Remove the old washer or packing string from the base of the stem.
- Install a new washer sized to match the old one, or wrap fresh Teflon packing around the stem in the same direction it was wound. Coat the threads lightly with plumber’s grease, reassemble in reverse order, and turn the water back on slowly.
Pro Tip: Buy a rebuild kit that includes several washer sizes so you are not stuck mid-repair if the stock size does not match.
A rebuild kit costs far less than a new valve and can restore full function to a fixture-level valve in under two hours for most homeowners.
When it’s time to replace the whole valve
Some valves are past saving. Corrosion around the body, a pitted or damaged seat, a leak that keeps returning after a rebuild, or a handle that will not turn at all are all signs a rebuild will not hold.
You have several replacement options depending on the pipe and your comfort level:
- Compression valves are the simplest swap: unscrew the compression nut, slide the old valve off, and thread on the new one against a clean pipe end.
- Sweat, or soldered, valves require cutting the old joint, cleaning the pipe with emery cloth, and soldering the replacement, which calls for more plumbing experience.
- Push-fit valves skip soldering entirely and press onto a clean, round pipe end, making them one of the fastest options for a DIY swap.
- Quarter-turn ball valves are a common long-term upgrade because they rarely seize or leak the way older gate valves eventually do.
Whichever type you choose, clean the pipe end thoroughly, confirm the valve size matches your pipe diameter, and follow the manufacturer’s torque guidance rather than tightening by feel. Push-fit and push-on ball valves save time and avoid soldering, but check the stub-out length and the condition of the tubing before committing to that option, since a worn or out-of-round pipe end will not seal properly. After installation, turn the water on slowly and watch the new connection under light pressure before restoring full flow.
How to verify your repair actually worked
Turn the water back on slowly rather than all at once, and keep a dry towel handy to catch any moisture the moment it appears. Check the repair again after a few hours, since some slow leaks only show up once the pipe has been under full pressure for a while.
- If the leak continues, re-check the packing nut for the correct tightness before assuming the worst.
- Inspect the stem and seat for damage you may have missed the first time.
- Confirm every connection, including the supply line fittings, is snug and square.
Overtightening remains the most common mistake in this whole process. It can crack the valve body or crush the packing washer, which is worse than the original leak, a risk Family Handyman flags directly.
When to stop and call a professional
Some jobs are not worth the risk of doing yourself. Call a plumber if the valve is on the main line or at the meter, if it is seized or will not turn at all, if you see corrosion or damage on the surrounding pipe, or if a leak keeps coming back after you have tried a rebuild.
- Meter-side and some main-valve replacements commonly require a local permit, so confirm with your building authority before starting.
- Cost depends on how accessible the valve is, whether the pipe needs to be cut and soldered, and whether the job turns into a small repiping project.
- A professional will also pressure-test the finished work and confirm it meets local code, something worth checking against general plumbing requirements if you want the technical reference.
For a broader look at where main shutoffs are typically located and why they matter, see this homeowner’s safety guide.
What thirty years of service calls teaches about old valves
A company with decades of experience working on aging plumbing systems shows a pattern: a valve that has already needed one rebuild is a candidate for full replacement, not a second rebuild. Old gate-style shutoffs tend to fail again once their packing has been disturbed, which is why many plumbers favor swapping them for quarter-turn ball valves the first time a real repair is needed.
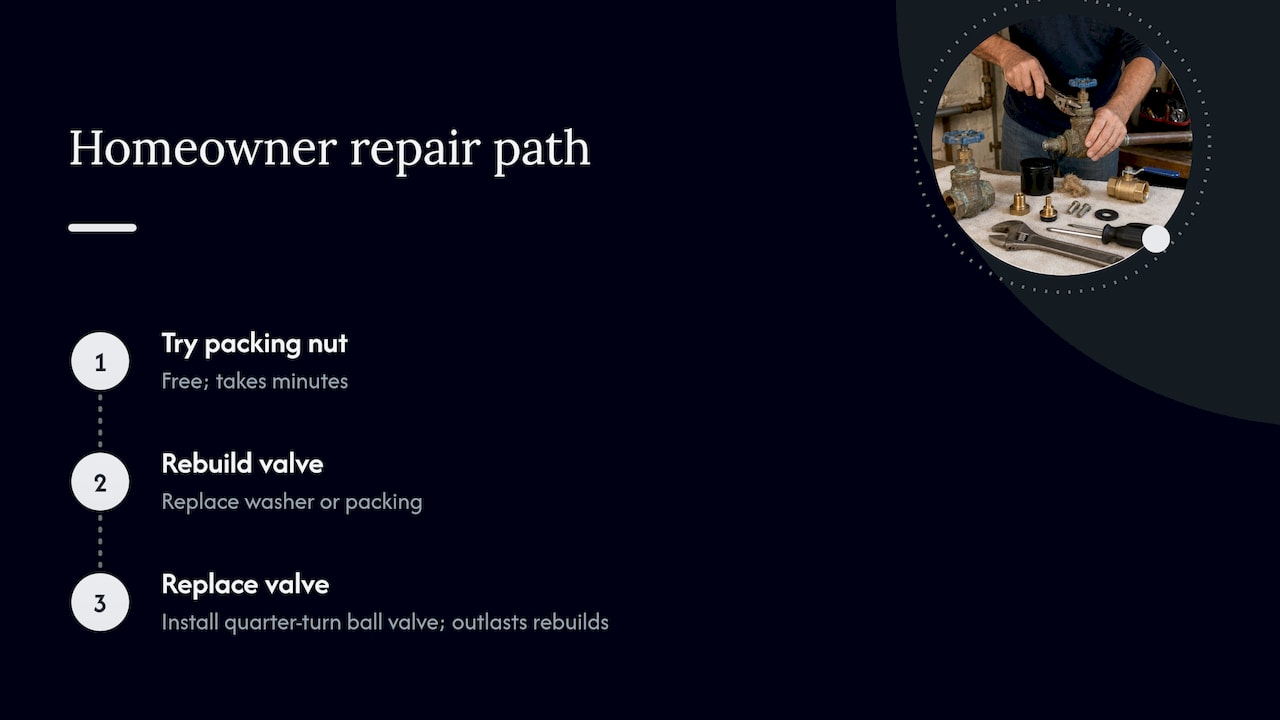
The practical order still stands for homeowners tackling this themselves. Try the packing-nut fix first since it costs nothing and takes minutes. Move to a rebuild if that does not hold. Replace the valve outright once corrosion, seizing, or repeat leaks show up, because a ball valve installed once tends to outlast several rebuilds of an old gate valve.
The DIY workflow that actually holds up
Most guides on this topic treat every leaking valve the same way: tighten it, and if that fails, replace it. That skips a step that saves homeowners real money. A packing rebuild, using a new washer or fresh Teflon string, solves a surprising number of leaks that tightening alone does not fix, and it costs a fraction of a full valve swap.
The bigger blind spot is timing. People tend to wait until a valve is actively dripping before they touch it, but a valve that is stiff, slow to turn, or slightly green at the base is already telling you it is close to failing. Catching that earlier, before you actually need to shut off water in an emergency, is worth more than any repair technique.
If there is one thing to prioritize, it is knowing your valve types and locations before something goes wrong, not during the leak itself. A five-minute walk-through of your main and fixture shutoffs now beats troubleshooting them under pressure, literally, later.
— Maayan
Get a professional fix without the trial and error
Not every valve is worth rebuilding twice. When corrosion has set in, a valve won’t budge, or a repair keeps failing, a professional plumber can diagnose the actual cause and replace the valve correctly the first time, including main and fixture-level shutoffs, with the finished work pressure-tested before the job is closed out.

If you’re past the point of DIY or just want it done once and done right, our plumbing repair team can take it from here.
Where these repair steps and standards come from
The step-by-step procedures above draw on published guidance from This Old House and Family Handyman, municipal safety instructions from Portland’s water bureau, and general code references at up.codes. Homeowners tackling larger repairs may also want to review contractor insurance basics through Hettler Insurance Agency or restoration options through Complete Property Restorations if water damage has already occurred.
Sources
- Fixing a water shutoff valve leak | Family Handyman
- How to fix a leaky shut-off valve | This Old House
- Portland
FAQ
How much does it cost to have a plumber replace a shut-off valve?
Cost depends on the valve’s accessibility, whether the pipe needs to be cut and soldered, and local labor rates, so there is no single published figure that applies everywhere. AG Plumbing quotes shutoff valve replacement after an in-person diagnosis through its plumbing repair service.
Should I be worried about a leaky valve?
A small stem leak is usually a quick fix and not an emergency, but a leak with green oxidation or corrosion around the valve body means water has been escaping for a while and the valve may be close to failing. Ignoring either type risks water damage to the surrounding cabinet or floor over time.
What are the common problems with water shut off valves?
The most common issues are worn packing material causing a stem leak, a corroded or pitted valve body, and old gate-style valves that seize up and become hard to turn. Compression fittings can also loosen at the connection point, which shows up as moisture at the valve base rather than the stem.
How long do shut-off valves typically last?
Lifespan varies widely with water quality, valve material, and how often the valve is operated, and there is no single published lifespan figure that covers every valve type. Older gate valves tend to fail sooner than quarter-turn ball valves, which is why many plumbers recommend replacing a failing gate valve with a ball valve rather than rebuilding it again.
Recommended
- Emergency Plumbing Guide: Quick Solutions for Homeowners
- Leak Detection Tips for Homeowners: 10 Quick Checks
- Step-by-Step Backflow Prevention for Homeowners
- Why Fix Leaks Early: a Pittsburgh Homeowner’s Guide
