TL;DR:
- A running toilet can waste up to 200 gallons of water daily, significantly increasing utility bills. Most issues stem from inexpensive parts like the flapper or float, which homeowners can fix in under 30 minutes with basic tools. Proper diagnosis, including dye testing and inspecting the valve seat, helps ensure effective, long-lasting repairs.
That constant sound of water trickling in your bathroom is more than annoying. Learning how to fix a running toilet matters because a running toilet can waste roughly 200 gallons of water per day, which adds up fast on your utility bill. The good news: most running toilet problems come down to three inexpensive parts. With basic tools, no plumbing experience, and less than 30 minutes, you can stop toilet from running and get back to normal. This guide walks you through exactly how to diagnose, repair, and test your toilet.
Table of Contents
- Key takeaways
- Tools and materials you will need
- How to fix a running toilet step by step
- Troubleshooting when the fix does not hold
- Why fixing a running toilet matters beyond the water bill
- My take on why running toilets keep coming back
- When to bring in a Pittsburgh plumber
- FAQ
Key takeaways
| Point | Details |
|---|---|
| Running toilets waste water fast | A running toilet wastes up to 200 gallons per day, making repair urgent. |
| Most fixes cost under $25 | Flapper and fill valve repairs typically run $5 to $25 and take under 30 minutes. |
| Float issues are the top cause | A sticky or misadjusted float causes roughly 90% of running toilet problems. |
| Get the right parts the first time | Universal flappers only fit about 60% of toilets, so bring the old part to the store. |
| Know when to call a pro | If the shutoff valve leaks or the issue repeats after repair, professional help prevents bigger damage. |
Tools and materials you will need
Before you open the tank, having the right supplies on hand saves you a second trip to the hardware store. The good news is that toilet repair tools are basic and inexpensive.
Tools to gather:
- Adjustable wrench or slip-joint pliers
- Flathead and Phillips screwdrivers
- Sponge and a small bucket (for removing water from the tank)
- Food coloring or dye tablets (for leak testing)
- Towel or paper towels for drips
Replacement parts to have ready:
- Toilet flapper (the rubber seal at the bottom of the tank)
- Fill valve (the tall mechanism that refills the tank after a flush)
- Refill tube clip or clip-on guide
- Float ball or float cup, depending on your toilet model
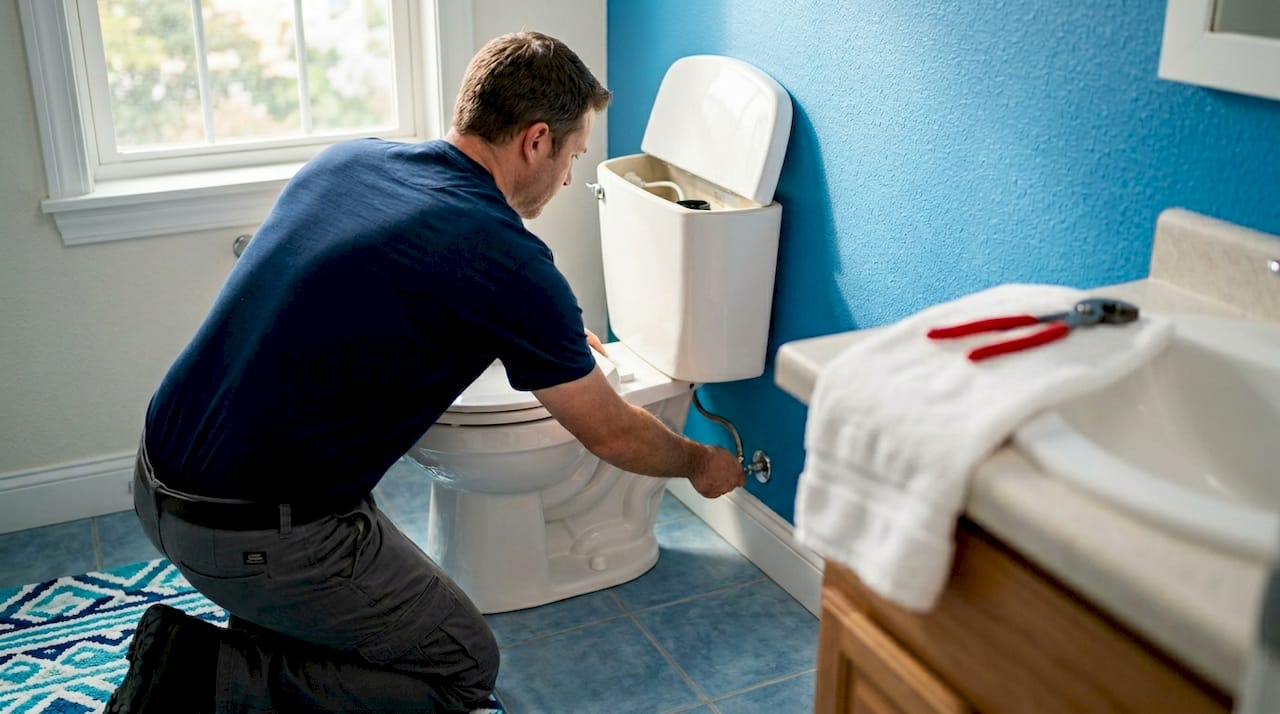
Before you buy parts, always turn off the water supply first. The shutoff valve sits behind the toilet near the floor. Skipping the shutoff risks flooding your bathroom during the repair. Turn it clockwise until it stops, then flush to empty the tank.
Pro Tip: Bring your old flapper to the hardware store before buying a new one. Universal flappers only fit about 60% of toilets. Matching the exact shape and size prevents a frustrating return trip.
How to fix a running toilet step by step
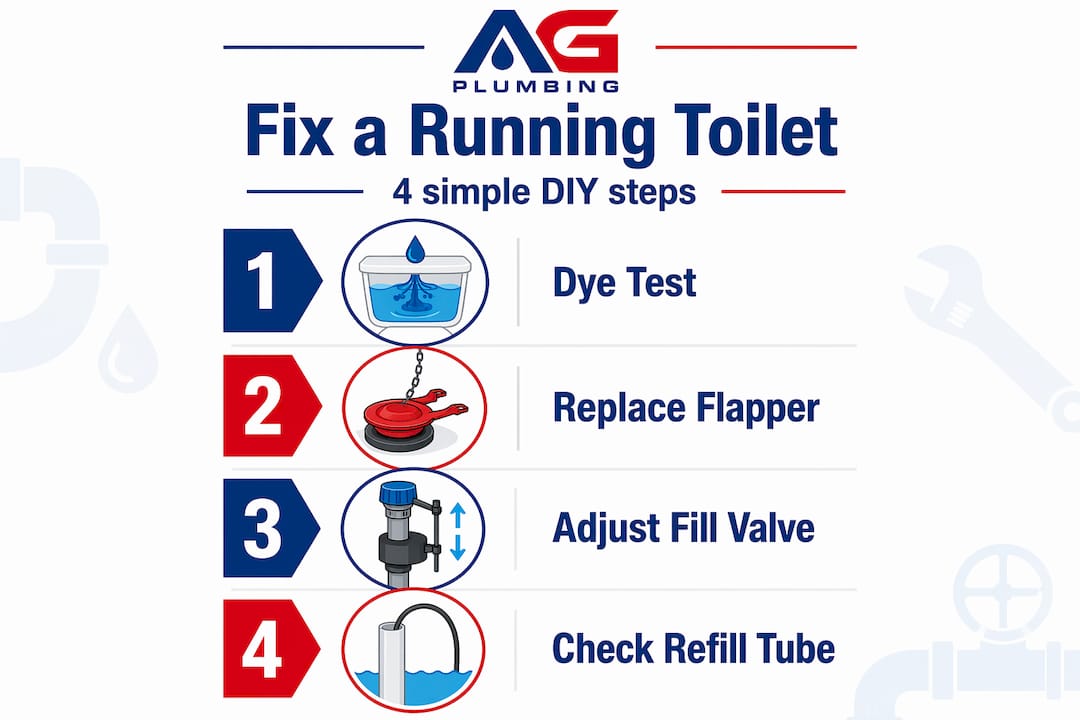
Most running toilet repairs follow the same diagnostic path. Start with the easiest fix and work your way through each cause until the running stops. Here is how to approach it.
Step 1: run a dye test first
Drop a few drops of food coloring or a dye tablet into the tank. Do not flush. Wait 15 minutes and check the bowl water. If color appears in the bowl, water is leaking through the flapper. This simple test confirms the most common cause of running toilets before you replace anything.
Step 2: inspect and replace the flapper
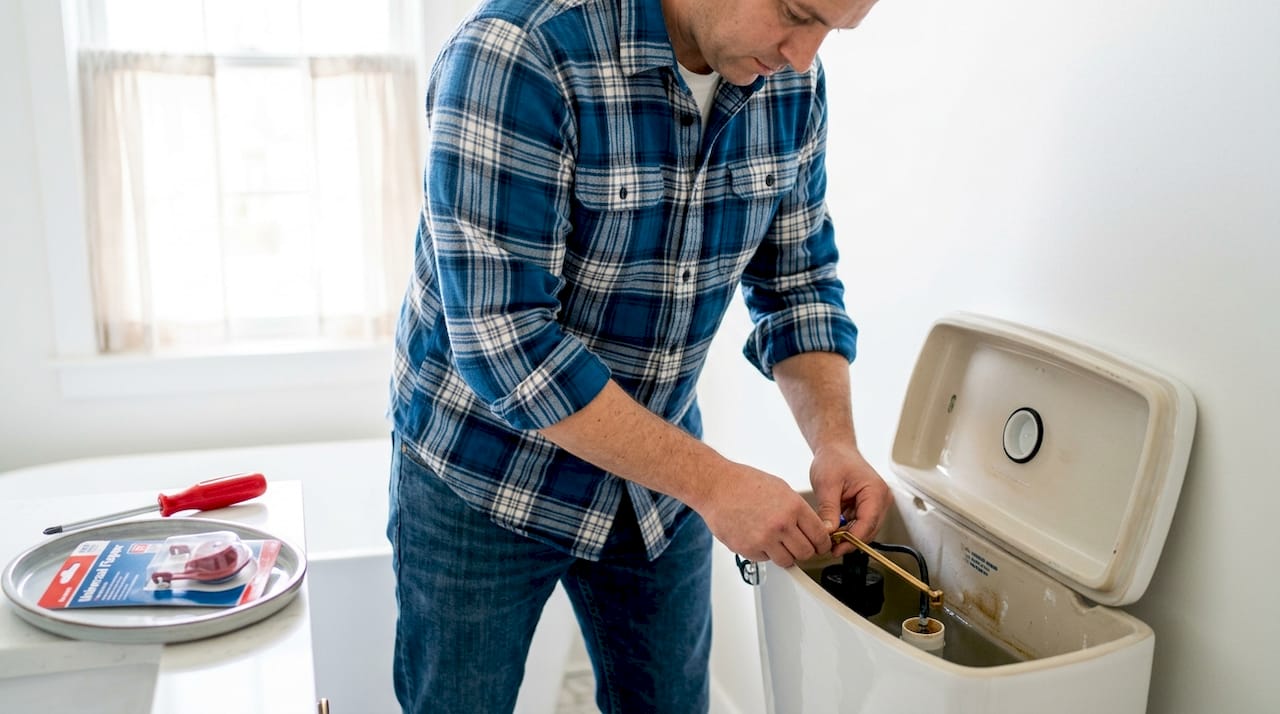
Lift the tank lid and look at the rubber flapper at the bottom. If it looks warped, cracked, or coated with mineral buildup, that is your problem. Here is how to replace it:
- Shut off the water supply valve behind the toilet.
- Flush to empty the tank completely.
- Unhook the flapper from both pegs on the overflow tube.
- Disconnect the chain from the flush handle arm.
- Snap the new flapper onto the same pegs and reconnect the chain.
- Turn the water back on and let the tank fill.
- Flush once and watch to confirm the flapper seals cleanly.
Pro Tip: Chain length matters more than most people realize. Too much slack and the flapper does not lift fully, causing a weak flush. Too little slack and the flapper cannot seal completely, causing running. Leave about half an inch of slack for reliable sealing.
Step 3: adjust or replace the fill valve and float
If the dye test shows no bowl leak but water still runs, the issue is almost certainly the fill valve or float. A sticky or misadjusted float accounts for roughly 90% of running toilet problems, so this step resolves most cases.
Checking the water level first:
Look at the inside of the tank. You want the water level sitting about 1 inch below the top of the overflow tube. If water is spilling into the overflow tube, the float is set too high and water runs continuously without ever shutting off.
To adjust a ball float (older style with a ball on an arm): Bend the arm gently downward or turn the adjustment screw counterclockwise to lower the float and reduce the water level.
To adjust a float cup (newer style where the float slides on the fill valve shaft):
- Pinch the clip on the side of the float cup.
- Slide the cup down the shaft to lower the water level.
- The goal is a water line about 1 inch below the overflow tube top.
To replace the entire fill valve:
- Shut off the water supply and flush to drain the tank.
- Use a sponge to remove remaining water.
- Disconnect the supply line from the bottom of the tank.
- Unscrew the locknut under the tank and lift the old valve out.
- Insert the new valve, adjust the height per its instructions, and hand-tighten the locknut.
- Reconnect the supply line and turn the water on slowly.
- Adjust the float to set the water level correctly.
Step 4: check the refill tube position
This is the small flexible tube that runs from the fill valve to the top of the overflow tube. If this tube slides down into the overflow tube instead of sitting just at the rim, it creates a siphoning effect that constantly drains water from the tank. Clip it at the top of the overflow tube using the plastic guide that comes with most fill valves. It is a 30-second fix that many people miss entirely.
Comparison: which repair matches your problem
| Symptom | Most likely cause | Fix needed |
|---|---|---|
| Water in bowl after dye test | Worn or leaking flapper | Replace flapper, adjust chain |
| Water flowing into overflow tube | Float set too high | Adjust or replace float |
| Hissing sound, tank fills slowly | Faulty fill valve | Replace fill valve |
| Tank fills normally but runs again | Refill tube submerged | Reposition refill tube at rim |
Troubleshooting when the fix does not hold
You replaced the flapper, adjusted the float, and the toilet is still running. Here is what to check next.
Common reasons a repair fails:
- The new flapper is the wrong size or material for your toilet model. Not every flapper is interchangeable, even if it physically fits. When in doubt, match the brand.
- Mineral buildup is coating the valve seat where the flapper sits. Scrub the seat with a soft cloth or soak the float components in vinegar. Mineral deposits cause float sticking and valve malfunction that no new part will fix until the buildup clears.
- The water level is still too high after adjustment. Use a permanent marker to mark the water line inside the tank, flush, and watch where it refills. If it consistently rises above your mark, the float needs further adjustment.
- Symptoms like hissing and weak flushing together often signal the water level is too low, meaning the float is set too conservatively after adjustment.
Pro Tip: If you find the shutoff valve behind the toilet is stiff, leaking around the stem, or will not fully close, do not force it. A stuck shutoff valve is a separate plumbing issue that needs professional attention before any toilet repair can proceed safely.
Accurate diagnosis before buying parts saves both time and money. Replacing multiple components on a guess is how a $10 fix turns into a $60 afternoon with the same result. Identify the exact cause first, then buy the one part that addresses it.
When to call a professional: If the toilet continues running after replacing the flapper and fill valve, if the tank cracks when you tighten fittings, or if there is water on the floor around the base, stop and get expert help. Some plumbing troubleshooting goes beyond DIY territory, and that is completely normal.
Why fixing a running toilet matters beyond the water bill
Stopping a running toilet is not just about the inconvenience. The benefits extend further than most homeowners expect.
Financial savings: At 200 gallons per day, a running toilet adds significant costs to your water bill every month. Fixing it with a $10 flapper pays for itself within days.
Protecting your home’s plumbing system: A constantly running fill valve wears out faster than one that cycles normally. Replacing a fill valve costs more than a flapper. Letting the problem persist often means replacing multiple parts instead of one.
Preventing water damage and mold: If the toilet base seal ever fails alongside internal running issues, moisture accumulates beneath and behind the toilet. That moisture feeds mold growth inside walls and under flooring, which is a far more expensive repair than any toilet part. Staying on top of a plumbing maintenance checklist prevents these cascading problems.
Eliminating noise disturbance: The hissing and trickling of a running toilet disrupts sleep, especially in smaller homes where bathroom sounds carry. Fixing it restores quiet.
Building good maintenance habits: Catching a running toilet early is part of a broader mindset around home care. A toilet that runs occasionally and gets ignored often develops into a chronic issue requiring more than a simple DIY fix.
My take on why running toilets keep coming back
I have seen homeowners go through three flappers in a year on the same toilet. Every time, the fix works for a few weeks and then the running starts again. The problem is almost never the flapper itself. It is what the flapper is sealing against.
In my experience, the real culprit in chronic running toilet problems is the valve seat at the bottom of the tank. If it is pitted, corroded, or coated with hard water deposits, no flapper will seal reliably for long no matter how good the rubber is. I always tell homeowners: run your finger around that seat before you put in a new flapper. If it feels rough or uneven, clean it with a cloth and some vinegar first. That one step changes everything.
I also see people skip the refill tube check every single time. They replace the flapper and the fill valve, everything looks right, and the tank still slowly drains. The refill tube is sitting an inch too deep in the overflow tube and siphoning water silently. It takes less than a minute to fix once you know to look for it.
My honest advice: do the dye test before touching anything. It tells you immediately whether the problem is the flapper or the fill valve. Skipping that step and guessing leads to unnecessary part replacements and more trips to the hardware store than anyone wants.
DIY toilet repair is genuinely within reach for most homeowners. But know your limit. If you are looking at a corroded shutoff valve, a cracked tank fitting, or water that appears at the base, stop and call someone. Those problems get worse fast when pushed.
— Maayan
When to bring in a Pittsburgh plumber
Most running toilet repairs are solid DIY jobs, and this guide gives you everything you need to handle the most common toilet running solutions on your own. But when the problem involves corroded valves, supply line leaks, or a toilet that keeps returning to the same issue no matter what you replace, professional service is the smarter call.
Ag-plumbing has served Pittsburgh, PA homeowners for 30 years with exactly these kinds of repairs. Whether you need a fill valve swapped out, a complete toilet rebuild, or a full review of your home’s plumbing repairs, the Ag-plumbing team handles it efficiently and correctly the first time. Explore plumbing services in Pittsburgh to learn what is available in your area, or browse the full list of common plumbing issues to see how Ag-plumbing can help beyond the toilet.
FAQ
How much does it cost to fix a running toilet?
Most running toilet fixes cost between $5 and $25 in parts and take under 30 minutes to complete as a DIY project. Professional repair costs more but is worth it when the issue involves corroded valves or repeated failures.
What is the most common cause of a running toilet?
A worn or leaking flapper is the most common cause, followed closely by a misadjusted float. Together, these two issues account for the vast majority of running toilet problems.
How do I know if my toilet flapper needs replacing?
Drop food coloring into the tank and wait 15 minutes without flushing. If color appears in the bowl, the flapper is leaking and needs to be replaced.
How do I adjust the toilet float?
For a ball float, bend the arm slightly downward to lower the water level. For a float cup, pinch the clip and slide the cup down the fill valve shaft. The target water level is 1 inch below the top of the overflow tube.
Why does my toilet keep running after I replaced the flapper?
Check the refill tube position first. If it is submerged in the overflow tube, it creates a siphon that drains the tank continuously. Also inspect the valve seat for mineral buildup, which prevents even a new flapper from sealing properly.
Recommended
- How to Unclog Your Toilet: Simple DIY Solutions That Work – AG-Plumbing
- Common Plumbing Repair Issues and How to Fix Them – AG-Plumbing
- Emergency Plumbing Guide: Quick Solutions for Homeowners – AG-Plumbing
- Step-by-Step Faucet Repair for Pittsburgh Homeowners – AG-Plumbing