
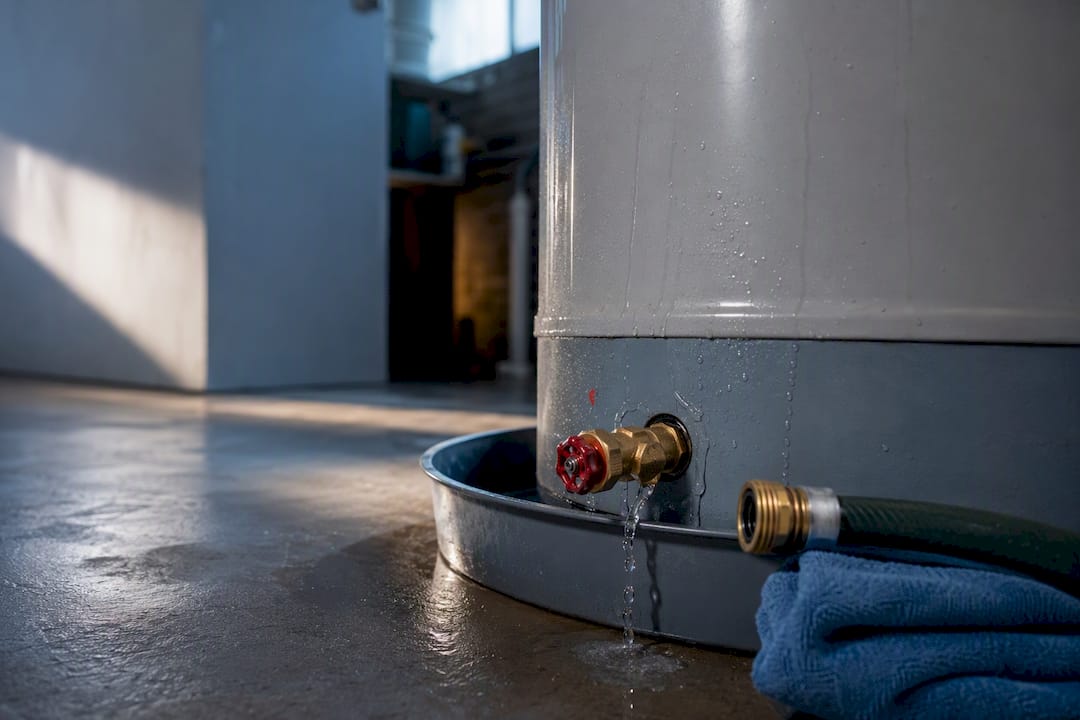
If your water heater is leaking, shut off its power source first: flip the breaker for electric units or turn the gas control to “off” for gas units. Then close the cold water supply valve. If you smell gas, get everyone out, ventilate the space, and call your gas company from outside. Otherwise, grab towels and a bucket, and start diagnosing once the immediate risk is controlled.
TL;DR:
- Most leaks from fittings or drain valves can be repaired without replacing the entire tank, but leaks from the tank shell or corrosion require full replacement.
- A leak from the top fittings is often due to loose or corroded connections, making tightening or replacing them a quick fix, whereas bottom-seam leaks indicate internal corrosion.
- Anything involving gas smells, active flooding, or continuous water flow after shutting all valves warrants immediate professional help, not DIY repair.
- Regular maintenance like annual flushing, T&P valve testing, and installing a leak detection sensor can prevent most leaks and damage.
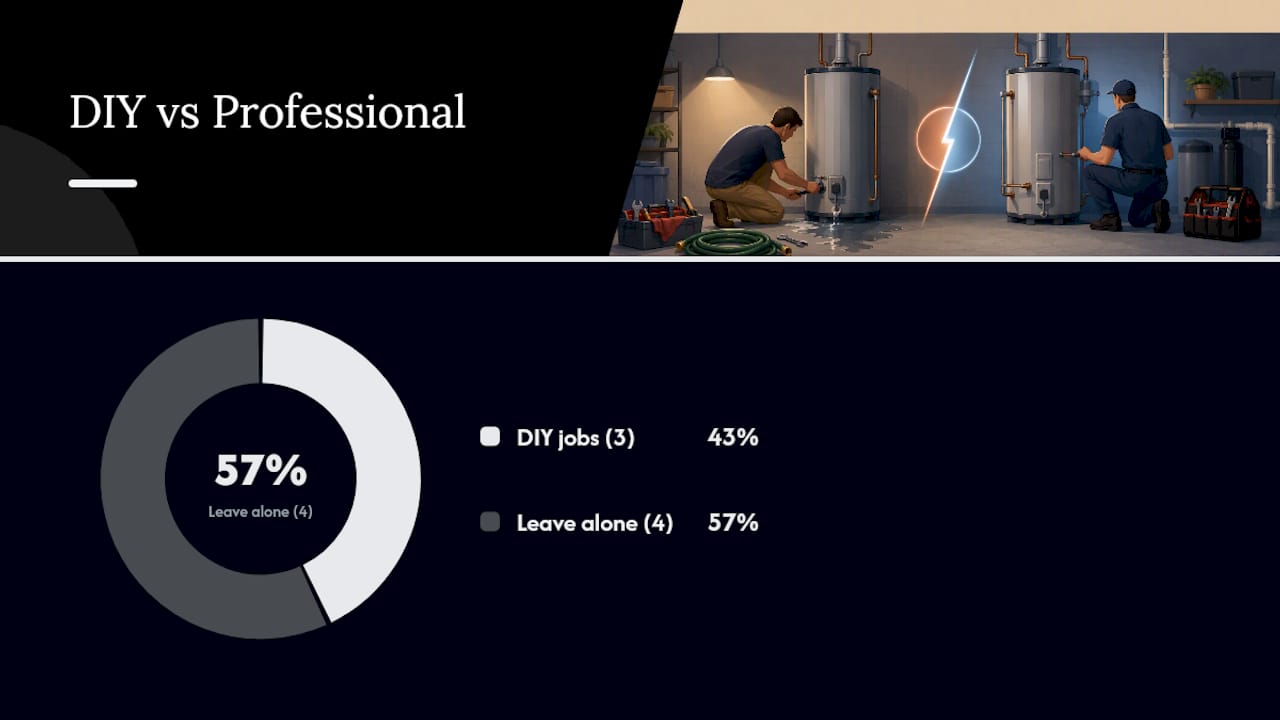
- DIY repairs include replacing external drain valves or tightening accessible fittings, but internal tank work or gas line modifications must be left to licensed plumbers.
Table of Contents
- Water Heater Leaking: Immediate Steps And Safety Checklist
- Where Is The Water Heater Leaking From?
- What’s Causing The Leak, And Does It Mean Replacement?
- Can You Fix It Yourself?
- How Do You Prevent A Water Heater From Leaking Again?
- When Should You Call A Plumber?
- Why Trust This Water Heater Leak Guide
- An Honest Take On DIY Versus Replacement
- Get A Licensed Plumber For Your Leak Today
- Sources
- FAQ
Water Heater Leaking: Immediate Steps And Safety Checklist
A leaking water heater becomes a real emergency the moment gas, electricity, and standing water share the same room. Work through these steps in order, not all at once.
- Cut the power. For electric water heaters, find the breaker labeled for the water heater and switch it off. For gas units, turn the gas control valve on top of the thermostat to “off” or “pilot,” and never try to relight anything if you smell gas.
- Stop the water. Locate the cold water shutoff valve on the pipe entering the top of the tank and turn it clockwise until it stops. If that valve is corroded or won’t budge, shut off the main water supply to the house instead.
- Contain the mess. Slide towels or a shallow pan under the leak, and if the water heater sits in a finished space, move boxes, electronics, and furniture out of the path.
- Route standing discharge. If water is pooling faster than towels can handle, a garden hose run from the drain valve to a floor drain or outside door can carry it away safely.
- Evacuate if needed. Active gas odor, visible electrical sparking, or flooding that’s rising faster than you can manage means you leave the house and call for professional help immediately.
If you suspect a gas leak, the Consumer Product Safety Commission is blunt about it: stop using the heater, evacuate if necessary, and call a qualified professional, since leaking gas can pool near the floor and create an explosion hazard.
Pro Tip: Keep a $10 rubber-tipped hose connector clipped near your water heater. In an emergency, you can thread a garden hose onto the drain valve in seconds instead of fumbling through a toolbox while water spreads across the floor.
Where Is The Water Heater Leaking From?
Once the immediate danger is handled, figure out exactly where the water is coming from. The location tells you almost everything about whether this is a five-minute fix or a full tank replacement.
- Top of the tank: Check the inlet and outlet fittings, the flex connectors, and any nearby pipe joints. A slow drip here is often just a loose or corroded connection, which is one of the easier fixes on this list.
- Drain valve at the bottom: Look for weeping around the valve threads or a steady drip from the spout itself. This is a common failure point on plastic drain valves after several years of mineral buildup.
- T&P relief valve discharge line: A little moisture right after heavy hot water use can be normal, but a constant drip from this line usually means the temperature-and-pressure relief valve itself is failing or pressure inside the tank is too high.
- Tank shell or bottom seams: Rust streaks, a wet ring around the base, or a puddle that reappears no matter how many times you dry it usually points to internal corrosion, and that’s the scenario that almost always ends in replacement.
Timing helps you tell condensation from a real leak. Water that appears only after someone runs a long hot shower and disappears within an hour is likely condensation on a cold water line. Water that’s there constantly, or reappears within thirty minutes of drying the area, is an active leak.
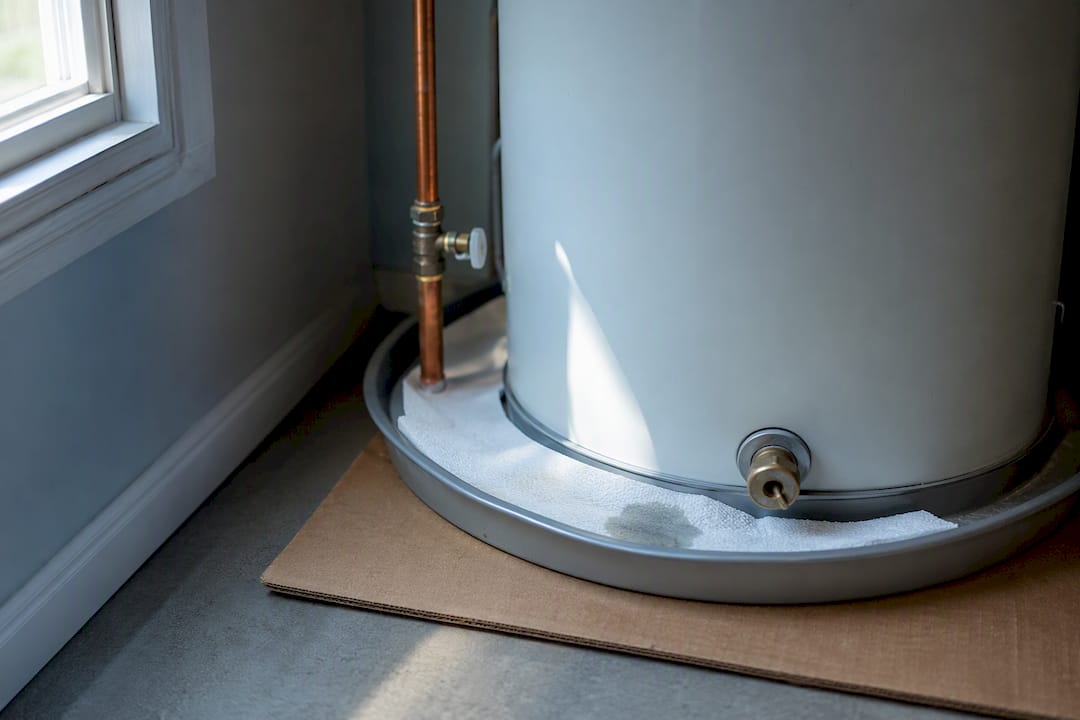
A cheap trick that works better than it should: lay a strip of paper towel around the base of the tank and along suspect fittings, then check it in an hour. Wet spots tell you exactly where to look next. Sliding a flattened piece of cardboard underneath the unit overnight works the same way and catches drips you’d otherwise miss.
What’s Causing The Leak, And Does It Mean Replacement?
Not every leak has the same ending. Some are a five-dollar washer. Others mean the tank is done.
- Loose fittings or pipe connections: Usually reparable. Tightening a union nut or swapping a worn flex connector solves most top-of-tank drips.
- Faulty or corroded drain valve: Often replaceable without draining the whole system if you work quickly and have a new valve ready to thread in.
- T&P valve discharging repeatedly: This can signal excess pressure or temperature inside the tank, not just a bad valve. Replacing the valve alone without addressing the pressure issue often means it happens again.
- Internal tank corrosion, seams, or pinhole leaks: This is the one repair that doesn’t exist. Once the steel tank itself is breached, water finds a way out and no sealant or patch holds long term.
- High water pressure or thermal expansion: Repeated T&P discharge without an obvious cause often traces back to municipal water pressure running too high, or a missing expansion tank on a closed plumbing system.
Consumer Reports draws a clear line here: leaks from fittings, drain valves, or connections are often repairable, while leaks at the tank shell or visible corrosion mean the unit has failed and needs to be replaced. That distinction saves homeowners from paying a plumber to chase a leak that no repair can actually stop.
Can You Fix It Yourself?
Plenty of water heater leaks fall well within reach of a homeowner who’s handled basic plumbing before. Others cross into territory where a mistake means flooding, gas exposure, or a warranty voided outright.
Jobs that are usually fair game for a confident do-it-yourselfer:
- Replacing an external plastic drain valve with a brass one, since the plastic versions crack and fail more often.
- Tightening a loose union fitting or flex connector at the top of the tank with a wrench.
- Swapping an accessible T&P valve, as long as the water and power are fully shut off first and you’re not touching gas lines.
Jobs to leave alone: anything involving the gas line itself, modifications to the vent or flue, internal tank repairs of any kind, and electrical work beyond flipping the breaker. None of those forgive a mistake.
For temporary damage control while you wait on parts or a plumber, shut the supply valve, drain the tank partway through a hose to relieve pressure, and keep the drain pan’s discharge routed to a floor drain rather than letting it sit and soak into subfloor.
Parts for a DIY drain valve or T&P valve typically run under $30. A licensed plumber’s diagnostic visit costs more, but you’re paying for correct diagnosis and code-compliant work, and estimates vary by region and the complexity of the job.
Pro Tip: If you’re replacing a T&P valve yourself, buy the exact same pressure and temperature rating stamped on the old one. A mismatched valve either won’t protect the tank properly or will trigger nuisance discharges every few weeks.
How Do You Prevent A Water Heater From Leaking Again?
A little annual maintenance heads off most of the leaks covered above before they start.
- Flush the tank once a year to clear out sediment that accelerates corrosion at the bottom of the tank.
- Test the T&P valve annually by lifting its lever briefly and confirming water discharges, then shuts off cleanly.
- Inspect the anode rod every couple of years. Once it’s worn down to bare wire, the tank itself starts corroding faster.
- Walk around the unit monthly and look for rust streaks, damp insulation, or mineral crust on any fitting.
- Install a drain pan with a raised rim under the tank, and route its discharge line to a floor drain or safe exterior point.
- Consider a leak-detection shutoff sensor that cuts water supply automatically the moment it senses moisture on the floor.
The EPA WaterSense program backs up this routine directly: annual visual checks, yearly tank flushes, and T&P valve testing all help prevent leaks and the major damage that follows when they go unnoticed for months. If your unit is between 10 and 15 years old or this is its second or third leak, comparing replacement options makes more sense than sinking more money into repairs on a tank near the end of its life.
When Should You Call A Plumber?
Some situations don’t leave room for a DIY attempt. Call immediately if you smell gas anywhere near the unit, if flooding is outpacing what towels and a pan can handle, or if you’ve shut every valve you can find and water is still flowing.
Before anyone starts work, ask a few direct questions: Are you licensed and insured for this type of job? What’s your diagnostic process before you quote a fix? Can I get a written estimate before work begins, and what replacement options come with what warranty?
A competent plumber typically pressure-tests the system, inspects or replaces the drain and T&P valves, and gives you a straight answer on repair versus replacement rather than defaulting to the most expensive option. Treat it as a warning sign if a plumber refuses to check the gas line, demands a large cash deposit upfront, or won’t put a price in writing before starting.
Why Trust This Water Heater Leak Guide
This advice reflects patterns seen across thousands of actual leak calls, not just textbook failure modes. This guide was written by Maayan, drawing on documented plumbing standards and manufacturer guidance rather than guesswork. For hands-on troubleshooting steps beyond what’s covered here, Ag-plumbing’s troubleshooting resource walks through additional diagnostic checks, and Ag-plumbing’s maintenance checklist covers the annual upkeep that prevents most leaks before they start.
An Honest Take On DIY Versus Replacement
Most advice on this topic either overwhelms homeowners with every possible failure mode or oversimplifies it into “call a plumber.” Neither serves you well at 11 p.m. when water is spreading across the basement floor. The honest answer is that the location of the leak tells you almost everything you need to know, and most people skip that step entirely because they panic and start Googling repair costs before they’ve even looked at where the water is coming from.
The bigger blind spot is pressure. Homeowners fixate on the visible drip and ignore that a T&P valve discharging repeatedly is often a symptom of excess system pressure, not a bad valve. Replace the valve without addressing pressure, and you’ll be back in the same spot within a year. Prioritize the diagnosis first, the safety shutoff second, and only then decide whether you’re reaching for a wrench or a phone.
— Maayan
Get A Licensed Plumber For Your Leak Today
A leaking water heater doesn’t wait for a convenient afternoon, and towels only buy so much time before subfloor damage sets in. Licensed technicians who test the actual pressure and valve issues instead of guessing at a fix provide professional diagnosis and repair.

Booking a visit gets you a straight inspection, a written estimate before anything starts, and an honest comparison between repair and replacement when the tank itself is the problem. If you’re smelling gas or watching water rise right now, don’t wait on a callback. Schedule plumbing repair with Ag-plumbing and get a licensed technician on the way.
Sources
- CPSC – Gas water heaters recall and safety notices
- EPA WaterSense — Home maintenance and leak prevention
- Consumer Reports — Water heater buying guide
FAQ
What should I do if my water heater is leaking?
Shut off the power (breaker for electric, gas control valve for gas units) and close the cold water supply valve immediately. Contain the water with towels or a pan, and if you smell gas, evacuate and call your gas company from outside rather than attempting any fix yourself.
Can I still use hot water if the heater is leaking?
It depends on the leak’s severity and location. A minor drip from a fitting might allow limited use while you arrange repairs, but any leak near electrical components, a suspected tank failure, or a gas smell means you should shut the unit down completely until it’s inspected.
How long will a water heater last once it starts leaking?
A leak from a fitting or valve can often be repaired and the tank can keep running for years afterward. A leak from the tank shell itself, caused by internal corrosion, generally means the unit has failed and won’t last much longer regardless of repair attempts, according to Consumer Reports.
Why would a water heater leak from underneath?
Leaks from underneath usually trace to a failed drain valve, a loose fitting at the bottom connections, or corrosion working through the tank’s bottom seam. Bottom seam leaks are the most serious version of this, since they typically mean the tank itself needs replacement rather than a repair.
Is a leaking water heater always an emergency?
Not always, but treat any active leak seriously until you’ve diagnosed the source. A slow drip from a fitting is manageable for a day or two, while a gas smell, sparking, or fast-rising water are genuine emergencies that call for immediate shutoff and, when needed, a call to Ag-plumbing for same-day help.
Recommended
- Emergency Plumbing Guide: Quick Solutions for Homeowners
- Leak Detection Tips for Homeowners: 10 Quick Checks
- Why Fix Leaks Early: a Pittsburgh Homeowner’s Guide
- Common Water Heater Issues Pittsburgh Homeowners Face
