
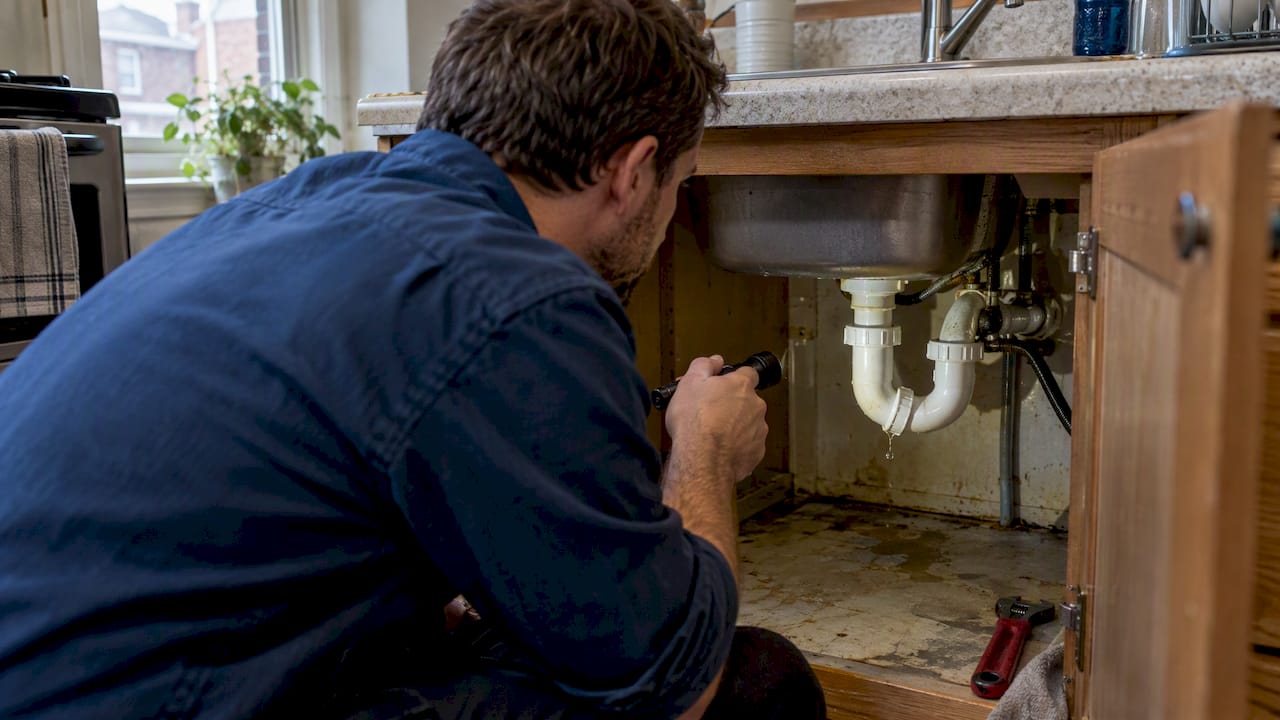
Shut off the local supply valve under the sink (or the main if you can’t find it) and set towels or a bucket to catch the drip. Most under-sink leaks trace back to loose drain connections like the P-trap or slip-joints, worn faucet seals, or condensation, so once the water is stopped, dry the cabinet floor and run a few simple tests to pin down the exact source.
TL;DR:
- Most under-sink leaks originate from loose drain connections, cracked P-traps, worn faucet seals, or condensation caused by humidity.
- Conduct flow, basin, faucet, and supply-line tests after drying the area to identify the exact leak source before attempting repairs.
- Tightening slip-joint nuts by hand a quarter turn can sometimes fix minor leaks; over-tightening with tools may crack or damage fittings.
- Replacing worn grommets, O-rings, or the anti-friction washer in compression fittings is a common solution for persistent leaks.
- If water flow persists despite repairs, or signs of structural damage or mold appear, calling a professional is essential to prevent further damage.
Table of Contents
- Common Causes and How to Recognize Each
- A Short Ordered Test Sequence to Locate the Leak Source
- Practical Repair Steps for the Most Common Under-Sink Leaks
- When to Call a Plumber and What Repairs Typically Cost
- How to Dry, Prevent Mold, and Safely Clean Small Mold Patches After a Leak
- AG Heating, Cooling & Plumbing: Practical Pro Tips and Proof Points
- Author Perspective: The Single Priority Homeowners Should Keep in Mind
- Need a Hand? Here’s How We Help With Sink Leaks
- FAQ
- Sources
Common Causes and How to Recognize Each
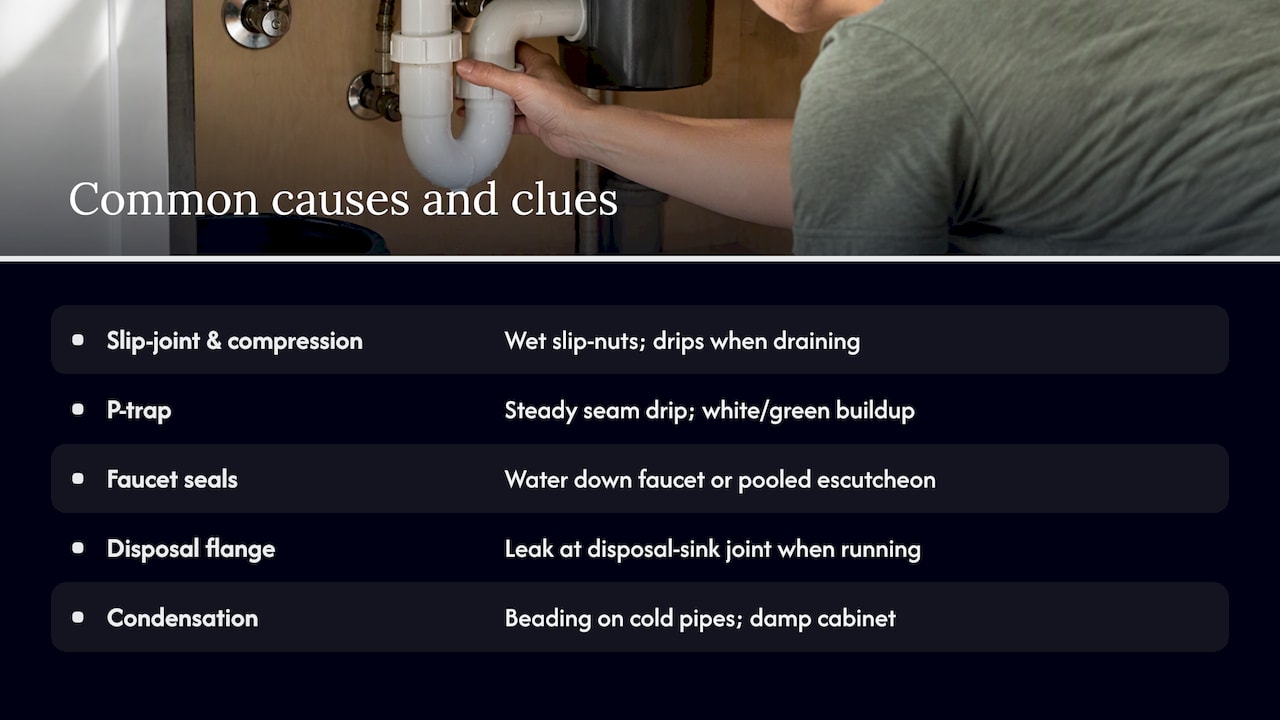
Several spots under a sink tend to fail more than others, and each one leaves its own clues.
Slip-joint connections loosen with age and vibration, and the rubber grommets inside them wear thin. You’ll usually spot wet slip-nuts or notice dripping only when the basin is full and draining. A P-trap that’s cracked or corroded tends to drip steadily from the seams rather than only when water runs, and you may see white or greenish mineral buildup along the crack.
Tailpiece and compression fitting failures show up as slow drips where the vertical tailpiece meets the trap, or around the compression nuts themselves. According to Oregon State’s plumbing technical guidance, the brass anti-friction washer between the compression nut and the rubber grommet wears out over time and has to be replaced for the repair to hold.
Faucet body, cartridge, or O-ring failures often look like water running down the back of the faucet or pooling under the mounting escutcheon, even though the supply lines themselves are dry. Garbage disposal and sink flange leaks show up at the point where the disposal meets the sink drain, especially when the disposal is running.
Condensation is the one cause that isn’t really a leak at all: beading on cold pipes or a damp cabinet floor with no obvious wet connection usually points to humidity rather than a fitting problem.
A Short Ordered Test Sequence to Locate the Leak Source
Before touching anything, clear out the cabinet, lay down towels, set a bucket under the trap, and put on gloves if you see any visible mold. Dry every pipe, fitting, and the cabinet floor completely, then note exactly where moisture reappears first.
- Flow test: Run the hot tap, then the cold tap separately, and watch the drain and trap connections for drips.
- Basin test: Plug the sink, fill it to the midpoint, then release the water and check the tailpiece and slip joints for slow leaks under pressure.
- Faucet stress test: Cycle the handles through hot and cold several times while watching the base and handle area for seepage.
- Supply-line check: Visually inspect the flexible supply hoses and the area around the shutoff valves for moisture or corrosion.
If a slip nut looks like the culprit, try hand-tightening it a quarter turn and rerun the flow test before taking anything apart further. Stop if tightening causes cracking sounds or the fitting feels brittle. Plastic nuts over-tightened with a wrench are a common way homeowners turn a small leak into a bigger one.
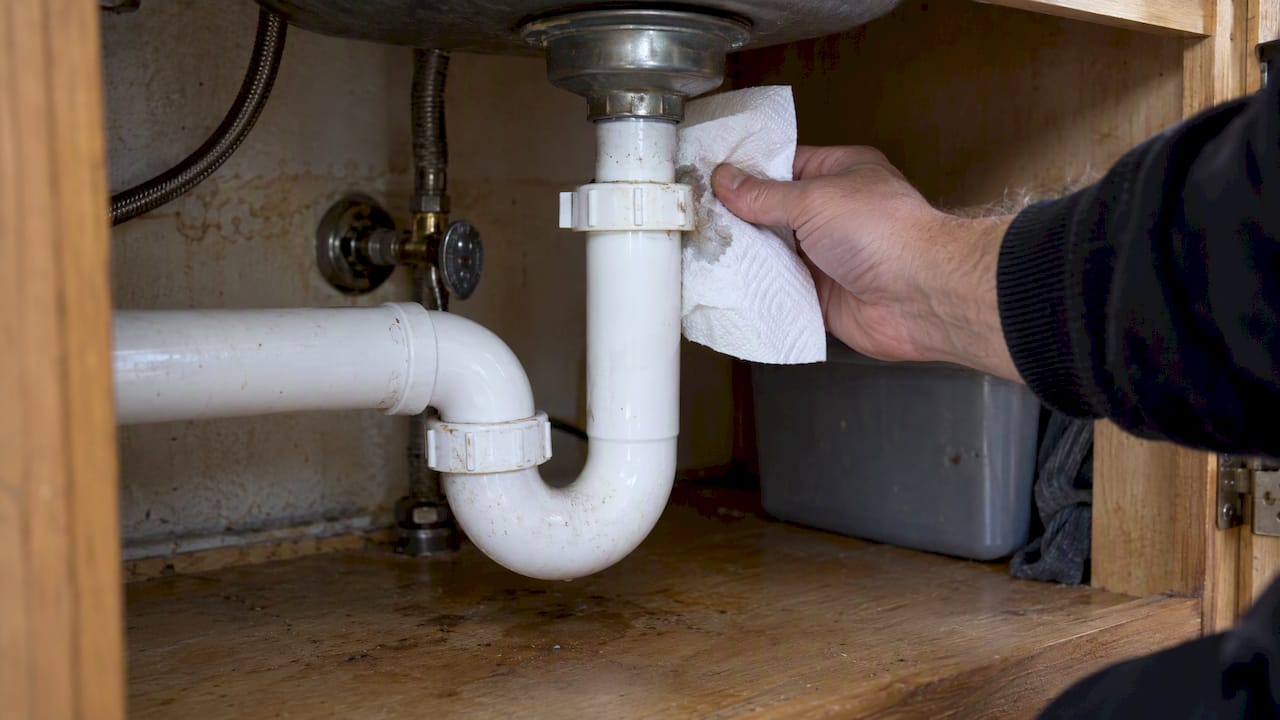
Pro Tip: Slide a dry paper towel along each joint after the basin test. The exact spot it darkens first is almost always the leak point, even when water seems to be pooling somewhere else.
Practical Repair Steps for the Most Common Under-Sink Leaks
A basic toolbox handles most of these repairs. You’ll want a basin wrench for nuts in tight spots, an adjustable wrench, channel-lock pliers, replacement grommets and O-rings, plumber’s putty, Teflon tape, and a small bucket.
- Have the exact grommet or O-ring size on hand, or bring the old part to the hardware store to match it.
- Keep a rag nearby to wrap chrome nuts before gripping them with pliers to avoid scratches.
For a P-trap or slip-joint leak, hand-loosen the slip nuts, slide them back, and check the rubber grommet inside each one. A grommet that’s flattened, cracked, or hardened needs replacing. Reassemble by hand-tightening first, then give each nut only a quarter turn past snug with pliers; over-tightening cracks plastic trap bodies.
For a compression fitting or tailpiece leak, check the brass anti-friction washer between the nut and grommet; a worn one is the most common reason a compression joint keeps dripping after tightening. If the tailpiece itself is cracked or corroded, cut it and replace it rather than trying to patch it.
For faucet seals and cartridges, turn off the local valves first, remove the handle, and identify whether the faucet uses a ball, cartridge, or ceramic disc mechanism, following the same sequence Portland Water Bureau outlines for faucet repairs. Replace the O-rings or the cartridge, lubricate new O-rings lightly with petroleum jelly, and protect the faucet finish with tape before using any tools. Our guide to stopping a dripping faucet walks through part identification in more detail.
For a garbage disposal or sink flange leak, check the flange gasket where the disposal meets the sink basin, tighten the mounting ring, and reseal with plumber’s putty if the gasket looks intact but the seal has failed.
Pro Tip: After any repair, leave the cabinet doors open and check the joint every few minutes for 5 to 10 minutes of running water before putting anything back under the sink.
For a longer walkthrough of these same repairs, see our step-by-step guide to fixing a leaking sink.
When to Call a Plumber and What Repairs Typically Cost
Some signs mean it’s time to stop troubleshooting and call for help.
- Water that won’t stop flowing even with the shutoff closed, or a leak near electrical outlets or wiring.
- Visible sagging in the cabinet floor or surrounding cabinetry.
- Mold that covers more than a small patch, or a musty smell with no visible source.
- Corroded supply piping, a leak inside a wall cavity, or a stuck or missing shutoff valve.
- A leak that returns within a day or two of a DIY repair.
A typical plumbing diagnostic visit runs about $100 to $200, according to HomeAdvisor’s plumbing cost guide, while cartridge or valve replacement costs vary with parts and labor. Catching a leak early with a professional diagnosis is almost always cheaper than letting it turn into drywall repair or mold remediation.
How to Dry, Prevent Mold, and Safely Clean Small Mold Patches After a Leak
Timing matters as much as the repair itself. Mold can begin developing within 24 to 48 hours of water exposure, so dry the cabinet, flooring, and any wet items within that window.
For small mold patches on hard surfaces, clean with detergent and water, wearing gloves and basic protection.
- Discard porous items like cardboard or sponges that soaked up water and can’t fully dry.
- Ventilate the space and run a fan or dehumidifier if it’s safe to do so near any water.
- Keep indoor humidity under 60%, ideally between 30% and 50%, to discourage future growth.
The EPA notes that painting or caulking over mold is ineffective; the underlying leak has to be fixed first. If mold covers a large area, call in a remediation professional rather than tackling it yourself, and avoid storing anything valuable under sinks where slow leaks tend to go unnoticed. Readers dealing with water intrusion elsewhere in the home, such as through exterior walls, may also find this guide on water leaking through brick useful for diagnosing a separate source.
AG Heating, Cooling & Plumbing: Practical Pro Tips and Proof Points
We’ve learned that intermittent slow leaks are usually isolated by drying the suspect joint completely, running a controlled test, and watching the exact fitting rather than guessing. We always protect cabinet finishes and flooring before touching a wrench, the same habit worth building into any DIY repair.
Author Perspective: The Single Priority Homeowners Should Keep in Mind
Stop the water first, keep anything electrical dry, and don’t wait on visible mold. Photograph the damage for insurance before cleanup, and call a professional the moment structural or mold risk shows up.
— Maayan
Need a Hand? Here’s How We Help With Sink Leaks
If a leak keeps coming back or you’d rather not open the cabinet yourself, we handle plumbing repair, leak detection, and follow-up advice on drying out the space to keep mold from taking hold. A typical visit starts with a diagnostic look under the sink, a clear quote before any work begins, and most straightforward repairs finish the same day.

Reach out through our plumbing repair page to get a visit scheduled.
This article is general information, not a substitute for advice from a qualified doctor. Consult a qualified healthcare professional about your own circumstances before acting on anything here.
FAQ
Is a Leak Under the Sink an Emergency?
A slow drip usually isn’t an emergency if you can shut off the local valve and contain the water, but a continuous flow, a leak near electrical outlets, or visible structural sagging means you should call a plumber right away. Waiting too long raises the risk of mold, since growth can begin within 24 to 48 hours of water exposure.
How Much Does It Cost to Fix a Leak Under the Kitchen Sink?
Costs depend on what’s actually broken, but a standard plumbing diagnostic visit typically runs $100 to $200, with simple trap or slip-joint repairs often on the lower end of that range. Cartridge, valve, or tailpiece replacement costs more depending on the parts and labor involved.
How to Tell Where a Leak Is Coming From Under the Sink?
Dry the entire cabinet and all pipe connections, then run a flow test with the hot and cold taps separately while watching the drain and trap. Follow with a basin test, filling and draining the sink to check the slip joints and tailpiece under pressure, since the first spot that gets wet again is almost always the source.
What Could Be Causing a Water Leak Under My Sink?
The most common causes are loose slip-joint connections, a cracked or corroded P-trap, worn faucet O-rings or cartridges, and failing garbage disposal flange gaskets. Condensation on cold pipes can also mimic a leak, even though no fitting is actually failing.
Sources
- Brief guide: mold, moisture, and your home | US EPA
- Plumbing cost guide | HomeAdvisor
- Plumbing problems: drains and traps | Oregon State University library
- Fix a leaky faucet | Portland Water Bureau
Recommended
- Leak Detection Tips for Homeowners: 10 Quick Checks
- Top Leak Detection Methods for Homeowners and Pros
- How to Fix a Leaking Sink: A Homeowner’s Step-by-Step Guide
- Why Water Leaks Matter: A Homeowner’s Guide
