
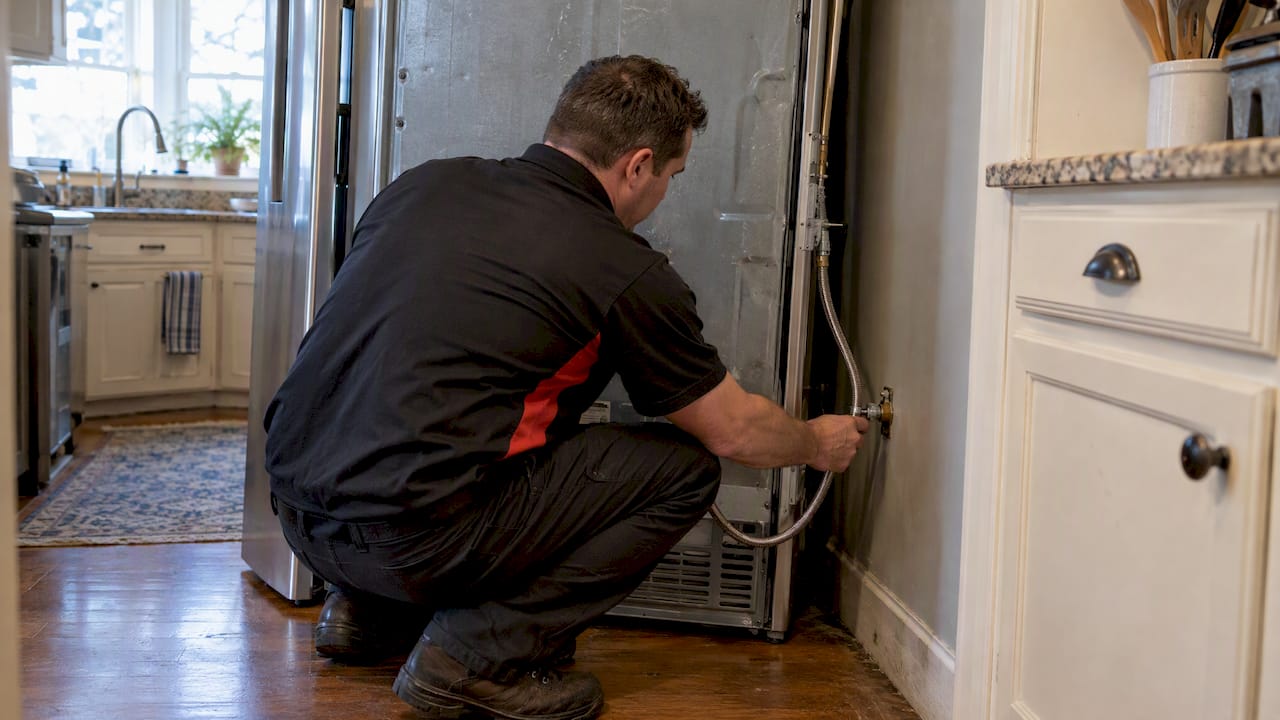
Turn off the water supply at the dedicated shutoff valve and unplug the refrigerator the moment you spot a leak. These two actions stop active water damage and reduce the window for mold to take hold. Once the flow has stopped, soak up standing water, photograph the scene, and only then start diagnosing the cause. If water keeps running after the shutoff or the line is actively spraying, call an emergency plumber right away rather than troubleshooting further.
TL;DR:
- Most leaks originate from cracked plastic tubing or clogged saddle valves, with braided stainless steel lines being more durable and recommended.
- If water keeps flowing after shutting the valve or leaks inside walls persist, professional help is necessary to prevent further damage.
- Replacing worn or cracked tubing and properly seating or replacing water filters can fix 90% of supply line leaks.
- Quick response with drying wet areas within 24 to 48 hours significantly reduces mold risk and prevents hidden damage.
- Call a licensed plumber if leaks reoccur after tightening fittings, or if water flows despite the shutoff valve being turned off.
Table of Contents
- Quick response checklist for the first 10 to 20 minutes
- Checking where the leak is actually coming from
- Step-by-step DIY repairs for common water line leaks
- Cleaning up water and stopping mold before it starts
- Red flags that mean it’s time to call a plumber
- What we’ve learned from 30 years of fridge supply line calls
- A plumber’s honest take on fridge leaks
- How AG Plumbing can help if your supply line keeps leaking
- FAQ
- Sources
Quick response checklist for the first 10 to 20 minutes
Before you touch the supply line or inspect anything, work through this order so you don’t make the leak worse or put yourself at risk.
- Find the fridge’s dedicated shutoff valve, commonly located under the kitchen sink, behind the refrigerator, or in a nearby crawlspace, and turn it fully off.
- Unplug the refrigerator and move any nearby electrical items, cords, or power strips away from the water.
- Soak up standing water with towels or a wet/dry vacuum before it spreads under cabinets or flooring.
- If it’s safe, pull the fridge forward slightly to inspect the line, leaving a coiled length of tubing behind the unit so you don’t strain or disconnect it further.
- Photograph the leak and note the time it started. Renters should notify their landlord right away, and anyone facing a leak that won’t stop should call an emergency plumber.
Pro Tip: Keep a flashlight and a couple of old towels stored near the fridge. A 30-second head start on containment saves hours of cleanup later.
Checking where the leak is actually coming from
A lot of what looks like a water line leak isn’t the supply line at all. Before you replace anything, work through these checks in order:
- Check the defrost drain and drip pan underneath or behind the fridge for ice buildup, debris, or a pan that’s cracked or sitting at an angle. A clogged defrost drain or misaligned door gasket is one of the most common non-supply causes of water pooling under a refrigerator.
- Pull the water filter and inspect the housing for cracks, a filter that’s seated at an angle, or a worn O-ring. A filter that isn’t fully clicked into place will weep slowly instead of leaking all at once.
- Trace the supply line from the wall shutoff valve to the back of the fridge, looking for kinks where the fridge was pushed back against the tubing, splits in aging plastic line, or compression nuts that have loosened over time.
- Run a few water-dispense tests. Trapped air sounds like sputtering before water flows, while a weak or inconsistent stream often points to low supply pressure or a valve that isn’t opening fully.
- Dry the suspect area completely, then watch it over the next hour. A leak that reappears in the same exact spot tells you more than a one-time puddle does.
Our leak detection guide walks through more of these checks in detail if you want a deeper look before deciding whether to repair the line yourself.
Step-by-step DIY repairs for common water line leaks
Most refrigerator supply line leaks come down to a handful of fixable problems: a loose fitting, worn tubing, or a filter that isn’t seated right. Work through these in order, starting with the least invasive fix.
- Confirm the water is off and the fridge is unplugged before touching anything. Wear gloves, and if water has pooled near any outlets or power strips, shut off that breaker first.
- Tighten compression fittings by hand, then give them a quarter turn with a wrench. Overtightening cracks the nut or deforms the ferrule, so stop as soon as the connection feels snug and stops weeping.
- If the tubing itself is cracked, kinked, or brittle, replace it. Measure the run from the shutoff valve to the fridge, use 1/4-inch tubing (braided stainless holds up far longer behind an appliance than plastic), fit a new ferrule and compression nut at each end, and leave a moderate coil of tubing behind the unit so you can pull the fridge out again without straining the line.
- If the shutoff valve itself is the problem, in most cases it’s worth replacing it with a proper drilled 1/4-inch valve rather than patching a ferrule repeatedly. Manufacturers generally discourage self-piercing saddle valves because they restrict flow and clog over time.
- Reseat or replace the water filter and its O-ring if that’s the source. A filter that clicks firmly into place with a fresh seal stops most slow weeping leaks at the housing.
- After any repair, flush the line before you reconnect the fridge fully: dispense water until it runs clear and air stops sputtering through the dispenser.
- Turn the shutoff valve back on slowly, watch every connection for a full minute, then tighten anything that’s still weeping. Dry the area completely and check it again after an hour before calling the job done.
Pro Tip: Keep the old fitting or filter you removed until the repaired line passes its re-test. If the leak comes back, having the old part on hand helps a plumber diagnose it faster. For related tightening techniques, our guide on fixing a leaking sink covers the same compression fitting basics.
Cleaning up water and stopping mold before it starts
Fixing the leak is only half the job. According to EPA guidance on mold and moisture, drying wet or damp materials within 24 to 48 hours is the key step that prevents mold spores from colonizing a surface.
- Use a wet/dry vacuum first, then bring in fans and a dehumidifier to finish drying floors, cabinets, and baseboards.
- Wear gloves and, if you’re sensitive to mold or dust, a basic dust mask, especially if you have asthma or a compromised immune system.
- Discard anything saturated that can’t be fully dried, like soaked insulation, cardboard, or cabinet liner padding.
- Dry and salvage hard surfaces, cabinetry, and flooring that haven’t absorbed water deeply.
- Photograph the damage before and during cleanup for insurance purposes, and keep receipts for any materials or services you pay for.
One EPA-backed figure matters most here: mold can begin growing quickly on wet surfaces if not dried promptly, which is why speed matters more than thoroughness in the first hour after a leak. If water got behind walls or under flooring and you can’t fully dry those spaces yourself, a mold remediation professional needs to check for hidden moisture. Renters facing a leak that a landlord hasn’t addressed should also report it to local housing or health authorities if it isn’t resolved promptly.
Red flags that mean it’s time to call a plumber
Some leaks are a five-minute fix. Others are a sign of something bigger behind the wall. Call a licensed plumber when you see any of these:
- Water keeps flowing even after you’ve shut off the dedicated valve, which usually points to a valve that’s failed or a leak upstream of it.
- The leak is coming from inside a wall or under flooring rather than visibly from the line itself.
- Standing water is anywhere near an electrical panel or outlet.
- The same leak returns after you’ve tightened fittings or replaced tubing yourself.
A plumber’s visit typically includes a pressure test on the line, valve replacement if needed, a short section of repiping if the existing line is degraded, and documentation you can use for an insurance claim if the damage was significant. Costs vary with whether it’s an emergency call versus a scheduled appointment, the parts involved like a new valve or braided line, how hard the area is to access, and whether there’s hidden water damage behind the fix. Before the visit, ask about licensing, whether the work carries a warranty, and for a written estimate breakdown so you know what you’re paying for before work starts. If the damage looks extensive or contaminated, a water damage restoration specialist is a separate call worth making alongside the plumber.
What we’ve learned from 30 years of fridge supply line calls
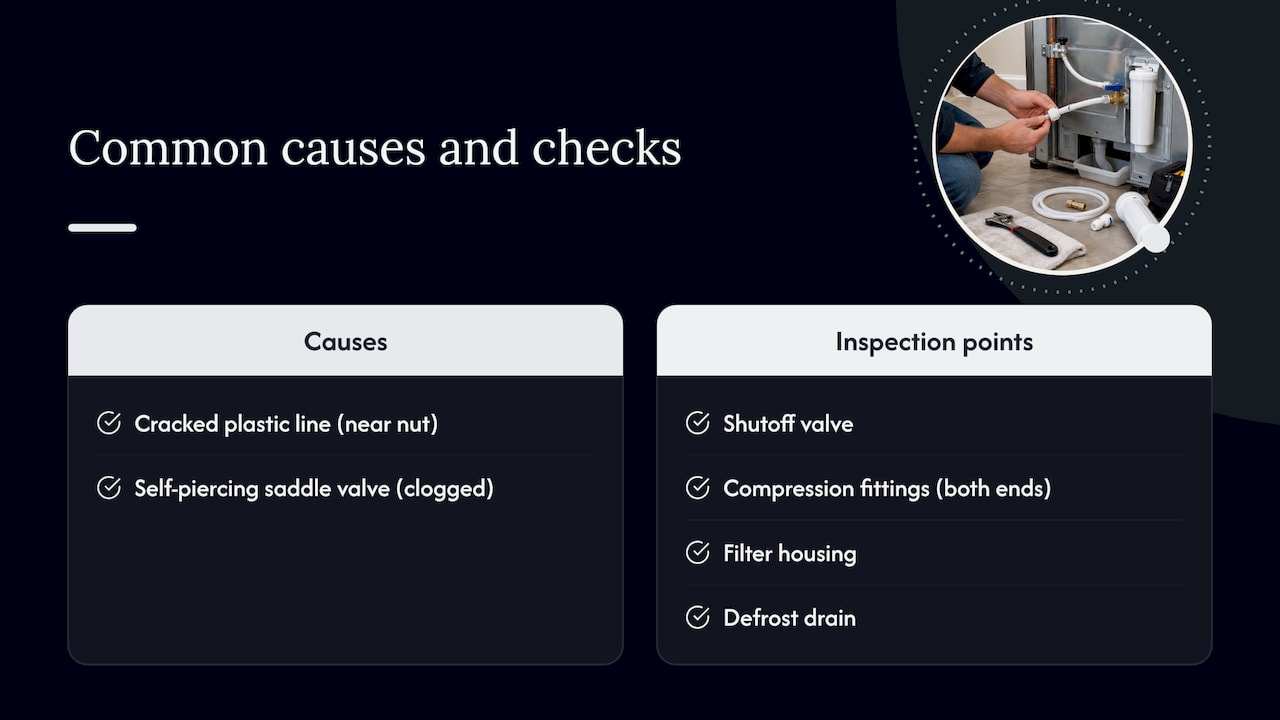
Across three decades of service calls in and around Pittsburgh, PA, the pattern repeats: most fridge leaks trace back to a plastic line that’s cracked near the compression nut, or a self-piercing saddle valve that’s clogged and restricting flow. We generally recommend braided stainless tubing over plastic for any run behind an appliance, and we leave a full coil behind the unit so the next inspection doesn’t mean disconnecting the line again. On a typical visit, our technicians check the shutoff valve, the compression fittings at both ends, the filter housing, and the defrost drain before touching anything else, since ruling those out first avoids replacing parts that were never the problem. Most straightforward supply line visits run under an hour once the cause is confirmed.
A plumber’s honest take on fridge leaks
The mistake we see most often isn’t a bad repair. It’s delay: someone notices a small puddle, mops it up, and waits a few days before doing anything else. By then the drywall or subfloor has already started absorbing moisture. If you remember one rule from everything here, make it this: stop the water first, dry everything within 24 to 48 hours, and only then worry about what caused it. That order has saved more kitchens than any specific repair trick.
— Maayan
How AG Plumbing can help if your supply line keeps leaking
If you’ve tightened every fitting and the leak keeps coming back, or the shutoff valve itself needs replacing, that’s exactly the kind of job our plumbing repair service handles. Our technicians bring experience, proper licensing and certification, and provide a clear estimate before any work starts, so there are no surprises on the invoice.

A typical visit for a fridge supply line includes:
- A pressure test on the existing line and valve to confirm where the leak originates.
- Replacement of the valve, fittings, or a short section of tubing as needed.
- A final leak check before we consider the job finished.
If you’re unsure whether your situation is a DIY fix or needs a professional, a quick rule of thumb: if the leak returns twice, contact us and we’ll take it from there.
FAQ
What are common problems with ice maker water lines?
The most frequent issues are cracked or kinked plastic tubing, loose compression fittings, clogged or misaligned water filters, and self-piercing saddle valves that restrict flow or clog over time. Many of these show up gradually as a slow drip rather than a sudden leak.
Why would a refrigerator leak water from underneath?
Underneath leaks are often not the supply line at all. A clogged defrost drain, a misaligned door gasket, or a cracked drip pan are more common causes than a damaged water line.
Do refrigerator water lines need to be replaced?
Replacement makes sense when the tubing is cracked, brittle, or has split near a fitting, or when a self-piercing saddle valve is restricting flow. A line that’s simply loose at a fitting can often be tightened instead, following manufacturer tubing and flushing guidance.
How much does it cost to fix a refrigerator that is leaking water?
Cost depends on whether the fix is a simple fitting tightening or a valve and line replacement, plus whether it’s an emergency call versus a scheduled visit. Our plumbing repair page outlines the service, and a plumber can give you an exact estimate after inspecting the line.
How do I know if it’s safe to fix the leak myself?
If you can see the leak clearly, like a loose fitting or a worn filter seal, and water stops completely once you shut off the valve, a DIY fix is usually reasonable. If water keeps flowing after shutoff or the leak is inside a wall, call a licensed plumber instead.
Recommended
- Leak Detection Tips for Homeowners: 10 Quick Checks
- Top Leak Detection Methods for Homeowners and Pros
- Why Water Leaks Matter: A Homeowner’s Guide
- Common Plumbing Repair Issues and How to Fix Them
